10 Pro Tips How to Design Indoor Garden Lighting
Turgor pressure within a cell wall determines the structural integrity of a plant; without it, the leaf collapses into a flaccid, necrotic mess. The smell of damp, oxygenated earth indicates a healthy rhizosphere where aerobic bacteria thrive. Achieving this level of vitality in a basement or a windowless room requires a technical understanding of how to design indoor garden lighting to replace the solar spectrum. You are not just hanging a lamp; you are engineering a synthetic environment where photons act as the primary catalyst for glucose production. Success depends on the precise delivery of Photosynthetically Active Radiation (PAR) across a specific canopy area.
Mastering how to design indoor garden lighting requires a departure from aesthetic choices toward physiological requirements. Most novices fail because they prioritize the color temperature of the room over the micromoles of light hitting the leaf surface. A professional setup accounts for the inverse square law, where doubling the distance between the light source and the plant reduces the light intensity by four times. To maintain high photosynthetic rates, you must balance light intensity, duration, and spectrum to prevent etiolation or leaf scorch.
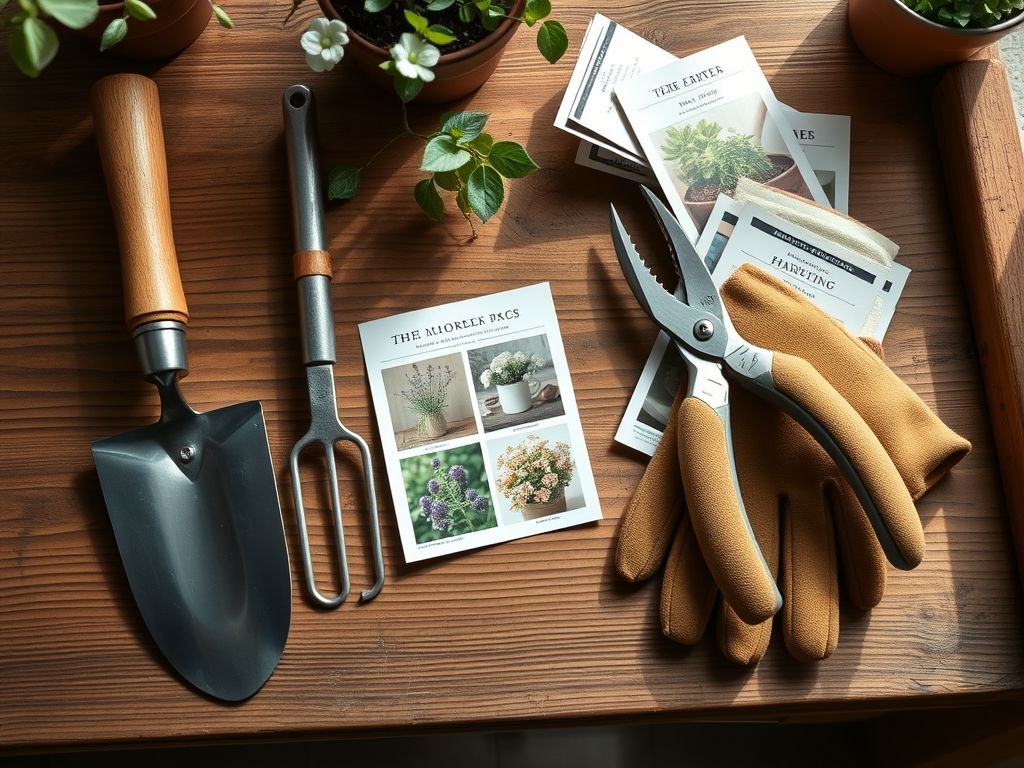
Materials:
Indoor lighting systems function best when paired with a high-performance substrate. Use a **friable loam** composed of 40 percent peat moss, 40 percent perlite, and 20 percent vermiculite to ensure high porosity. The soil pH must be calibrated between **6.0 and 6.8** to ensure nutrient bioavailability. For vegetative growth, maintain an NPK ratio of **3-1-2** to support nitrogen-heavy foliage development. As plants transition to reproductive stages, shift to a **1-3-2** ratio to provide the phosphorus necessary for flower and fruit set. A high Cation Exchange Capacity (CEC) is essential in this substrate; it allows the medium to hold onto positively charged ions like calcium and magnesium, preventing leaching during frequent indoor irrigation cycles.
Timing:
Indoor gardening bypasses the traditional constraints of Hardiness Zones, though most indoor environments mimic Zone 10 or 11 conditions with ambient temperatures between 65 and 75 degrees Fahrenheit. The biological clock of the plant is governed by the photoperiod. For the vegetative stage, a 18-6 light cycle (18 hours on, 6 hours off) prevents the plant from entering senescence prematurely. To trigger the reproductive stage in photoperiod-sensitive species, you must switch to a 12-12 light cycle. This shift mimics the shortening days of autumn, signaling the plant to divert energy from leaf production to seed and fruit development. Precise timing with digital controllers is mandatory to avoid stressing the plant and causing hormonal imbalances.
Phases:

Sowing
During the germination phase, seeds do not require high-intensity light, but they do require consistent thermal energy. Maintain a soil temperature of 70 to 75 degrees Fahrenheit using a waterproof heat mat. Once the hypocotyl emerges from the soil, move the light source to within 3 to 6 inches of the seedling.
Pro-Tip: Proper light proximity prevents etiolation, or "leggy" growth. This is a biological response where the plant rapidly elongates its stem to find a light source, sacrificing structural diameter for height.
Transplanting
When the second set of true leaves appears, move the plant to its permanent container using a hori-hori knife to minimize root disturbance. Ensure the new medium is pre-moistened to prevent transplant shock. Increase the light intensity to 400-600 micromoles per square meter per second (umol/m2/s).
Pro-Tip: Mycorrhizal symbiosis is critical during this phase. Inoculating the roots with beneficial fungi increases the surface area for nutrient uptake, allowing the plant to better utilize the increased metabolic rate caused by intense lighting.
Establishing
As the root system fills the container, the plant enters a period of rapid biomass accumulation. This is the stage where the Photosynthetic Photon Flux Density (PPFD) must be at its peak. Monitor the canopy for uniform light distribution to ensure all leaves are contributing to the carbon sink.
Pro-Tip: Auxin suppression occurs when light hits the apical meristem. By positioning lights directly overhead, you manage the distribution of auxins, which encourages lateral branching rather than just vertical growth, leading to a bushier, more productive plant.
The Clinic:
Physiological disorders in indoor gardens are often misdiagnosed as pests when they are actually lighting or nutrient issues.
- Symptom: Interveinal chlorosis on older leaves.
Solution: This indicates a Magnesium deficiency. Magnesium is the central atom in the chlorophyll molecule. Fix this by applying a foliar spray of 1 teaspoon of Epsom salts per gallon of water. - Symptom: Leaf cupping or "canoeing" at the top of the plant.
Solution: This is a sign of heat stress or light toxicity. Increase the distance between the LED or HID lamp and the canopy by 6 inches and check that the ambient temperature is below 80 degrees Fahrenheit. - Symptom: Pale green or yellow leaves starting from the bottom.
Solution: Nitrogen chlorosis. The plant is scavenging nitrogen from old growth to support new growth. Apply a liquid fertilizer with an NPK of 5-1-1 to restore nitrogen levels.
Maintenance:
Consistency is the hallmark of a professional indoor garden. Use a soil moisture meter daily; do not guess. Most indoor plants require approximately 1.5 inches of water per week delivered at the drip line to ensure even saturation of the root ball without causing anaerobic conditions at the base. Use bypass pruners to remove any yellowing or dead foliage immediately. This prevents the spread of fungal pathogens like Botrytis and ensures that the plant is not wasting energy on unproductive tissue. Clean your light reflectors and LED diodes every 30 days using a microfiber cloth; dust accumulation can reduce light output by up to 15 percent, directly impacting your yield.
The Yield:
Harvesting is a matter of cellular chemistry. For leafy greens, harvest in the early morning (or immediately after the lights turn on) when the plant has the highest turgor pressure and moisture content. For fruiting plants, look for the transition of trichomes from clear to milky white or amber, indicating peak essential oil and sugar production. Use a sharp, sterilized blade to make clean cuts. Post-harvest, immediately submerge the cut ends in 40-degree Fahrenheit water to remove field heat and lock in freshness. This slows down the respiration rate, extending the shelf life of the produce.
FAQ:
What is the best light for indoor plants?
Full-spectrum LED systems are superior due to their efficiency and adjustable output. They provide the blue wavelengths (400-500nm) necessary for vegetative growth and the red wavelengths (600-700nm) required for flowering while generating minimal heat compared to HID lamps.
How far should lights be from plants?
For LEDs, maintain a distance of 12 to 24 inches depending on the wattage and growth stage. Seedlings require more distance to prevent burn, while mature plants can tolerate closer proximity to maximize the Photosynthetic Photon Flux Density.
Can I leave grow lights on 24 hours?
No. Plants require a dark period to complete the process of respiration and move sugars to the roots. A 16-8 or 18-6 cycle is ideal for growth. Constant light can cause oxidative stress and disrupt the plant's circadian rhythm.
How do I know if my light is too bright?
Observe the leaves for "bleaching" or a scorched, crispy appearance on the edges nearest the light source. If leaves are pointing upward at an extreme angle (praying), they are likely receiving too much intensity and are attempting to reduce surface area.