5 Expert Ways How to Choose Kelvin Light Temperatures
The scent of damp, mineral-rich earth signals a healthy rhizosphere, but the true driver of plant vigor is the spectral quality of the light hitting the canopy. When you understand how to choose kelvin light temperatures, you move beyond simple illumination into the realm of hormonal manipulation. High turgor pressure in a leaf is not just a result of hydration; it is the product of efficient photosynthesis driven by specific wavelengths. Proper Kelvin selection dictates whether a plant stretches toward the ceiling or develops the thick, lignified stems required for heavy yields.
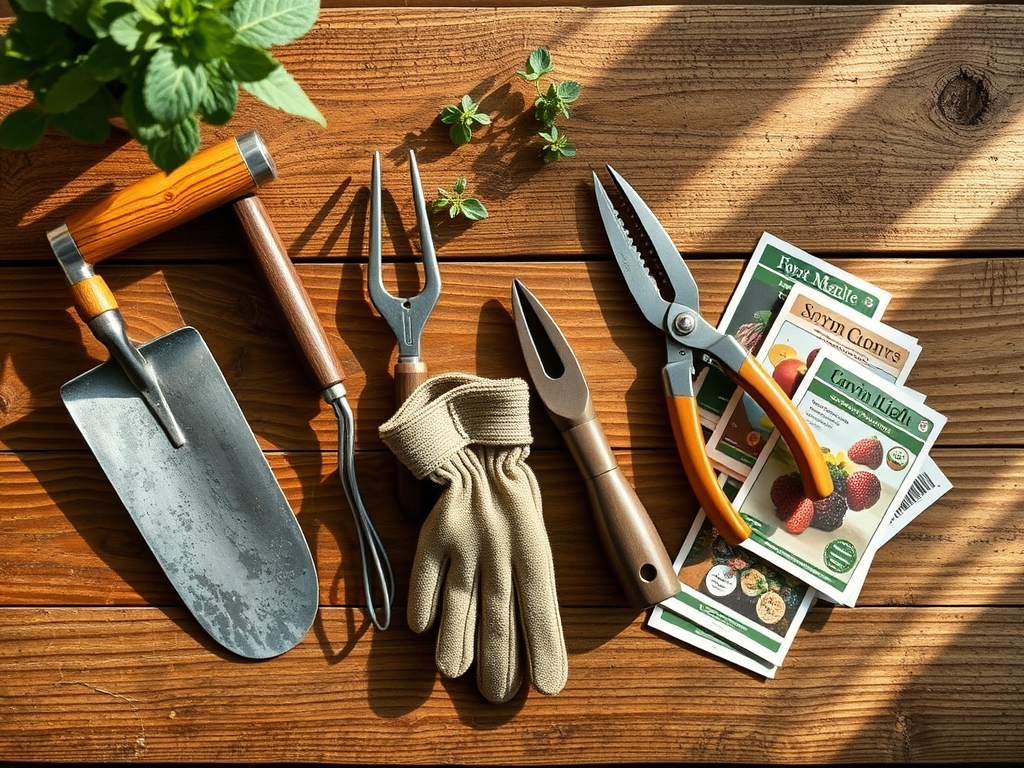
Materials:
To maximize the efficacy of your lighting system, the substrate must be optimized for nutrient uptake. Start with a **friable loam** that maintains a **Cation Exchange Capacity (CEC) of 15 to 25 milliequivalents per 100 grams**. This texture allows for oxygen diffusion while retaining moisture. The soil pH should be stabilized between **6.2 and 6.8** to ensure that micronutrients like iron and manganese remain bioavailable. During the initial growth phase, utilize a fertilizer with an **NPK ratio of 3-1-2** to support foliar expansion. As the plant transitions to reproductive stages under lower Kelvin temperatures, shift to a **1-3-2 ratio** to prioritize phosphorus and potassium for flower development.
Timing:
Successful indoor cultivation requires aligning your lighting schedule with the biological clock of your specific cultivar. In Hardiness Zones 4 through 7, indoor starts typically begin 6 to 8 weeks before the last predicted frost. The transition from the vegetative stage to the reproductive stage is governed by the photoperiod. For most long-day plants, a 16:8 light-to-dark ratio maintains vegetative growth. Shifting to a 12:12 ratio triggers the onset of senescence in annuals or the flowering response in perennials. Monitoring the accumulation of Growing Degree Days (GDD) ensures that the plant has reached sufficient biomass before you alter the Kelvin temperature to simulate late-season sun.
Phases:

Sowing and Germination
During the germination phase, light intensity is less critical than soil temperature, which should remain between 65 and 75 degrees Fahrenheit. However, once the hypocotyl emerges, you must provide high-Kelvin light in the 5000K to 6500K range. This "cool" blue light mimics the high-angle sun of spring and prevents "legginess" or etiolation.
Pro-Tip: High blue light concentrations suppress auxin transport to the stem. This biological mechanism keeps internodal spacing tight, creating a stocky plant capable of supporting future fruit weight.
Transplanting and Vegetative Growth
When moving seedlings to larger containers, maintain a light temperature of 4000K to 5000K. This spectrum provides a balanced blend of blue and green wavelengths that penetrate the lower canopy. Ensure the Photosynthetic Photon Flux Density (PPFD) reaches at least 300 to 400 micromoles per square meter per second at the leaf surface.
Pro-Tip: Proper light spectrum at this stage encourages mycorrhizal symbiosis. The plant allocates more carbon to the roots when the spectral quality facilitates high photosynthetic efficiency, strengthening the relationship with beneficial fungi.
Establishing and Reproductive Transition
As the plant reaches its target height, introduce "warm" light in the 2700K to 3000K range. These wavelengths are rich in red and far-red light, simulating the low-angle sun of autumn. This shift signals the plant to redirect energy from leaf production to fruit and seed development.
Pro-Tip: Red light at 660 nanometers triggers the conversion of phytochrome far-red (Pfr) to phytochrome red (Pr). This process, known as photomorphogenesis, is the primary switch for floral induction in photoperiod-sensitive species.
The Clinic:
Physiological disorders often stem from spectral imbalances or nutrient lockout. Diagnose these issues by observing leaf morphology and color.
- Symptom: Etiolation (Long, weak stems).
- Solution: Increase the Kelvin temperature to 6000K and lower the light fixture. The plant is stretching due to a lack of blue light.
- Symptom: Interveinal Chlorosis (Yellowing between green veins).
- Solution: Check soil pH. If pH is above 7.0, iron is locked out. Apply a chelated iron drench and adjust pH to 6.5.
- Symptom: Tip Burn on New Growth.
- Solution: This indicates Calcium deficiency or excessive transpiration. Ensure your vapor pressure deficit (VPD) is between 0.8 and 1.2 kPa and check that your light is not emitting excessive infrared heat.
Fix-It for Nitrogen Chlorosis: If older leaves turn uniform pale yellow, the plant is scavenging nitrogen. Apply a water-soluble fertilizer with a high N rating (e.g., 10-5-5) at half strength to restore chlorophyll density.
Maintenance:
Precision maintenance prevents crop failure. Use a soil moisture meter daily to ensure the substrate remains at 60 percent field capacity. For most medium-sized plants, this equates to roughly 1.5 inches of water per week delivered directly to the drip line. Use a hori-hori knife to remove weeds that compete for nutrients in the rhizosphere. Every two weeks, use bypass pruners to remove non-productive "sucker" growth from the bottom third of the plant. This improves airflow and focuses energy on the upper canopy where light penetration is highest. Clean your light reflectors monthly; dust buildup can reduce lumen output by up to 15 percent.
The Yield:
Harvesting at peak physiological maturity ensures maximum nutrient density. For leafy greens, harvest in the early morning when turgor pressure is at its highest and the plant is fully hydrated. For fruiting crops, wait for the "abscission zone" to develop, where the fruit easily detaches from the stem with a slight twist. Post-harvest, immediately submerge greens in 40-degree Fahrenheit water to remove field heat and slow the rate of respiration. This technique preserves the cellular structure and maintains "day-one" crispness for up to two weeks in cold storage.
FAQ:
What Kelvin is best for starting seeds?
Use 5000K to 6500K. This high-blue spectrum mimics spring light and prevents seedlings from stretching. It promotes thick stems and dense foliage by regulating auxin levels within the plant tissues.
Can I use 3000K light for the entire growth cycle?
You can, but the plant will likely become "leggy" and structurally weak during the vegetative phase. A 3000K light is optimized for flowering and fruiting; it lacks the blue light necessary for compact vegetative growth.
How does Kelvin affect plant height?
Higher Kelvin ratings (blue light) result in shorter, bushier plants. Lower Kelvin ratings (red light) encourage "stretch" and stem elongation. Professional growers use 5000K to keep plants manageable before switching to 2700K for harvest.
What is the difference between Lumens and Kelvin?
Lumens measure the total amount of visible light emitted by a source, essentially the brightness. Kelvin measures the color temperature or spectral distribution. For plant health, Kelvin is more important than Lumens for triggering specific biological stages.
Does light temperature affect nutrient uptake?
Indirectly, yes. Light quality influences the rate of photosynthesis and transpiration. A plant under the correct Kelvin temperature will have a higher metabolic rate, increasing the demand for Nitrogen, Phosphorus, and Potassium from the soil.