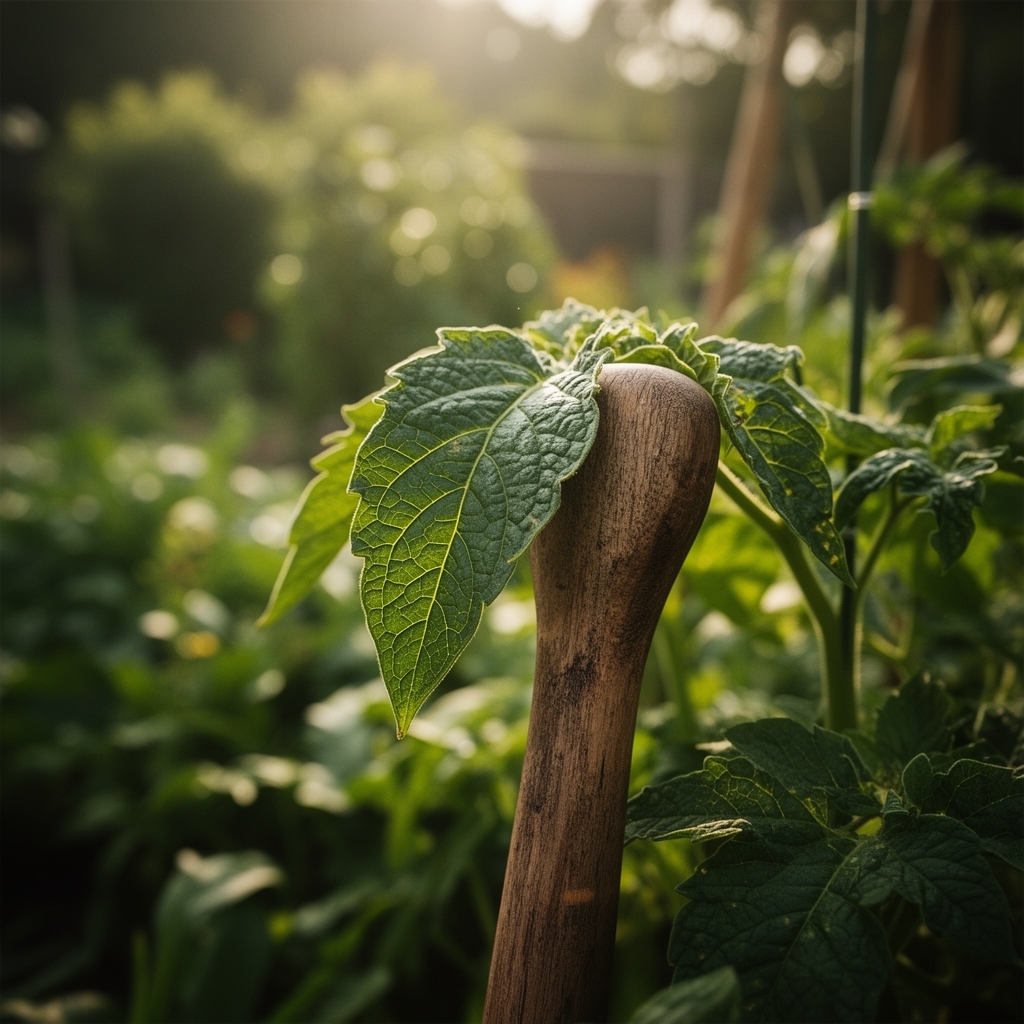
5 Quick Steps to Row Cover Protection
Frost arrives without warning, and tender seedlings collapse within hours when temperatures plunge below 32°F. Row covers act as a thermal barrier, trapping ground heat and raising ambient temperature by 2 to 8 degrees depending on fabric weight. Mastering the steps to row cover protection means understanding fabric selection, anchor methods, ventilation timing, and removal protocols that align with your crops' physiological needs. These barriers also exclude cabbage moths, flea beetles, and aphids while maintaining 70 to 90 percent light transmission for photosynthesis.
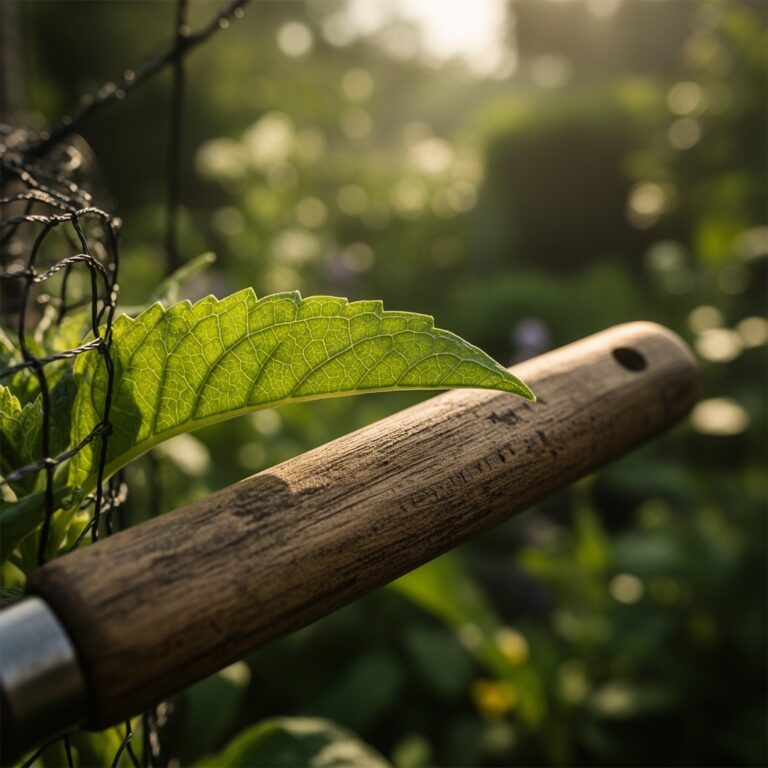
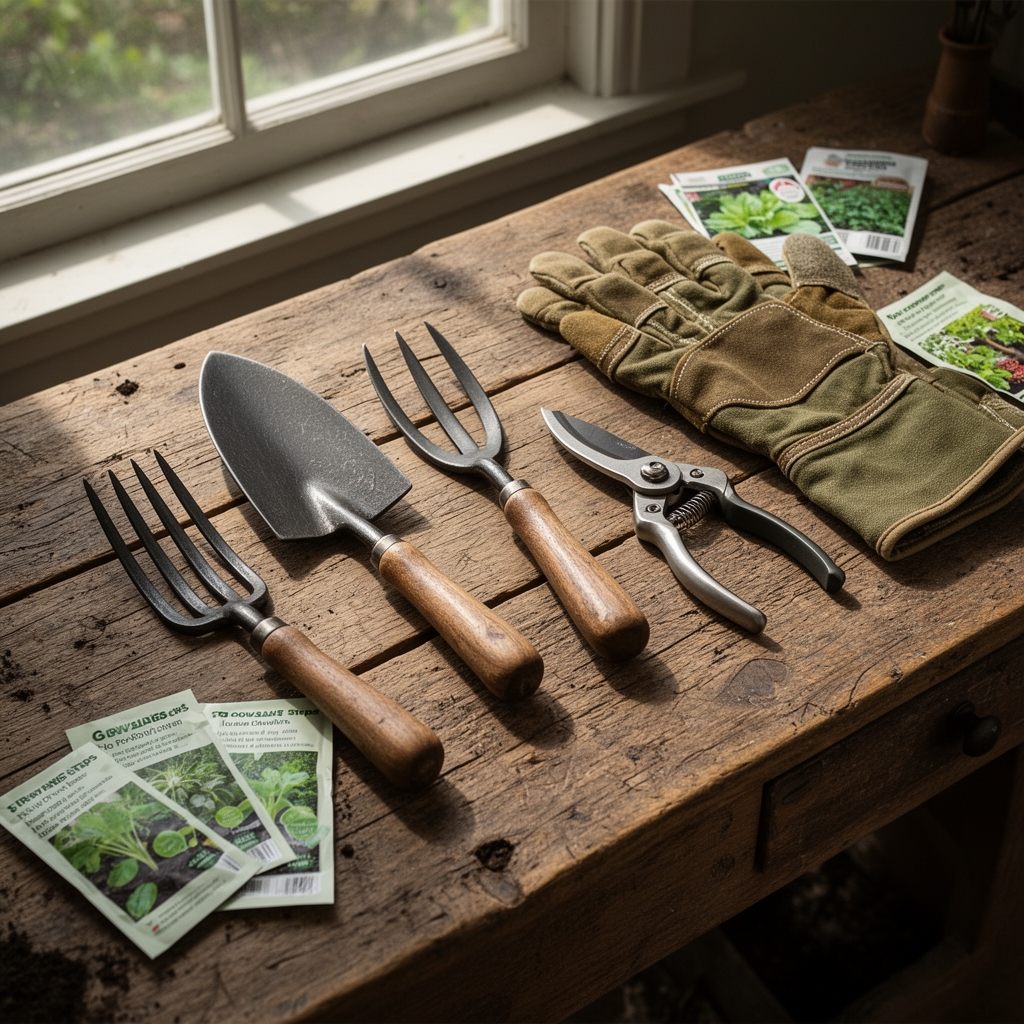
Materials
Fabric weight determines function. Lightweight polypropylene at 0.5 ounces per square yard offers insect exclusion and 2 to 4 degrees of frost protection while transmitting 85 percent of available light. Medium-weight fabrics at 0.9 ounces per square yard provide 4 to 6 degrees of protection and suit early-season brassicas in Zones 4 through 7. Heavy-weight covers at 1.5 to 2.0 ounces per square yard extend seasons by 6 to 8 degrees but reduce light transmission to 70 percent, making them suitable only for cold-hardy crops like spinach and kale.
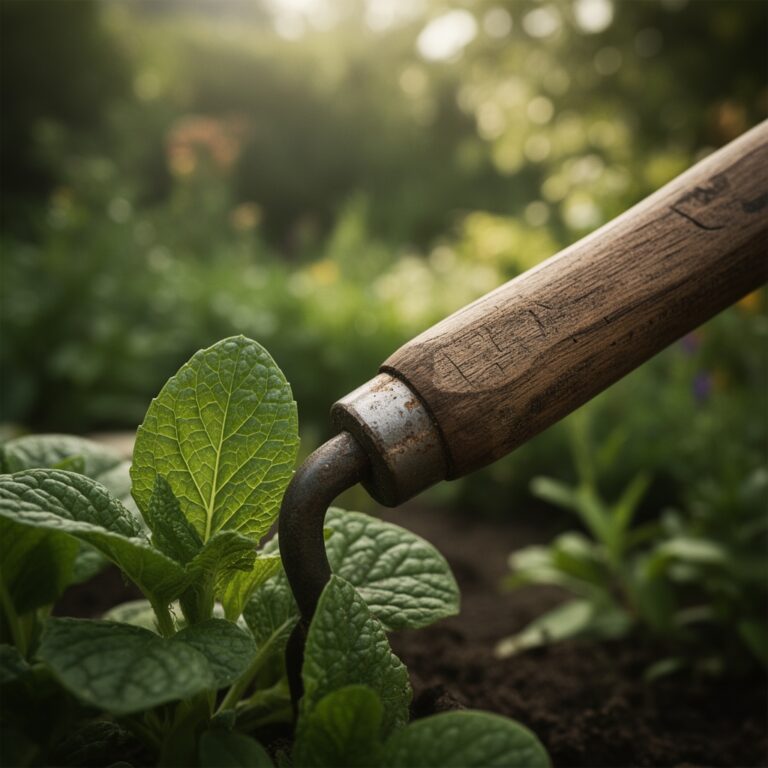
Anchor systems require durability. Use 6-inch galvanized staples driven through fabric edges into firm soil, spacing them every 24 inches. Sandbags filled to 15 pounds each work on porous or rocky ground where stakes fail. Avoid loose stones; wind lifts unsecured edges and admits pests. PVC hoops at 48-inch intervals create air space between foliage and fabric, reducing condensation and limiting fungal pressure. Install hoops 18 inches tall for lettuce, 24 inches for peppers and tomatoes.
Soil preparation supports microbial health. Apply a 4-4-4 organic meal derived from feather meal, bone meal, and kelp at 2 pounds per 100 square feet two weeks before planting. This balanced NPK ratio ensures steady nitrogen availability without excessive vegetative growth. Incorporate mycorrhizal fungi inoculant at transplanting; arbuscular mycorrhizae extend root surface area by 10 to 100 times, improving phosphorus uptake in soils with pH between 6.0 and 7.0. Test cation exchange capacity; soils below 10 meq/100g benefit from compost additions at 1 cubic yard per 500 square feet.
Timing
Know your last spring frost date and first fall frost date for your hardiness zone. In Zone 5, the average last frost occurs between April 15 and May 15. Install row covers one week before transplanting warm-season crops like tomatoes and peppers. For cool-season greens, apply covers immediately after seeding in late August for fall harvest, removing them once nighttime lows stabilize above 45°F.
In Zone 7, floating row covers extend both ends of the season. Apply them in late February for early peas and lettuce, then again in mid-October for overwintered spinach. Monitor soil temperature with a probe thermometer; soil must reach 50°F for brassica germination and 60°F for cucurbits. Covers raise soil temperature by 3 to 5 degrees within 72 hours of installation.
Phases

Sowing: Prepare seed furrows at depths specified on packets, typically 0.25 inches for lettuce and 1 inch for beans. Water furrows before seeding to ensure capillary contact between seed coat and soil particles. Cover seeds, then install fabric loosely to allow for seedling emergence. Drape 6 to 12 inches of slack per linear foot; tension tears emerging cotyledons.
Pro-Tip: Dust furrows with Bacillus subtilis powder at 0.1 ounces per 10 feet to suppress damping-off fungi. This endophytic bacterium colonizes root zones and outcompetes Pythium and Rhizoctonia species.
Transplanting: Harden off seedlings for 7 to 10 days before field placement. Dig holes twice the root ball diameter. Position transplants so the soil line matches the previous container depth; burying stems too deep restricts auxin distribution and stunts growth. Water each hole with 8 ounces of diluted fish emulsion at 1 tablespoon per gallon to stimulate root hair proliferation.
Pro-Tip: Prune tomato transplants at a 45-degree angle to remove lower leaves within 2 inches of soil. This reduces splash-borne pathogens and improves air circulation under row covers.
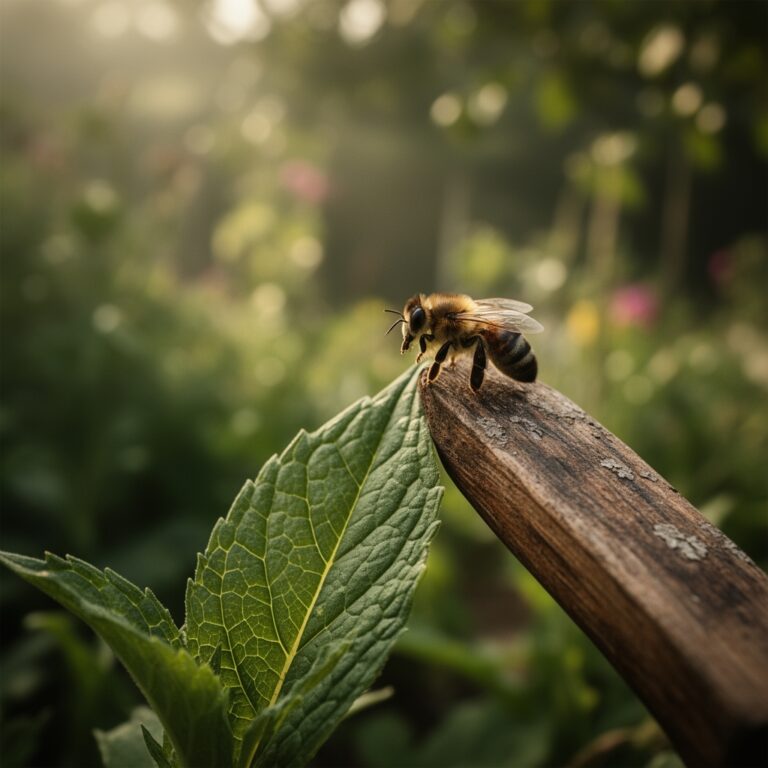
Establishing: Monitor internal temperature with a max-min thermometer placed at canopy height. Remove or vent covers when internal temperature exceeds 80°F; heat stress above 85°F inhibits pollination in solanaceous crops. For self-pollinating crops like beans, covers remain in place until flowering begins. For insect-pollinated crops like squash, remove covers at first bloom.
Pro-Tip: Apply foliar kelp spray at 1 tablespoon per gallon every 14 days during establishment. Cytokinins in kelp extract promote lateral branching and increase leaf surface area by 15 to 20 percent.
Troubleshooting
Symptom: Yellow leaf margins with interveinal chlorosis. Solution: Magnesium deficiency in soils with pH below 6.0. Apply Epsom salt at 1 tablespoon per gallon as a drench, repeating every 10 days until color returns.
Symptom: Wilting despite adequate soil moisture. Solution: Root-knot nematodes (Meloidogyne spp.) compromise vascular tissue. Solarize soil for 6 weeks in summer using clear 1-mil plastic. Rotate with marigold cultivars like 'Tangerine' that release alpha-terthienyl, a nematicidal compound.
Symptom: White powdery coating on upper leaf surfaces. Solution: Powdery mildew thrives in humid, stagnant air under row covers. Increase ventilation by propping fabric edges open for 4 hours daily. Spray with 1 part milk to 9 parts water weekly; lactic acid bacteria suppress fungal spore germination.
Symptom: Sudden collapse of seedlings at soil line. Solution: Damping-off from Pythium or Fusarium. Remove affected plants immediately. Drench remaining seedlings with chamomile tea (2 tablespoons dried flowers per quart of boiling water, cooled). Reduce watering frequency to maintain soil moisture at 60 percent field capacity.
Symptom: Holes in leaves with shiny slime trails. Solution: Slugs enter through unsecured fabric edges. Apply diatomaceous earth in a 3-inch band around row perimeters. Refresh after rain.
Maintenance
Inspect covers every 48 hours for tears, lifting edges, or trapped pests. Repair holes with UV-resistant tape within 24 hours; even 1-inch gaps admit cabbage moths. Water through fabric using drip irrigation or soaker hoses; overhead watering saturates fabric and reduces light transmission by 20 percent. Provide 1 inch of water per week, measured with a rain gauge placed inside the covered area.
Remove covers for 2 hours every 7 days to allow air exchange and inspect for pest colonization. Look for egg masses on leaf undersides, particularly for squash bugs and Colorado potato beetles. Hand-remove and destroy. Reapply covers before temperatures drop below 50°F.
Wash reusable covers at season's end with mild detergent and air-dry completely before storage. Fold loosely to prevent creasing; sharp folds weaken polypropylene fibers. Store in a rodent-proof container away from UV exposure. Quality covers last 3 to 5 seasons with proper care.
FAQ
When do I remove row covers permanently? Remove covers when nighttime lows remain above 55°F for warm-season crops or when flowering begins for insect-pollinated species. For pest exclusion only, remove once plants outgrow the cover's height capacity.
Can I use row covers in summer? Use only shade cloth rated at 30 to 50 percent in summer. Standard row covers trap excessive heat and cause blossom drop in temperatures above 90°F.
How do I prevent wind damage? Secure fabric every 18 to 24 inches with earth staples or sandbags. Create windbreaks using taller crops or temporary fencing on prevailing wind sides.
Do row covers affect pollination? Self-pollinating crops like tomatoes, peppers, and beans do not require insect vectors. Remove covers from cucurbits, squash, and melons at first bloom to allow bee access.
What's the best row cover weight for beginners? Start with 0.9-ounce medium-weight fabric. It balances frost protection, light transmission, and durability for most vegetable crops in Zones 4 through 8.