6 Simple Steps to Set Grow Light Distances
Healthy plants exhibit high turgor pressure; their leaves feel firm and cool to the touch due to active transpiration. When you walk into a controlled environment, the smell of damp earth and microbial activity should be subtle, not stagnant. Mastering the steps to set grow light distances ensures that this physiological vigor remains constant from seedling to harvest. Precision in light placement prevents the leggy, weakened stems associated with etiolation while avoiding the leaf necrosis caused by excessive Photosynthetic Photon Flux Density (PPFD).
Success in indoor horticulture depends on the Inverse Square Law. This physical principle dictates that light intensity decreases exponentially as the distance from the source increases. For example, doubling the distance between the canopy and the lamp reduces the light intensity to one quarter of its original strength. A professional grower does not guess these distances. Instead, they utilize a quantum sensor to measure Micromoles per square meter per second (umol/m2/s). This data allows for the calibration of the light height to match the specific metabolic needs of the plant species. High-intensity discharge (HID) lamps and Light Emitting Diodes (LEDs) require different management strategies due to their varying heat signatures and spectral distributions.
Materials:
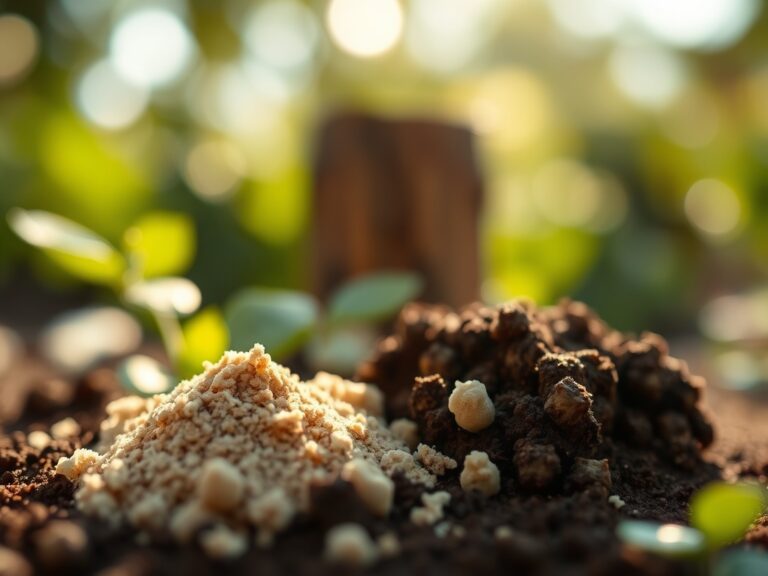
The foundation of any light-sensitive operation is the substrate. Use a friable loam consisting of 40 percent sand, 40 percent silt, and 20 percent clay to ensure optimal drainage. This physical texture prevents anaerobic conditions in the rhizosphere. The soil must maintain a pH between 6.2 and 6.8 to maximize the Cation Exchange Capacity (CEC), allowing the plant to readily absorb metallic ions like iron and magnesium.
For the vegetative stage, utilize a fertilizer with a high nitrogen NPK ratio of 3-1-2. Nitrogen is the primary driver of chlorophyll production and leaf expansion. As the plant transitions to reproductive stages, shift to a 1-3-2 ratio to provide the phosphorus necessary for flower and fruit development. Supplement with a calcium-magnesium additive if using reverse osmosis water, as these secondary macronutrients are essential for cell wall integrity and enzyme activation.
Timing:
Hardiness Zones 3 through 10 dictate the outdoor frost-date windows, but indoor growers must manage a synthetic "Biological Clock." The transition from the vegetative stage to the reproductive stage is triggered by the photoperiod. Most short-day plants require a shift from 18 hours of light to 12 hours of light to initiate flowering.
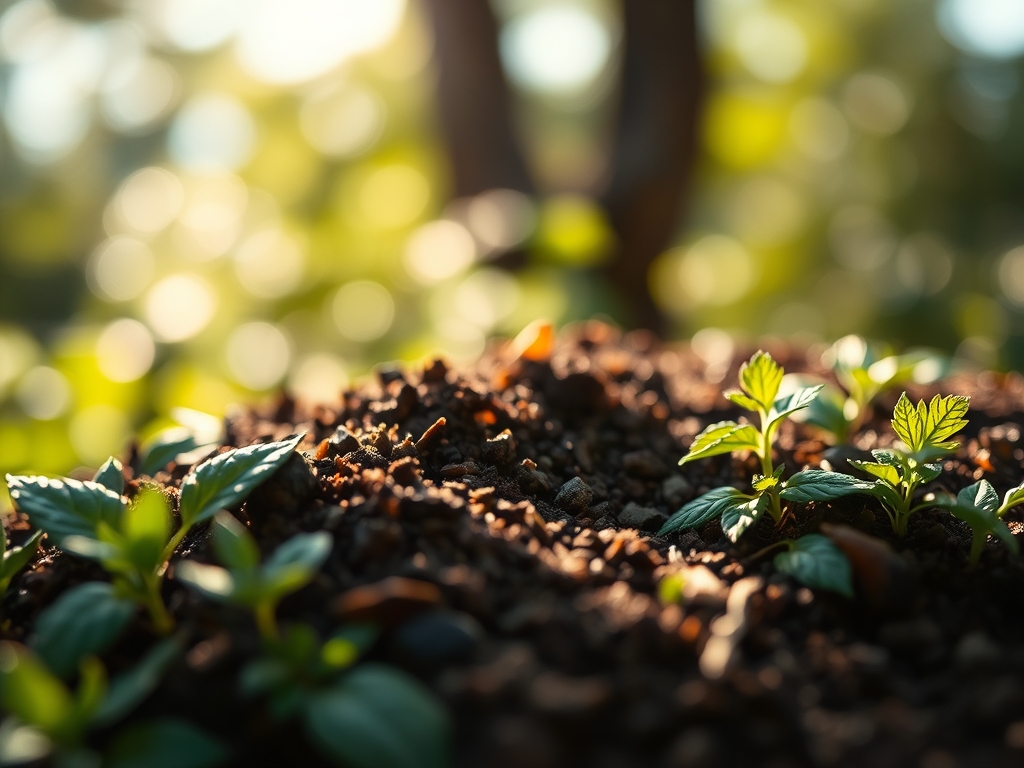
The first 14 to 21 days after germination are the most critical for light distance adjustments. During this window, the plant is highly susceptible to "damping off" if the light is too far, causing the stem to collapse under its own weight. Conversely, if the light is too close, the intense infrared radiation can cause the stomata to close, halting photosynthesis entirely. Monitor the Daily Light Integral (DLI), which measures the total amount of light delivered over a 24-hour period, to ensure the plant receives between 15 and 30 moles of light per day depending on the growth phase.
Phases:
Sowing
During the initial germination phase, place LED lights 24 to 36 inches above the soil surface. Seedlings require lower light intensity, typically between 100 and 300 umol/m2/s. The goal is to provide enough energy to trigger the first set of true leaves without desiccating the delicate cotyledons.
Pro-Tip: Proper light distance at this stage prevents auxin suppression. Auxins are hormones that migrate to the dark side of a stem, causing cells to elongate and push the plant toward the light. If the light is too weak, excessive auxin buildup leads to weak, spindly stems.
Transplanting
Once the plant has developed three to four sets of true leaves, move the light closer, generally to a distance of 18 to 24 inches. At this stage, the plant can handle an intensity of 400 to 600 umol/m2/s. This is the period of rapid biomass accumulation where the plant establishes its structural framework.
Pro-Tip: Maintaining close proximity encourages mycorrhizal symbiosis. When the plant has ample light energy, it can export up to 20 percent of its carbon to the soil fungi. In exchange, the fungi extend the root system's reach, increasing the uptake of phosphorus and water.
Establishing
As the plant reaches full maturity or enters the flowering phase, the light distance can be reduced to 12 to 18 inches for LEDs, or 24 to 36 inches for high-heat HID lamps. The target intensity increases to 600 to 1,000 umol/m2/s. Watch for signs of light bleaching at the top of the canopy, which appears as white or yellow spots on the uppermost leaves.
Pro-Tip: High light intensity during the establishing phase maximizes phototropism efficiency. By positioning the lights directly overhead, you ensure that the plant allocates energy to upward growth and lateral branching rather than leaning, which maintains an even canopy for uniform light distribution.
The Clinic:
Physiological disorders often mimic nutrient deficiencies. Distinguishing between the two is vital for corrective action.
- Symptom: Interveinal Chlorosis. The leaves turn yellow while the veins remain green.
- Solution: This often indicates a Magnesium deficiency or a pH imbalance above 7.0. Flush the media with pH-adjusted water and apply a foliar spray of Epsom salts (1 teaspoon per gallon).
- Symptom: Leaf Cupping or Canoeing. The edges of the leaves curl upward.
- Solution: This is a sign of heat stress or excessive transpiration. Increase the distance of the grow light by 4 to 6 inches and check the ambient temperature; it should not exceed 85 degrees Fahrenheit.
- Symptom: Nitrogen Chlorosis. Older, lower leaves turn uniform pale yellow.
- Fix-It: Increase the nitrogen component of your NPK ratio. Ensure the CEC of the soil is not being blocked by a high concentration of salts; a light leaching of the substrate may be required before re-fertilizing.
- Symptom: Tip Burn. The very ends of new growth turn brown and crispy.
- Solution: This is usually "Light Burn" rather than a nutrient issue. Even if temperatures are cool, the light intensity is too high for the plant's current CO2 levels. Raise the lights by 3 inches immediately.
Maintenance:
Consistency is the hallmark of a professional harvest. Use a soil moisture meter daily to ensure the substrate remains at a "moist but not saturated" state. As a general rule, provide 1.5 inches of water per week at the drip line. Avoid wetting the foliage to prevent fungal pathogens like powdery mildew.
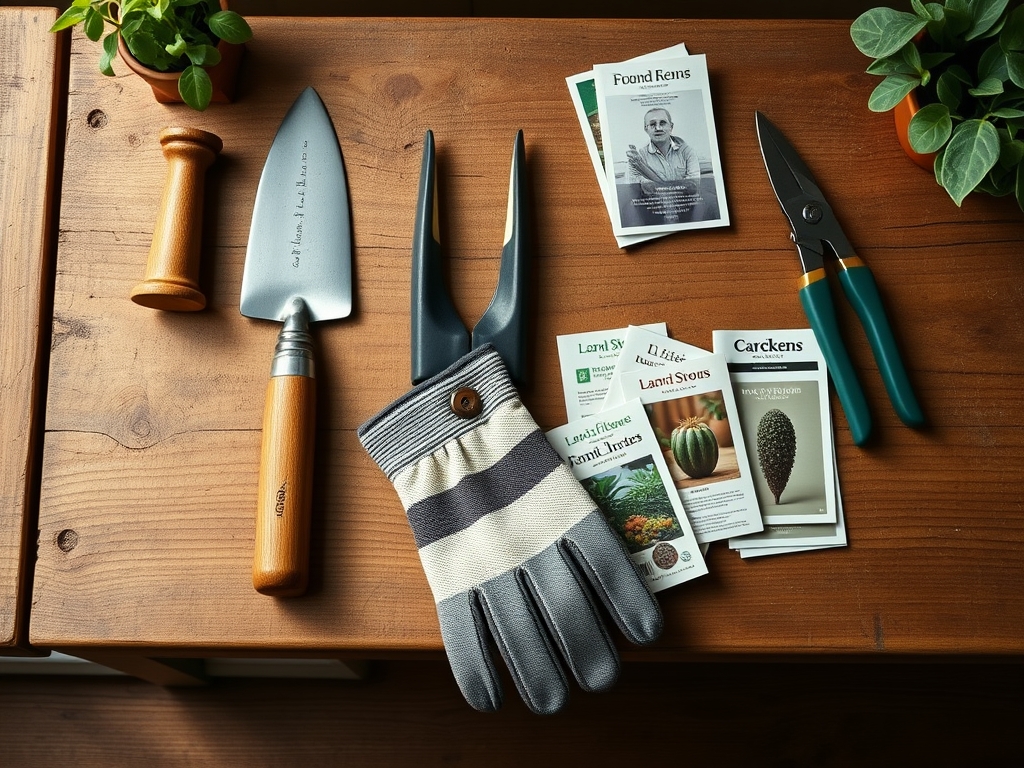
Keep your tools sharp and sterile. Use bypass pruners for clean cuts that heal quickly, and a hori-hori knife for any root-zone work or transplanting. Prune away the bottom 20 percent of the foliage (lollipopping) to improve airflow and redirect energy to the top of the canopy where light intensity is highest. Clean your light reflectors or LED diodes every 30 days; dust buildup can reduce light output by as much as 10 percent.
The Yield:
Harvesting should occur when the plant reaches peak secondary metabolite production. For flowering plants, observe the trichomes with a jeweler's loupe; they should transition from clear to milky white or amber. For leafy greens, harvest in the early morning when turgor pressure is at its highest point.
Use a sharp blade to minimize tissue damage. Post-harvest, immediately lower the temperature of the produce to 40 degrees Fahrenheit to slow down senescence, the natural aging process of the plant. This "cold chain" management preserves the crispness and nutritional value for day-one freshness.
FAQ:
How do I know if my light is too close?
If the top leaves begin to curl upward or show bleached, white spots while the rest of the plant remains green, the light is too close. Use the "hand test"; if it feels hot to your skin, it is too hot for plants.
What is the best light for seedlings?
LEDs with a "cool" blue spectrum (5000K to 6500K) are ideal. Set them 24 to 36 inches away to prevent stretching. This spectrum mimics the natural light of spring and encourages compact, bushy growth and strong root development.
Can I use a standard tape measure for light distance?
Yes, a tape measure is a fundamental tool for consistency. Measure from the bottom of the light housing to the highest point of the plant canopy. Record these measurements in a garden log to track growth rates over time.
How often should I move my lights?
Check the distance every 2 to 3 days. During the peak vegetative stage, some species can grow 1 to 2 inches per day. Frequent adjustments ensure the plant stays within the "sweet spot" of the light's effective PAR (Photosynthetically Active Radiation) zone.