9 Vital Steps to Setup Aeroponic Misting Kits
The scent of atomized nutrient solution hitting a dense root mass is distinct; it is the smell of high-velocity oxygenation and immediate cellular uptake. When a plant achieves maximum turgor pressure, the leaves feel stiff and cool to the touch because the vascular system is fully pressurized. Mastering the steps to setup aeroponic misting kits requires a shift from traditional soil-based thinking to a focus on the rhizosphere's gas exchange. You are no longer managing a static medium; you are engineering an atmospheric environment where roots exist in a perpetual state of suspended hydration. This precision allows for growth rates that soil cannot match because the energy usually spent pushing through compacted earth is redirected into biomass production.
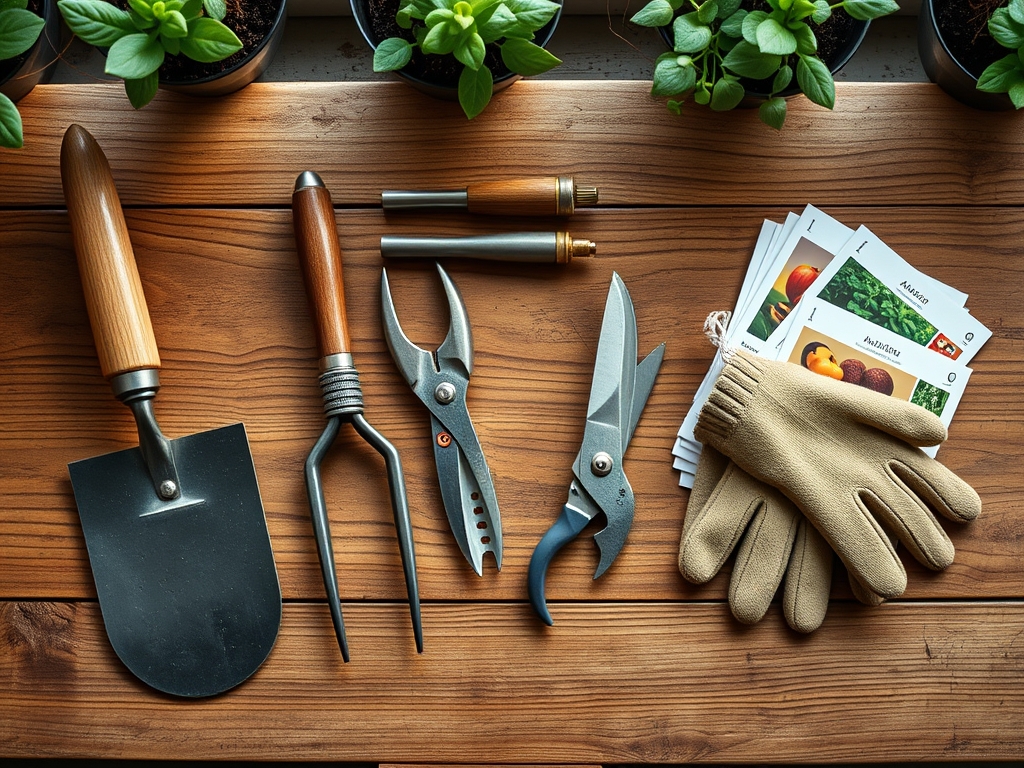
Materials:
While aeroponics is a soilless method, the chemistry of the water mimics the nutrient profile of a high-quality friable loam. In a traditional soil context, a Cation Exchange Capacity (CEC) of **20 to 30 meq/100g** is ideal. In aeroponics, you replace this buffering capacity with a stabilized reservoir. Your nutrient solution must maintain a **pH between 5.5 and 6.2** to ensure the bioavailability of micronutrients.
For the vegetative stage, use a water-soluble NPK ratio of 3-1-2. This provides the nitrogen necessary for leaf development while keeping phosphorus and potassium in reserve. For the reproductive stage, shift to a 1-3-2 ratio to encourage flowering and fruiting. The substrate for starting seeds should be inert; use rockwool cubes or coco coir plugs with a neutral pH of 7.0. The physical texture of your starting medium must be porous enough to allow for a 25 percent air-to-water ratio. Ensure you have a high-pressure pump capable of producing 60 to 100 PSI to create droplets between 30 and 80 microns in size.
Timing:
Successful aeroponic cultivation bypasses many outdoor constraints, but internal biological clocks remain fixed. In USDA Hardiness Zones 5 through 8, indoor aeroponic setups should be initiated in late winter to align with the natural increase in photoperiod. This transition from vegetative to reproductive stages is governed by the plant's phytochrome system.
The "Biological Clock" is most sensitive during the switch from an 18-hour light cycle to a 12-hour cycle for short-day plants. In an aeroponic system, the lack of root resistance means the transition occurs faster than in soil. You must monitor the plant for signs of senescence, such as the yellowing of fan leaves, which indicates the plant is redirecting mobile nutrients like nitrogen toward the developing fruit or seed heads. Aim to start your misting kit setup at least three weeks before you intend to transplant seedlings into the main high-pressure chamber.
Phases:

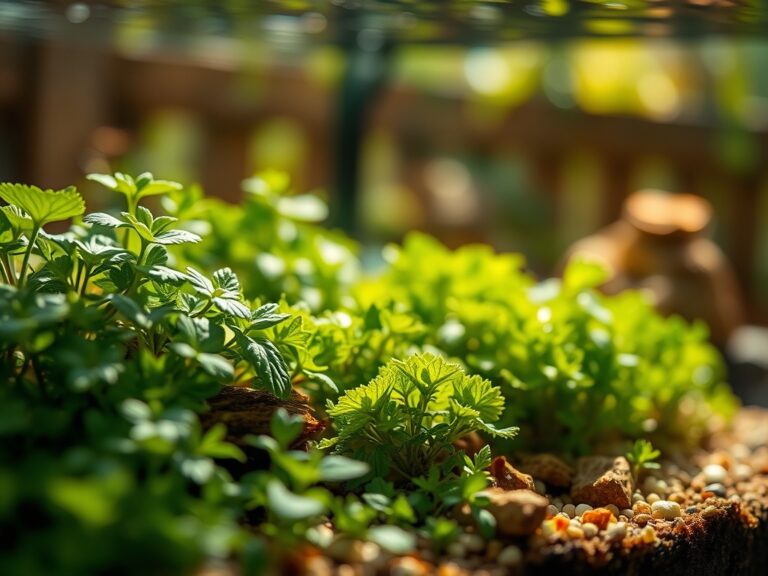
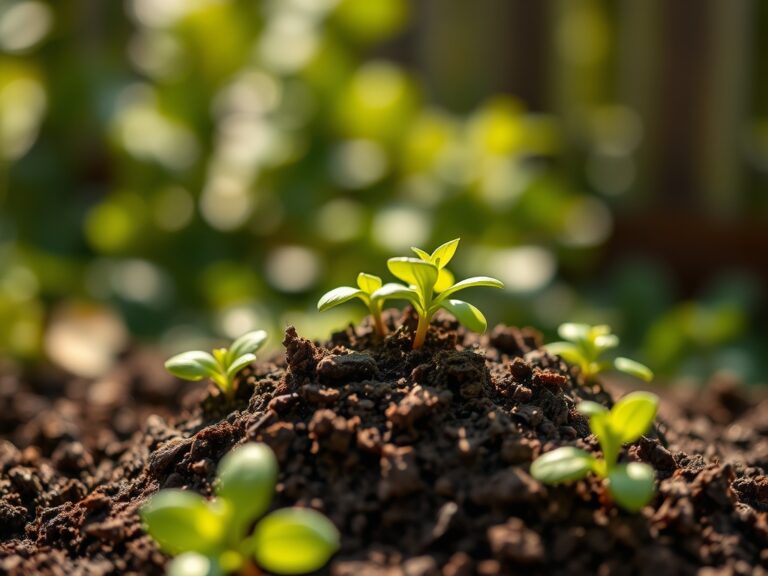
Sowing
Start seeds in a humidity dome at a constant temperature of 75 degrees Fahrenheit. Use a diluted nutrient solution at 200 Parts Per Million (PPM) to prevent osmotic shock to the emerging radicle.
Pro-Tip: Maintain high humidity to prevent the seed coat from hardening. This supports the Biological Why of turgor-driven germination; the internal pressure must exceed the mechanical resistance of the seed hull to allow the hypocotyl to emerge.
Transplanting
Move seedlings into the aeroponic net pots once the secondary roots are at least 2 inches long. Ensure the misting nozzles are positioned 4 to 6 inches below the net pot to prevent direct mechanical damage to the delicate root hairs.
Pro-Tip: Use a seaweed-based extract containing cytokinins during transplant. This supports the Biological Why of apical dominance; cytokinins stimulate lateral bud growth and root cell division, reducing the recovery time from transplant shock.
Establishing
During the first 10 days, set the misting timer to a cycle of 15 seconds on and 5 minutes off. This prevents the roots from drying out while ensuring they are not submerged, which would cause hypoxia.
Pro-Tip: Gradually increase the "off" time as the root mass expands. This utilizes the Biological Why of hydrotropism; roots will grow more aggressively toward the misting source when they experience brief, controlled intervals of moisture searching.
The Clinic:
Physiological disorders in aeroponics happen rapidly due to the lack of a soil buffer. Monitor your system daily for these symptoms.
Symptom: Tip burn on new growth.
Solution: This is often Calcium deficiency caused by low transpiration. Increase airflow with a circulation fan to move the stagnant boundary layer off the leaf surface.
Fix-It: If you see interveinal chlorosis (yellowing between green veins) on older leaves, this is a Nitrogen or Magnesium deficiency. Check the reservoir pH first; if the pH is above 6.5, these elements are locked out. Adjust the pH to 5.8 before adding more nutrients.
Symptom: Slimy, brown roots.
Solution: This indicates Pythium or root rot. The reservoir temperature is likely above 75 degrees Fahrenheit, which lowers dissolved oxygen.
Fix-It: Drop the reservoir temperature to 68 degrees Fahrenheit and add a 3 percent hydrogen peroxide solution at a rate of 5ml per gallon to sterilize the system.
Maintenance:
Aeroponic maintenance is a game of millimeters and seconds. Use a soil moisture meter or a digital hygrometer to monitor the ambient humidity, keeping it between 50 and 60 percent. Clean the misting nozzles every 14 days using a weak citric acid solution to prevent calcium scale buildup.
When pruning, use sterilized bypass pruners to make clean cuts at a 45-degree angle. This minimizes the surface area exposed to pathogens. If you are growing large plants like tomatoes, use a hori-hori knife to occasionally trim the bottom 10 percent of the root mass if it begins to clog the drainage return. Ensure the reservoir is completely flushed and refilled every 7 to 10 days to prevent nutrient salt accumulation, which can lead to a high Electrical Conductivity (EC) reading and root desiccation.
The Yield:
Harvesting in an aeroponic system is cleaner than in soil, as there is no grit to remove. For leafy greens, harvest when the leaves reach a length of 5 to 7 inches. For fruiting crops, harvest when the fruit detaches easily from the pedicel with a slight tug.
To maintain "day-one" freshness, harvest in the early morning when the plant's turgor pressure is at its peak. Immediately place the roots or stems in a chilled nutrient solution at 45 degrees Fahrenheit. This rapid cooling slows down the metabolic rate and delays the onset of senescence. For herbs, keep the root mass attached if possible; this allows the plant to continue drawing on internal moisture reserves during transport.
FAQ:
What is the best droplet size for aeroponics?
The ideal droplet size is between 30 and 80 microns. Droplets larger than 100 microns tend to saturate the roots and limit oxygen. Droplets smaller than 20 microns may not carry enough nutrient weight to sustain the plant.
How often should I run the misting pump?
A standard cycle is 15 seconds of misting every 3 to 5 minutes. During the dark cycle, you can extend the "off" time to 10 or 15 minutes because the plant's transpiration rate significantly decreases without light.
Can I use tap water in my misting kit?
It is not recommended. Tap water often contains chlorine and minerals that create scale in the nozzles. Use Reverse Osmosis (RO) water with a starting PPM of near zero to ensure total control over the nutrient profile.
What happens if the power goes out?
Aeroponic roots dry out in minutes because they lack a growing medium. Always have a battery backup for your pump or a manual spray bottle ready to hydrate the roots every 10 minutes until power is restored.