7 Easy Ways How to Treat Early Blight
Early blight strikes when temperatures climb above 75°F and humidity lingers after summer rains. Dark, concentric rings appear on lower tomato leaves, spreading upward until foliage yellows and drops. The pathogen Alternaria solani overwinters in soil and plant debris, releasing spores that infect new tissue through stomata and wounds. Learning how to treat early blight requires immediate intervention and season-long vigilance. Fungal spores germinate within 48 hours under the right conditions, making early detection critical. This guide covers seven proven methods combining cultural practices, biological controls, and targeted applications to halt disease progression and protect fruit yields.
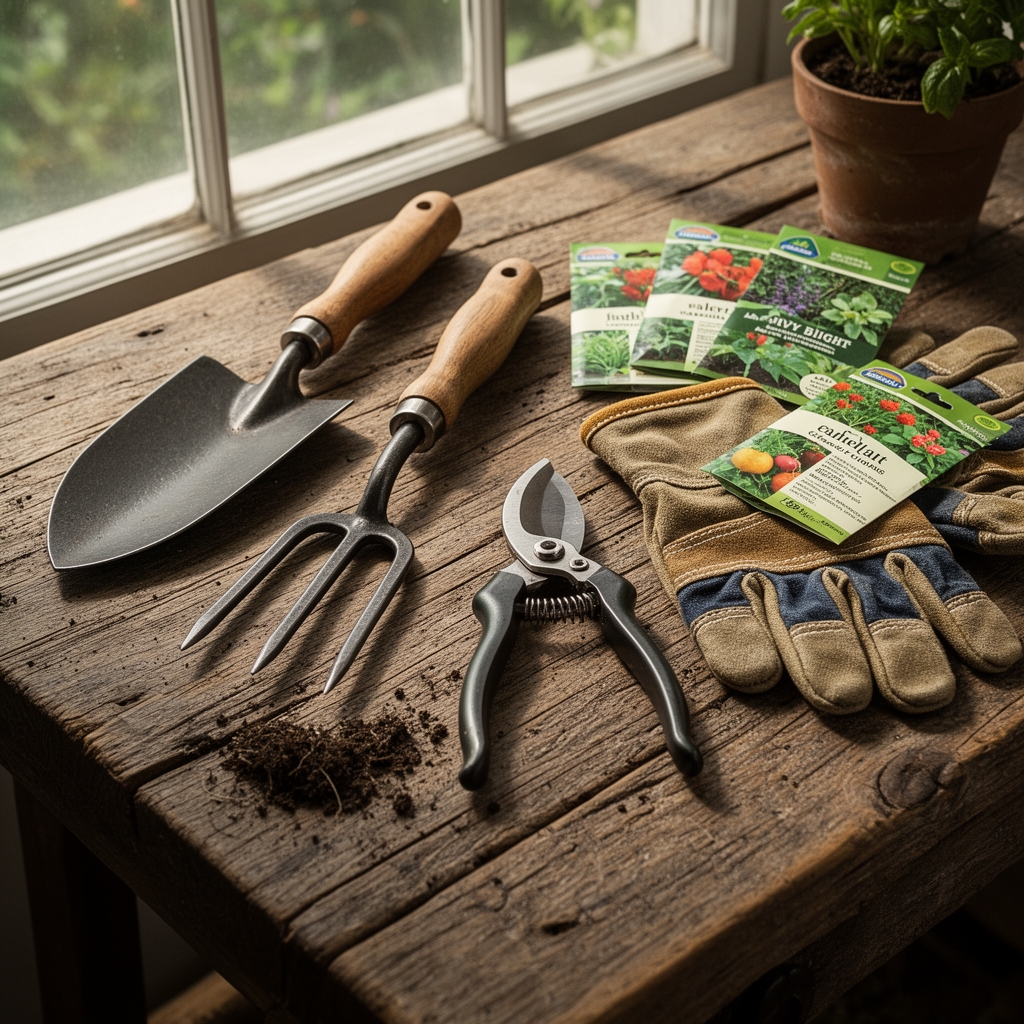
Materials
Begin with a soil test targeting pH between 6.2 and 6.8. Early blight thrives when plants suffer nutrient stress, particularly potassium deficiency. Apply a balanced organic amendment such as 4-4-4 feather meal or 5-5-5 composted poultry manure three weeks before transplanting. Calcium availability directly affects cell wall integrity; incorporate gypsum at 2 pounds per 100 square feet if your cation exchange capacity reads below 10 meq/100g.
For foliar treatment, source copper fungicides labeled with 50-70% metallic copper equivalent. Bacillus subtilis-based biofungicides offer living microbial protection without copper accumulation. Keep neem oil with 70% clarified hydrophobic extract on hand for early-stage applications. Sulfur dust at 90% purity works as a preventative when temperatures stay below 85°F. Stock pruning shears sterilized between cuts using 10% bleach solution or 70% isopropyl alcohol.
Mulch materials matter. Use straw or shredded leaves in 3-inch layers to prevent soil splash, the primary infection route. Avoid fresh wood chips; their high carbon-to-nitrogen ratio (200:1) immobilizes soil nitrogen during decomposition. Drip irrigation tubing or soaker hoses direct water to root zones without wetting foliage.
Timing
How to treat early blight depends on geographic location and microclimate. In USDA Hardiness Zones 5-7, begin preventative applications two weeks after the last spring frost date when nighttime temperatures stabilize above 55°F. Zones 8-10 face year-round risk; monitor when daily highs exceed 75°F and relative humidity tops 90% for six consecutive hours.
Apply first treatments at the flowering stage, when auxin distribution shifts toward fruit development and leaves become more susceptible. Reapply every 7-10 days during wet periods or after overhead irrigation. In arid climates receiving less than 1 inch of rain monthly, extend intervals to 14 days. Stop all copper applications 14 days before harvest to prevent residue accumulation on fruit.
Scout plants every three days starting in early July for northern gardens, May for southern regions. Alternaria solani produces 10,000-20,000 spores per lesion; catching initial lesions before sporulation breaks the infection cycle.
Phases
Sowing and Early Intervention
Start disease-free transplants in sterile potting mix with vermiculite-to-peat ratios of 1:3. Seedlings require 14-16 hours of light daily to develop thick cuticle layers resistant to penetration. Harden off transplants over 10 days, gradually exposing them to outdoor pathogens while building systemic defenses.
Pro-Tip: Inoculate roots with Trichoderma harzianum at transplanting. This beneficial fungus colonizes root surfaces, outcompeting Alternaria and producing enzymes that degrade pathogen cell walls.
Transplanting and Establishment
Space plants 30-36 inches apart to maximize airflow. Prune lower branches up to 10 inches from soil level immediately after transplanting. This single action reduces primary inoculum by 60% according to extension trials. Apply first copper or biological fungicide treatment within 48 hours of transplanting when transplant shock weakens natural defenses.
Water at soil level with 1-1.5 inches per week split into two deep sessions. Morning watering allows foliage to dry by noon, reducing the 6-hour leaf wetness period Alternaria requires for infection.
Pro-Tip: Stake or cage plants at transplanting to prevent future pruning wounds that serve as infection courts. Tie stems at 45-degree angles to horizontal supports using soft cloth strips.
Mid-Season Protection
Remove infected leaves at the first sign of lesions, cutting 1 inch below visible symptoms into healthy tissue. Dispose in sealed bags; do not compost. Continue weekly scouting, examining leaf undersides where lesions first appear as small dark spots with yellow halos.
Alternate fungicide modes of action every three applications to prevent resistance. Rotate between copper, sulfur, and Bacillus products. Apply at 6 AM or after 6 PM when stomata close, reducing phytotoxicity and improving absorption.
Pro-Tip: Foliar feed with potassium sulfate (0-0-50) at 1 tablespoon per gallon every 14 days. Elevated potassium strengthens cell walls and activates pathogenesis-related proteins that resist fungal invasion.
Troubleshooting
Symptom: Concentric rings on leaves with yellow halos, starting on lower foliage.
Solution: Remove affected leaves. Apply copper fungicide at 1-2 tablespoons per gallon, covering leaf undersides thoroughly. Increase mulch depth to 4 inches.
Symptom: Rapid lesion expansion during humid weather.
Solution: Switch to Bacillus subtilis at label rates. These living bacteria colonize leaf surfaces, consuming fungal spores before germination. Improve air circulation by pruning internal suckers.
Symptom: Fruit stem lesions causing fruit drop.
Solution: This indicates advanced infection. Apply fixed copper immediately and increase spray intervals to every 5 days. Remove all ground-level vegetation within 6 inches of stems.
Symptom: Lesions appear despite fungicide applications.
Solution: Check spray equipment calibration. Droplet size should be 200-400 microns for leaf coverage. Add non-ionic surfactant at 0.25% v/v to improve adhesion.
Symptom: Yellowing without lesions in hot weather.
Solution: This suggests potassium deficiency masquerading as disease. Soil test for K levels; apply sulfate of potash at 1 pound per 100 square feet if below 150 ppm.
Maintenance
Water consistently with 1-1.5 inches weekly measured by rain gauge. Inconsistent moisture stresses plants and increases susceptibility. Apply water between 5-8 AM to allow 4-6 hours of drying time before evening humidity rises.
Sidedress with 3-4-6 organic tomato fertilizer at first fruit set, applying 2 tablespoons per plant in a 6-inch ring around stems. Avoid high-nitrogen formulas after flowering; excess vegetative growth creates dense canopies that trap moisture.
Refresh mulch monthly, maintaining 3-4 inch depth. Monitor mycorrhizal colonization by gently excavating feeder roots; healthy associations show white hyphal networks extending 2-3 inches beyond roots.
Remove all plant debris within 48 hours of final harvest. Alternaria solani survives 12-18 months on dead tissue. Solarize beds by covering with clear 2-mil plastic for 6 weeks when soil temperatures reach 110°F at 4-inch depth.
FAQ
When should I start treating early blight?
Begin preventative applications when plants flower and temperatures consistently exceed 75°F. In humid climates, start at transplanting.
Can early blight affect tomato fruit quality?
Defoliation reduces photosynthesis, leading to sunscald on exposed fruit and smaller yields. Severe infections cause stem lesions that girdle fruit stems.
How often should I apply fungicides?
Every 7-10 days during disease-favorable conditions. Extend to 14 days in dry weather with low humidity.
Are organic treatments as effective as synthetic fungicides?
Copper and sulfur provide equivalent control when applied preventatively. Biological controls work best integrated with cultural practices.
Will resistant varieties eliminate the need for treatment?
No variety offers complete immunity. Resistant cultivars reduce disease severity by 40-60% but still require monitoring and intervention during high-pressure periods.