7 Simple Steps to Mix Bone Meal into Soil
The sharp scent of damp humus and the high turgor pressure of a rigid, upright stem indicate a plant with optimal cellular structure. Achieving this level of physiological health requires more than water; it demands targeted phosphorous delivery to the rhizosphere. Learning the precise steps to mix bone meal into soil ensures that slow-release phosphorus and calcium become bioavailable to the root system during critical growth cycles. Without proper integration, these nutrients remain immobile and inaccessible to the plant.
Bone meal is a slaughterhouse byproduct, typically steamed and ground, providing an NPK ratio of approximately 3-15-0. While it offers a small amount of nitrogen, its primary value lies in its high phosphorus content and calcium levels ranging from 12% to 18%. This guide provides the technical framework for soil amendment to maximize floral development and root architecture.
Materials:
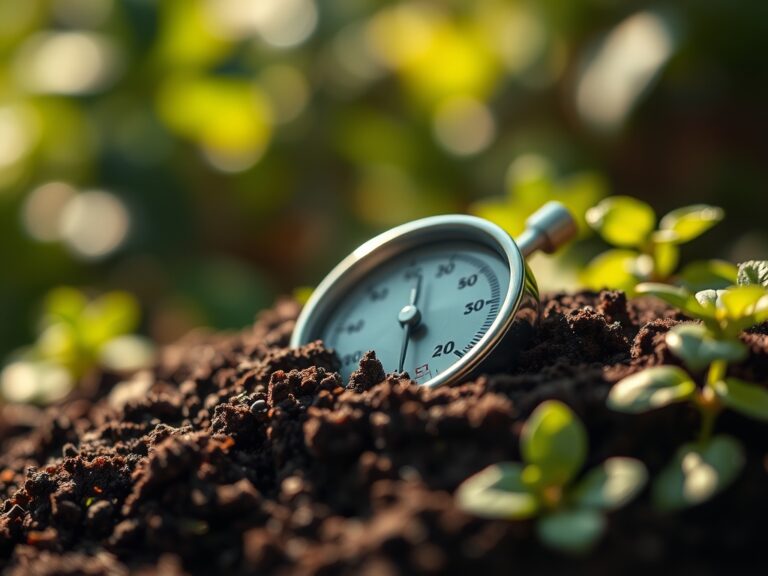
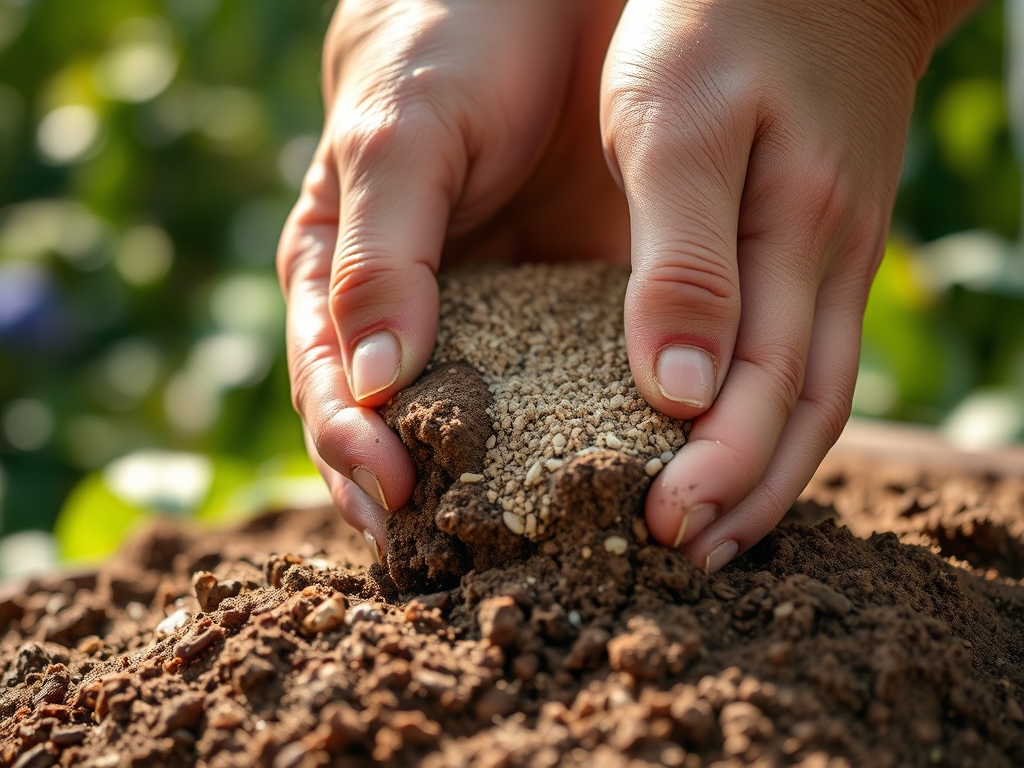
Success begins with a baseline soil analysis. Bone meal is ineffective in soils with a pH above 7.0. In alkaline environments, the phosphorus remains chemically locked and cannot be absorbed by the root hairs. The ideal substrate is a friable loam with a Cation Exchange Capacity (CEC) between 15 and 25 meq/100g.
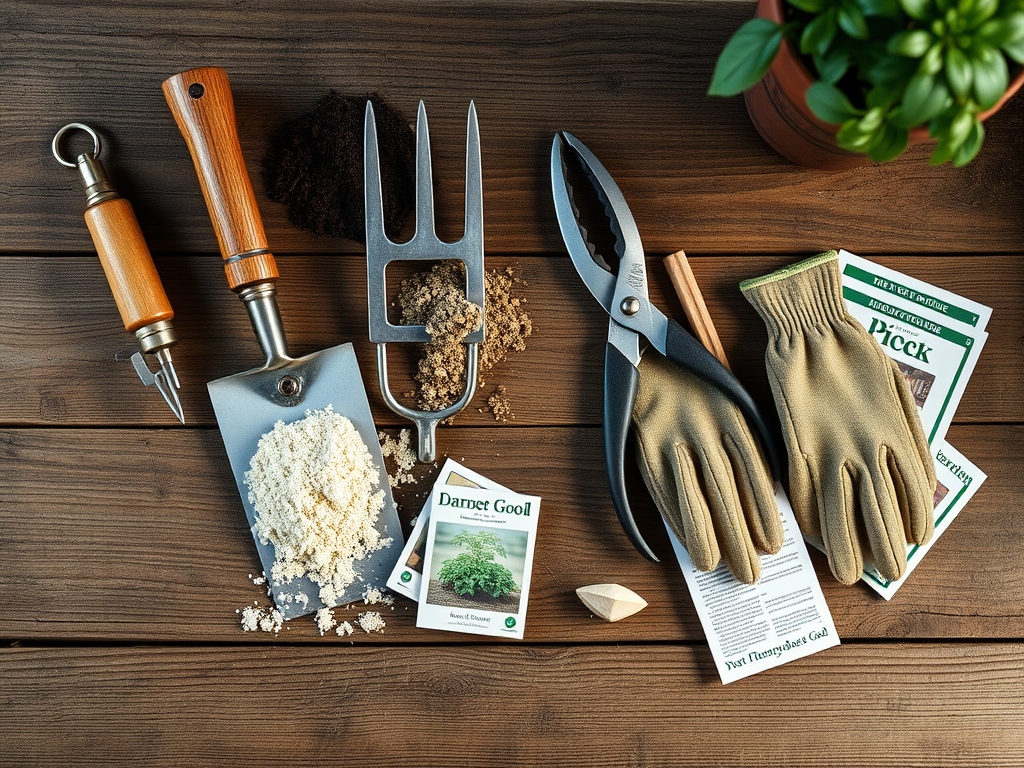
You will need:
- High-quality bone meal: Look for a fine-grind powder to increase surface area for microbial breakdown.
- Soil pH test kit: Ensure the reading is below 7.0 (ideally 6.0 to 6.8).
- Protective gear: A respirator mask is essential to prevent inhalation of fine particulate matter.
- Organic matter: Well-rotted compost to facilitate the microbial activity required to mineralize the bone meal.
Timing:
The biological clock of the plant dictates the application window. In Hardiness Zones 4 through 7, the primary application occurs four weeks before the last spring frost. This lead time allows soil microbes to begin breaking down the complex proteins into plant-available orthophosphates.
For perennial species, the transition from the vegetative stage to the reproductive stage is the critical juncture. Phosphorus is the primary driver of ATP (adenosine triphosphate) production; the energy currency used for flowering and seed set. Apply bone meal when the photoperiod begins to shift or when the first signs of flower primordia appear. Avoid application during late-stage senescence, as the plant's metabolic rate drops too low to utilize the inputs.
Phases:

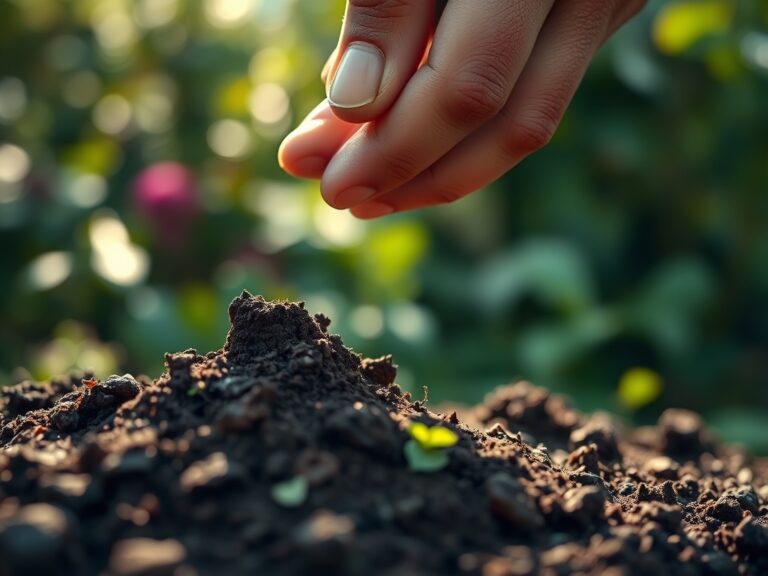
Sowing Seeds
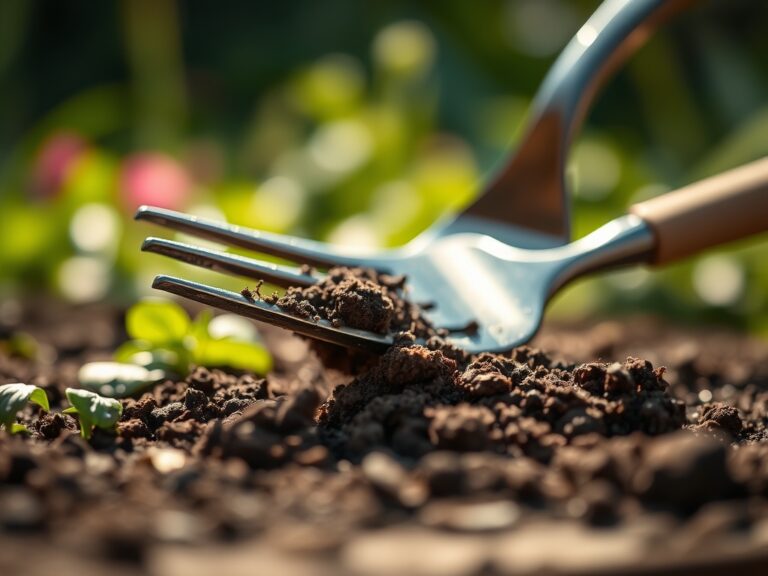
When starting from seed, integrate bone meal into the top 3 inches of the seedbed. Use a rate of 1 pound per 50 square feet. This ensures that as the radicle emerges, it immediately encounters a phosphorus-rich environment to stimulate rapid primary and secondary root branching.
Pro-Tip: Mycorrhizal symbiosis is significantly enhanced by low-to-moderate phosphorus levels. High concentrations of synthetic phosphorus can actually suppress these beneficial fungi; however, the slow-release nature of bone meal encourages a symbiotic relationship that extends the root's reach for water and minerals.
Transplanting
For established starts, excavate a hole twice the width of the root ball. Mix 2 tablespoons of bone meal into the backfill soil. Ensure the amendment is thoroughly incorporated rather than sitting in a concentrated layer at the bottom of the hole.
Pro-Tip: Direct contact between bone meal and the root system prevents "transplant shock" by supporting turgor pressure maintenance. The calcium in bone meal strengthens cell walls, making the plant more resilient to the physical stress of moving from a nursery pot to the field.
Establishing Perennials
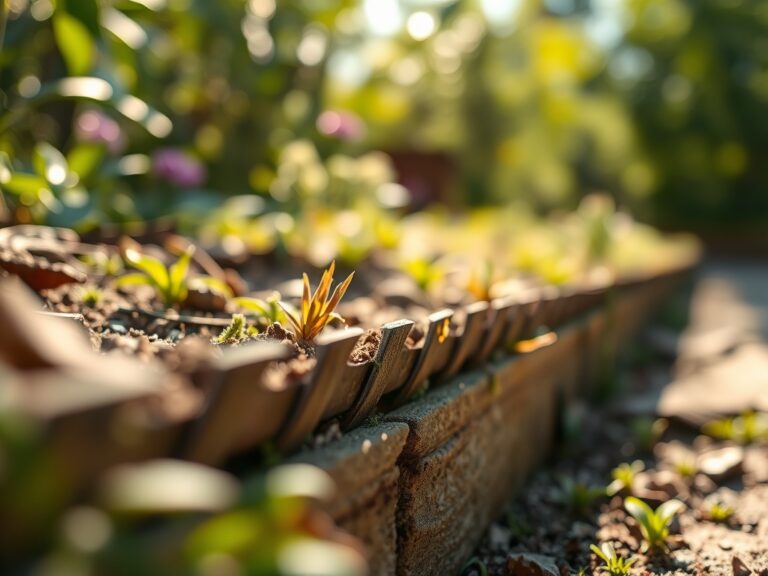
For existing plants, use the "top-dressing" method. Scratch the bone meal into the soil surface around the drip line using a hori-hori knife. Apply at a rate of 1/2 cup per plant for shrubs and 1 cup for small trees.
Pro-Tip: Phosphorus is immobile in the soil profile. Unlike nitrogen, which leaches with water, phosphorus stays where it is placed. By mixing it into the top 2 to 4 inches, you place the nutrient within the active "feeder root" zone, facilitating immediate uptake via active transport.
The Clinic:
Physiological disorders often stem from nutrient imbalances. Use the following diagnostic criteria to identify when your soil chemistry requires adjustment.
-
Symptom: Purpling of older leaves.
- Diagnosis: Phosphorus deficiency. The plant is scavenging phosphorus from older tissues to support new growth.
- Solution: Immediate application of a bone meal slurry or finely ground bone meal worked into the topsoil.
-
Symptom: Blossom End Rot (common in Solanaceae).
- Diagnosis: Calcium deficiency or inconsistent moisture.
- Solution: Mix bone meal into the soil at planting to provide a steady supply of calcium. Maintain consistent soil moisture to ensure calcium transport via the xylem.
-
Symptom: Stunted root systems and weak stems.
- Diagnosis: Low phosphorus inhibiting ATP production.
- Solution: Core-aerate the soil and fill the holes with a mixture of compost and bone meal to deliver nutrients directly to the root zone.
Fix-It: Nitrogen Chlorosis
If plants show overall yellowing (chlorosis), bone meal alone will not solve the issue. While it contains trace nitrogen, you must supplement with blood meal or fish emulsion to restore chlorophyll production.
Maintenance:
Precision maintenance prevents nutrient lockout. Use a soil moisture meter to ensure the substrate remains at a consistent "moist but not saturated" state. For most garden crops, provide 1.5 inches of water per week, delivered at the drip line to avoid foliar fungal pathogens.
When pruning, use sterilized bypass pruners to make clean cuts at a 45-degree angle above a lateral bud. This prevents tissue necrosis and allows the plant to redirect energy toward the roots where the bone meal is being processed. Monitor the soil every six months; a single application of bone meal can remain effective for up to four months depending on soil temperature and microbial density.
The Yield:
Harvesting is the culmination of the phosphorus cycle. For flowering ornamentals, harvest in the early morning when turgor pressure is at its peak. This ensures the stems remain turgid and the vascular system is fully hydrated.
For edible crops like garlic or onions, which benefit immensely from bone meal, harvest when the lower third of the foliage shows signs of senescence. After extraction, cure the bulbs in a shaded, well-ventilated area at 75 to 80 degrees Fahrenheit. This allows the outer tunics to dry, sealing in the nutrients and sugars developed through the season.
FAQ:
How often should I mix bone meal into my soil?
Apply bone meal once per growing season. Because it is a slow-release organic fertilizer, it takes several months for soil microbes to break it down. Over-application can lead to phosphorus runoff and potential zinc or iron deficiencies in the plant.
Can I use bone meal on all types of plants?
No. Avoid using bone meal on acid-loving plants like blueberries, azaleas, or rhododendrons. Bone meal has a slight liming effect and can raise the soil pH, which interferes with the iron uptake required by these specific species.
Does bone meal attract pests or animals?
The scent of bone meal can attract scavengers like dogs, raccoons, or rodents. To prevent this, always thoroughly mix the bone meal into the soil and cover the area with a layer of mulch or compost to mask the odor.
Will bone meal work in cold soil?
Microbial activity significantly slows down in soil temperatures below 50 degrees Fahrenheit. While you can apply it in late winter, the nutrients will not become bioavailable until the soil warms and the indigenous bacteria become metabolically active.