9 Simple Steps to Replace a Rubber Head
The smell of damp earth after a heavy rain signals the peak of turgor pressure within a plant vascular system. Maintaining this hydraulic balance requires precision tools that function without fail. When a dead-blow hammer or a specialized mallet used for driving stakes into compacted clay loses its structural integrity, the rubber mallet head often disintegrates or shears. Mastering the steps to replace a rubber head ensures your equipment remains as reliable as a calibrated soil moisture meter. This process is not merely a repair; it is a restoration of the mechanical force required to manage a high-density rhizosphere without damaging delicate infrastructure.
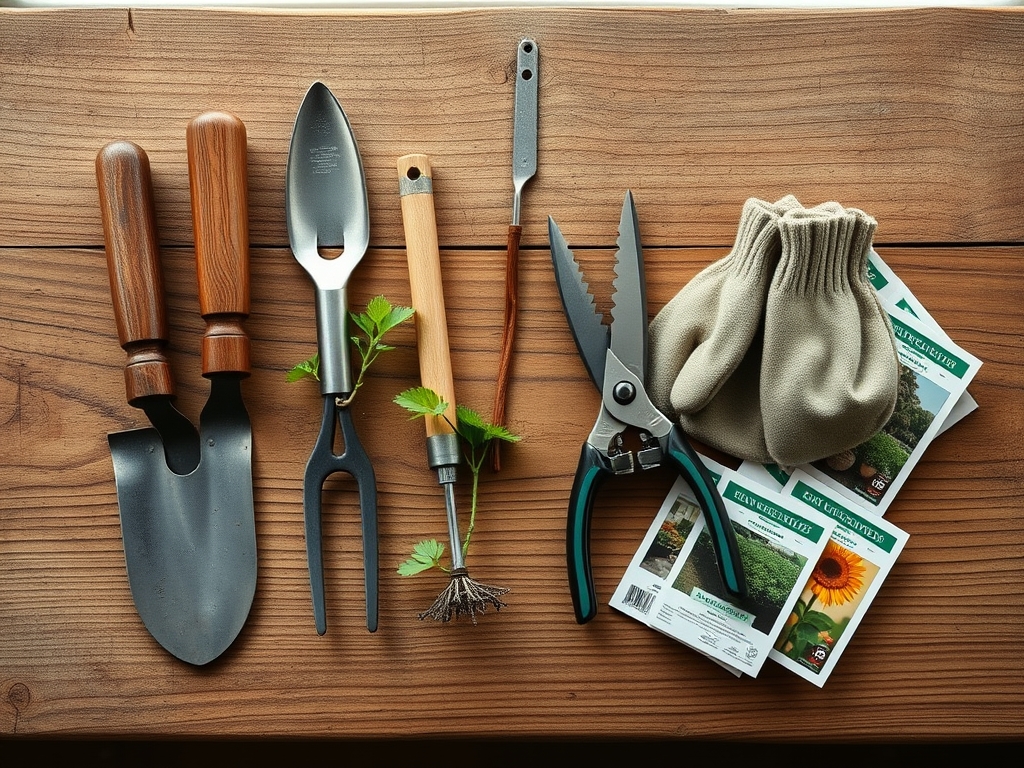
Materials:
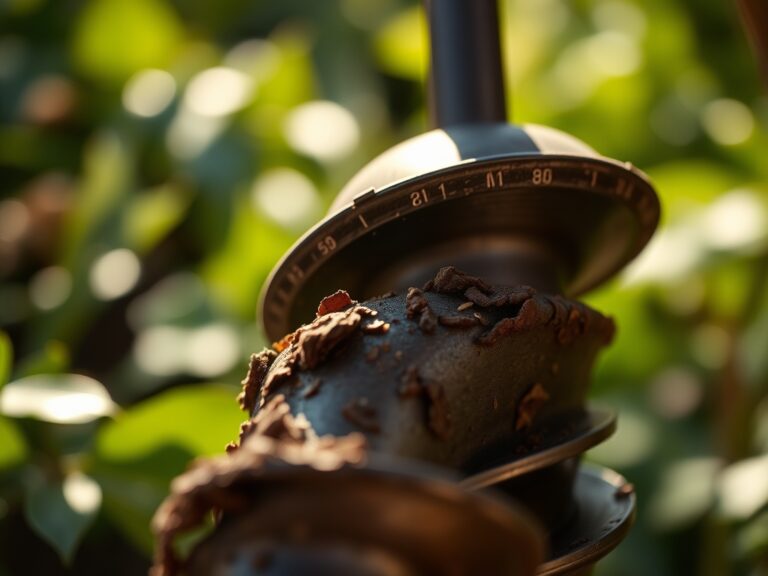
While the mechanical repair requires a replacement rubber head and a bench vice, the environmental context of your workspace dictates the longevity of the tool. A workspace situated near a friable loam substrate with a **pH of 6.5** provides the ideal humidity for rubber preservation. Ensure you have a high-grade polyurethane or vulcanized rubber replacement head. For the surrounding garden beds, maintain a nutrient profile with an **NPK ratio of 10-10-10** to support general vegetative growth. High Cation Exchange Capacity (CEC) in the soil, typically ranging from **15 to 25 meq/100g**, ensures that the minerals required for plant cell wall strength are readily available when you return to the field after the repair.
Timing:
The ideal window for equipment maintenance falls during the dormant season or the transition between the first frost and the spring thaw. In Hardiness Zones 5 through 7, this typically occurs between late November and early March. Performing these repairs during the biological clock period of senescence ensures that your labor does not interfere with critical photoperiod transitions. When the plant enters the reproductive stage, your focus must be on the field; therefore, mechanical overhauls should be completed when the soil temperature remains consistently below 40 degrees Fahrenheit. This prevents the accidental compaction of wet soil that occurs if you use heavy tools during the early spring mud season.
Phases:

Sowing the Mechanical Foundation
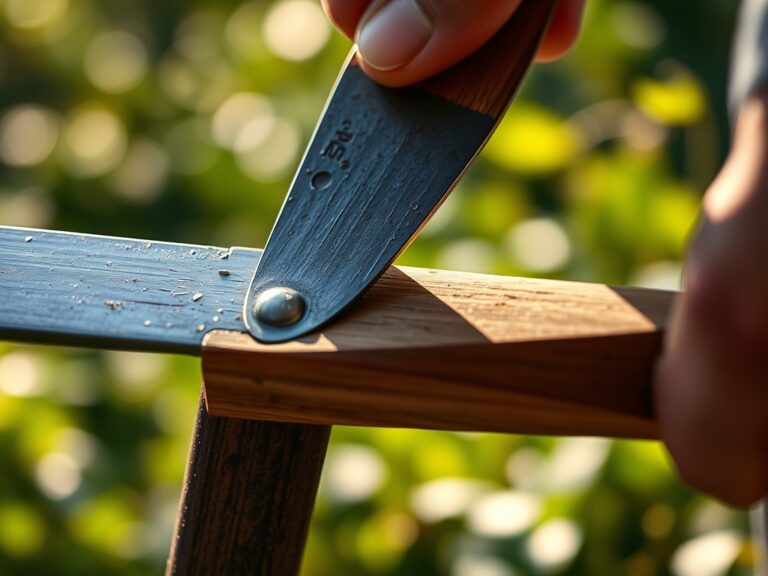
Begin by securing the mallet handle in a bench vice. Use a utility knife to score the remaining rubber material. If the head is friction-fitted, apply a lubricant that does not degrade polymers. Remove the old material completely to expose the mounting nub or the eye of the handle.
Pro-Tip: Just as mycorrhizal symbiosis creates a physical bond between fungi and roots to increase surface area for nutrient uptake, a clean mounting surface increases the friction-bond between the handle and the new head. Removing oxidation ensures a tighter fit.
Transplanting the New Head
Align the new rubber head with the handle axis. If the head requires a press-fit, use a secondary mallet to tap it into place. For threaded versions, ensure the threads are clear of debris. Apply a thread-locking compound if the tool will be subjected to high-frequency vibrations during stake driving.
Pro-Tip: Understanding auxin suppression helps explain why we focus on the tip of the tool. In plants, auxins at the apex control growth direction; in mechanics, the "apex" or head of the tool dictates the direction of force. Proper alignment prevents "glancing blows" that can damage plant stems.
Establishing the Bond
Once the head is seated, perform a stress test by striking a solid, non-marring surface five times with increasing force. Check for any lateral movement or slippage. If the head is secured with a wedge, ensure the wedge is driven flush to prevent the rubber from tearing during high-impact use in heavy clay.
Pro-Tip: This phase mimics phototropism, where a plant adjusts its physical structure to handle environmental stress. By stress-testing the tool, you ensure the mechanical "stem" (the handle) and the "foliage" (the head) act as a single unit under pressure.
The Clinic:
Physiological disorders in the garden often mirror mechanical failures in tools. Use this diagnostic guide to troubleshoot your environment and your equipment.
- Symptom: Interveinal chlorosis (yellowing between leaf veins).
- Solution: This indicates a Magnesium deficiency. Apply Epsom salts at a rate of 1 tablespoon per gallon of water to restore chlorophyll production.
- Symptom: Rubber head cracking or "checking."
- Solution: This is caused by UV degradation. Store tools in a dark, climate-controlled shed. Apply a thin layer of silicone protectant to the rubber once per season.
- Symptom: Nitrogen chlorosis (overall paling of older leaves).
- Fix-It: Apply a high-nitrogen fertilizer with an NPK of 21-0-0 (Ammonium Sulfate) to rapidly increase vegetative biomass and protein synthesis.
- Symptom: Marginal leaf burn.
- Solution: This often results from salt accumulation. Flush the soil with 2 inches of distilled water to leach excess sodium from the root zone.
Maintenance:
Precision in maintenance prevents the need for frequent repairs. For your garden beds, deliver 1.5 inches of water per week directly at the drip line using a soaker hose to minimize evaporation. Use a soil moisture meter daily to ensure the substrate does not drop below 20% volumetric water content. When pruning, use bypass pruners for clean cuts on living tissue to prevent pathogens from entering the vascular system. For weeding in high-density plantings, a hori-hori knife allows you to extract taproots without disturbing the surrounding soil structure or damaging the lateral roots of desirable specimens. Clean all metal tool components with a 3% bleach solution after use to prevent the spread of soil-borne fungi.
The Yield:
Harvesting is the culmination of proper soil management and tool maintenance. For fruiting crops, harvest when the "ground color" shifts from green to the cultivar-specific hue. Use a sharp blade to sever the pedicel; pulling by hand can cause "neck rot" or damage the parent plant. For leafy greens, harvest in the early morning when turgor pressure is at its maximum to ensure the leaves remain crisp. Post-harvest, hydro-cool the produce by submerging it in 40-degree Fahrenheit water for two minutes. This removes field heat and slows the rate of respiration, extending the shelf life by preserving the internal cellular structure.
FAQ:
How do I know if the rubber head is the correct size?
Measure the diameter of the handle mounting point using a caliper. The replacement head internal diameter must match the handle diameter within 0.05 inches to ensure a secure friction fit and prevent dangerous tool slippage during use.
Can I use oil to lubricate the new head during installation?
Avoid petroleum-based oils. These substances cause vulcanized rubber to swell and eventually decompose. Use a water-based lubricant or a specialized silicone spray to assist the fit without compromising the chemical integrity of the rubber polymer.
What is the best soil pH for a general garden?
A pH range of 6.2 to 6.8 is ideal for most vascular plants. This range maximizes the bioavailability of macronutrients like Nitrogen and Phosphorus while preventing micronutrient toxicities that occur in highly acidic or alkaline substrates.
How do I prevent the handle from rotting inside the head?
Ensure the handle is made of kiln-dried hickory or ash. Coat the wood with boiled linseed oil before installing the rubber head. This creates a hydrophobic barrier that prevents moisture from accumulating in the "eye" of the tool.