8 Simple Steps to Clean Drill Bits
The sharp, metallic scent of oxidized steel often clashes with the earthy aroma of damp humus in a well-maintained shed. When you pull a spade or a mechanical auger from the soil, the blade should be slick with moisture and free of the abrasive grit that compromises turgor pressure in delicate root systems. Neglected tools harbor pathogens and reduce mechanical efficiency. Learning the steps to clean drill bits is not merely about aesthetics; it is a fundamental requirement for maintaining the integrity of your horticultural equipment. A bit encrusted with dried sap or mineral deposits creates excessive friction. This heat can cauterize the xylem of a seedling during transplanting. You must approach tool maintenance with the same precision used to calibrate a fertigation system. Clean equipment ensures that every penetration into the rhizosphere is surgical and sterile. By following a rigorous decontamination protocol, you extend the life of your high-carbon steel and prevent the cross-contamination of soil-borne fungi that lead to root rot.
Materials:
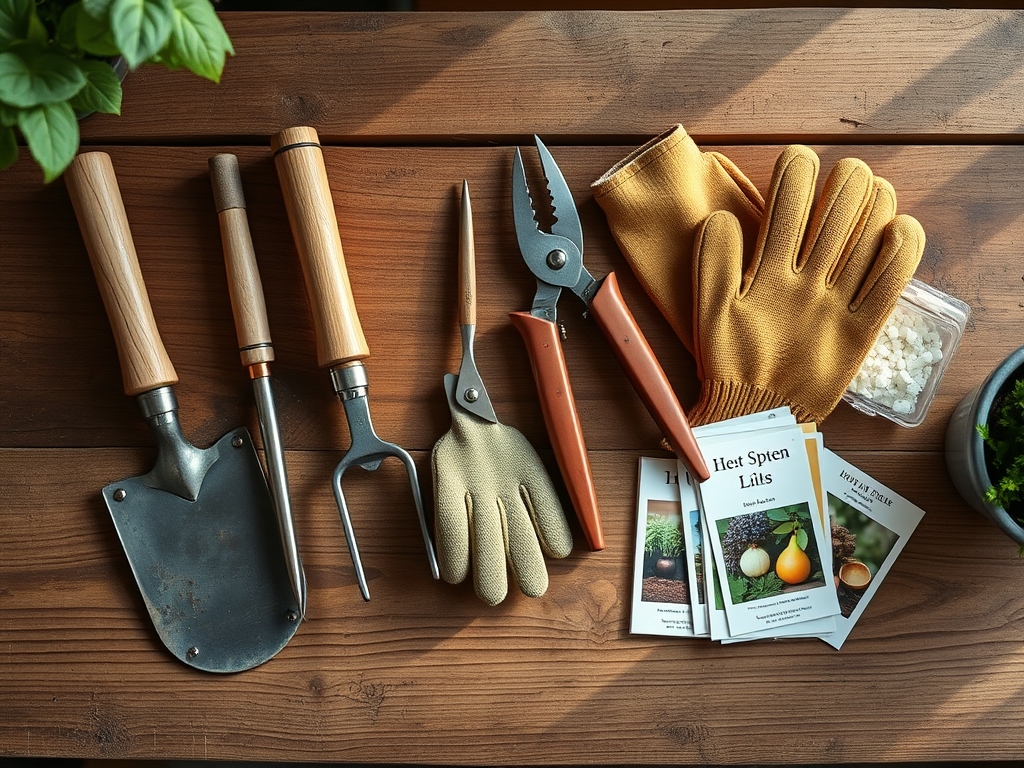
To maintain tools used in a **friable loam** with a **pH of 6.5**, you must select cleaning agents that do not leave phytotoxic residues. The ideal substrate for plant growth often contains high levels of organic matter, which can stick to flutes. You will need a stiff nylon brush and a brass wire brush for stubborn calcification. Prepare a solution of **70 percent isopropyl alcohol** for sterilization. For lubrication, use a food-grade mineral oil to prevent the introduction of petroleum distillates into your **rhizosphere**. If your soil has a high **Cation Exchange Capacity (CEC)**, it likely contains clays that bind tightly to metal surfaces. You may require a mild citric acid bath to break these ionic bonds. Avoid using heavy detergents with high **Nitrogen (N)** or **Phosphorus (P)** concentrations, as these can disrupt the **10-10-10 NPK balance** of your potting medium if they drip into the soil during use.
Timing:
Maintenance must align with the biological clock of your garden. Perform deep cleaning during the dormancy period of late autumn or early winter, specifically after the first hard frost in Hardiness Zones 5 through 7. This is when the plant transition from the reproductive stage to senescence is complete. During the active growing season, a rapid sterilization should occur between every use to prevent the spread of Fusarium or Verticillium wilt. In Hardiness Zones 8 and 9, where the growing season is extended, tools should be inspected every 30 days for signs of pitting or rust. Proper timing ensures that when the spring thaw hits and the soil temperature reaches a consistent 55 degrees Fahrenheit, your equipment is ready for the high-demand period of vernalization and rapid vegetative growth.
Phases:

Sowing
Before utilizing an auger bit to create seed pockets, remove all physical debris. Use a dry cloth to wipe away loose particulates. If the bit was previously used in a heavy clay soil, soak it in warm water for 15 minutes to loosen the aggregates.
Pro-Tip: Clean tools prevent the compaction of the seed bed, which is vital for epigeal germination. A smooth bit surface reduces soil friction, ensuring that the delicate hypocotyl can emerge without navigating compressed soil sidewalls.
Transplanting
When moving starts from a 4-inch pot to the field, the bit must be chemically sterilized. Submerge the bit in the alcohol solution for 60 seconds. This kills pathogens that target the meristematic tissue of young plants.
Pro-Tip: Sterilization prevents the disruption of mycorrhizal symbiosis. Introducing foreign bacteria via a dirty bit can outcompete the beneficial fungi that assist the plant in phosphorus uptake.
Establishing
As the plant enters its secondary growth phase, any tools used for soil aeration or staking must be free of rust. Rust particles can alter the localized soil pH and introduce excess iron that may interfere with the uptake of manganese.
Pro-Tip: Maintaining tool sharpness through cleanliness promotes auxin suppression in weeds while minimizing damage to the lateral roots of your primary crop. A clean cut to a stray root heals faster than a jagged tear.
The Clinic:
Observation of the tool often mirrors the health of the plant. If you notice a white, powdery residue on your drill bits, it may be a sign of powdery mildew spores or calcium carbonate buildup from hard water.
Symptom: Orange or reddish pitting on the metal.
Solution: This is oxidation. Use a fine-grade steel wool to buff the surface until the raw metal is exposed, then seal with oil.
Symptom: Sticky, black residue on the flutes.
Solution: This is likely dried sap or resin. Apply a specialized citrus-based solvent to dissolve the organic compounds without damaging the steel's temper.
Symptom: Rapid dulling of the bit edge.
Solution: This occurs when bits are used in high-silica soils or sandy loams. Sharpen the cutting edge with a diamond file at a 25-degree angle.
Fix-It for Nutrient Deficiencies: If your plants show Nitrogen chlorosis (yellowing of older leaves), ensure your cleaning process hasn't introduced high-carbon wood ash or sawdust into the holes, which can cause nitrogen tie-up during decomposition.
Maintenance:
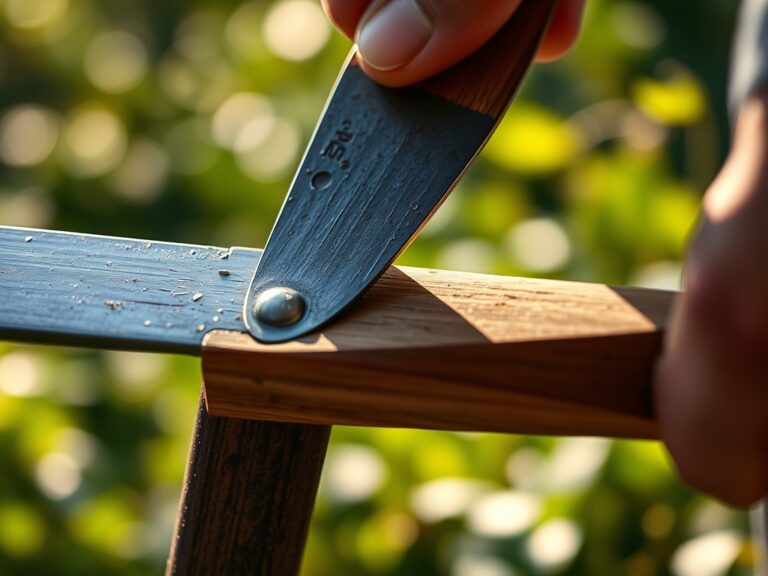
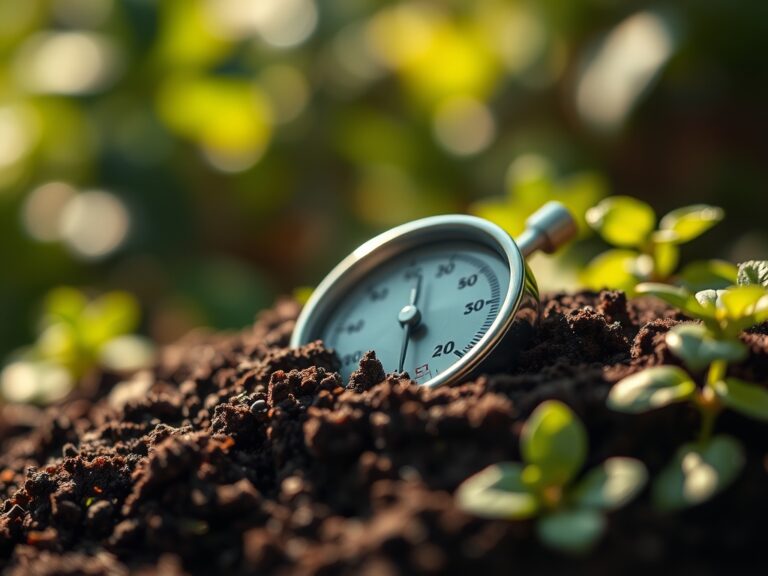
Consistency is the hallmark of a professional horticulturist. After every use, spray the bit with a mixture of water and 3 percent hydrogen peroxide. Wipe it dry immediately with a microfiber cloth. Use a soil moisture meter to ensure you are not drilling into saturated soil, which increases the rate of tool oxidation and soil compaction. For precision work, use a hori-hori knife to scrape away large clods before using a drill-powered auger. Store your bits in a bucket of dry sand mixed with a small amount of vegetable oil. This creates an anaerobic environment that prevents rust. Check the tension on your drill chuck regularly; a loose bit can wobble and damage the vascular bundles of the plants you are working near.
The Yield:
While drill bits are primarily used for preparation, their cleanliness impacts the final harvest. For root crops like carrots or parsnips, a clean, sharp auger creates a vertical path of least resistance. This prevents the "forking" of roots, ensuring a straight, marketable yield. Harvest your crops when the turgor pressure is at its peak, usually in the early morning before the sun induces transpiration. Use bypass pruners to detach the fruit or vegetable from the main stem, ensuring the tool is as clean as the bits used during the planting phase. This prevents the entry of rot-inducing microbes into the parent plant, allowing for continued production or a clean transition into the compost pile.
FAQ:
How often should I clean my bits?
Clean your bits after every session of use. If you are working with diseased plants, you must sterilize the bit between every single hole to prevent the mechanical transmission of pathogens through the rhizosphere.
Can I use bleach to disinfect tools?
Bleach is effective but highly corrosive to high-carbon steel. It can cause pitting and structural weakness. Use 70 percent isopropyl alcohol or a specialized quaternary ammonium disinfectant to ensure tool longevity and plant safety.
What is the best way to remove rust?
Soak the bit in white vinegar for 12 to 24 hours. After soaking, scrub the surface with a brass brush. Neutralize the acid by rinsing in a solution of water and baking soda before applying a protective oil coating.
Why does soil stick to my drill bits?
Soil adhesion is usually caused by high clay content or excessive moisture. Cleaning the bit and applying a silicone-based dry lubricant can reduce the surface tension, allowing the soil to shed more easily during high-speed rotation.