7 Vital Steps to Cut Garden Stone
The scent of wet silt and the high turgor pressure of a well-hydrated hydrangea indicate a garden in peak health. Integrating hardscape elements into this biological system requires more than just brute force; it demands precision to avoid disrupting the delicate rhizosphere of surrounding perennials. Mastering the steps to cut garden stone allows a gardener to define borders and manage drainage without compromising the structural integrity of the soil. When the blade hits the rock, the resulting dust must be managed to prevent it from altering the pH of the immediate substrate. A professional approach ensures that every cut serves both the aesthetic design and the physiological needs of the plant life.
Materials:
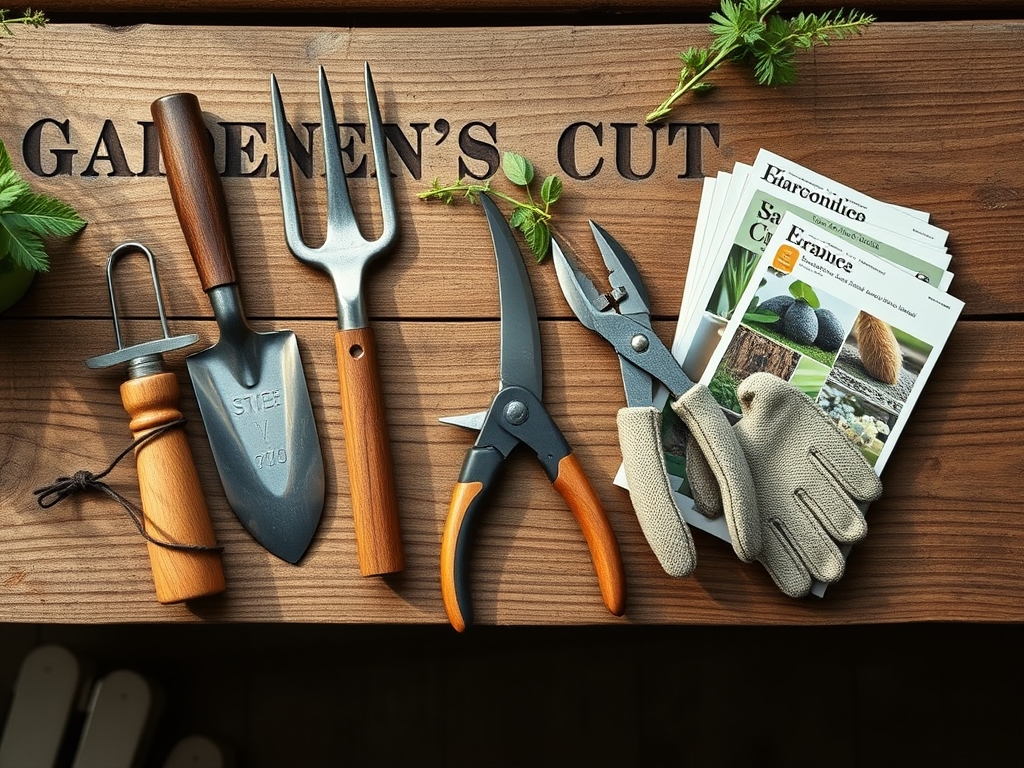
Before altering the hardscape, assess the soil environment. The ideal substrate for surrounding stone is a **friable loam** with a **Cation Exchange Capacity (CEC) between 15 and 25 meq/100g**. This ensures that any runoff from the cutting process does not immediately lock up essential nutrients. Maintain a soil **pH of 6.2 to 6.8** to support microbial activity. If the cutting area sits near heavy feeders, ensure the soil contains an **NPK ratio of 10-10-10** to buffer against the stress of nearby construction. You will need a circular saw with a diamond-tipped blade, a masonry chisel, a three-pound sledgehammer, and a shop vacuum to capture fine particulates.
Timing:
Hardscape modifications should occur during the dormant season or early spring, specifically within Hardiness Zones 4 through 8. Schedule cutting after the last hard frost but before the Biological Clock triggers the transition from vegetative to reproductive stages in your perennials. Cutting stone during the peak photoperiod of mid-summer can lead to heat stress for nearby plants. Aim for a window when ambient temperatures are between 50 and 65 degrees Fahrenheit. This temperature range prevents the saw motor from overheating and minimizes the rapid evaporation of cooling water used during the wet-cutting process.
Phases:

Sowing the Layout
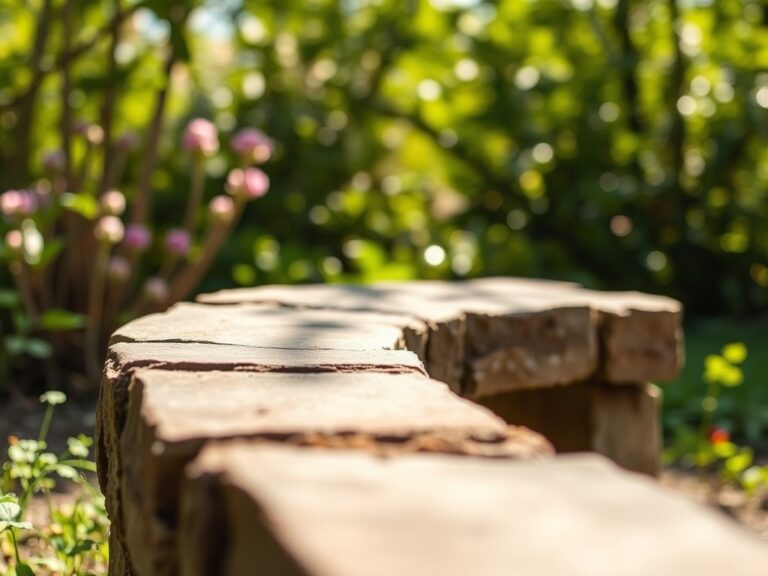
Mark the stone using a grease pencil or chalk line. Ensure the stone is stabilized on a bed of leveled sand or a sacrificial piece of plywood. This prevents vibration that can lead to micro-fractures in the material.
Pro-Tip: Always cut stone away from the drip line of sensitive species. Biological Why: Fine masonry dust can clog the stomata on the underside of leaves, severely inhibiting gas exchange and transpiration.
Transplanting the Cut
Align the diamond blade with the mark and make a shallow "score" cut roughly 1/8 inch deep. This initial pass establishes a guide path and reduces the risk of the blade wandering during deeper passes. Increase the depth by 1/2 inch on each subsequent pass until the stone is severed or thin enough to snap.
Pro-Tip: Use a steady stream of water to cool the blade. Biological Why: Excess heat can transfer to the soil, potentially killing beneficial mycorrhizal fungi that facilitate nutrient uptake in the upper three inches of the soil profile.
Establishing the Edge
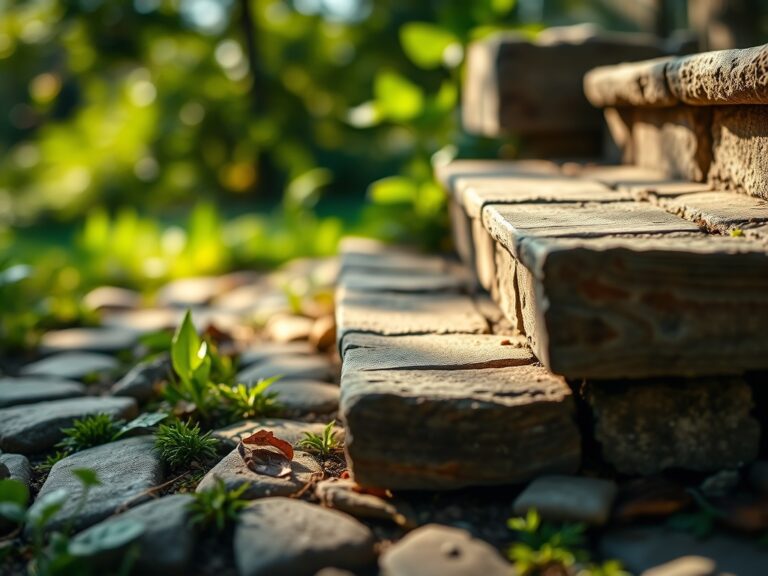
Once the cut is complete, use a masonry chisel to dress the edges for a natural appearance. Smooth any sharp burrs that could damage the soft tissue of low-growing groundcovers or the delicate bark of ornamental shrubs.
Pro-Tip: Backfill the gap between the stone and the soil with organic compost. Biological Why: This suppresses auxin production in weeds by blocking light, while simultaneously providing a slow-release nutrient source for the desired plants.
The Clinic:
Physiological disorders often arise when hardscaping interferes with plant health. Monitor for these specific symptoms during and after your project.
Symptom: Interveinal chlorosis in nearby foliage.
Solution: This often indicates a spike in soil pH due to limestone dust. Fix-It: Apply elemental sulfur or chelated iron to lower the pH back to the 6.5 range.
Symptom: Sudden wilting despite moist soil.
Solution: This suggests root compaction from heavy stone placement. Fix-It: Use a garden fork to aerate the soil around the stone edge, restoring oxygen levels to the rhizosphere.
Symptom: Stunted growth and necrotic leaf margins.
Solution: Potassium deficiency caused by high calcium runoff from certain stones. Fix-It: Amend with sulfate of potash to restore a balanced Cation Exchange Capacity.
Maintenance:
After the stone is set, monitor the hydration levels of the surrounding flora. Use a soil moisture meter to ensure the area receives exactly 1.5 inches of water per week at the drip line. The presence of stone can create a "heat island" effect, increasing the rate of transpiration. Use a hori-hori knife to remove any weeds that attempt to colonize the seams between stones. Inspect the stone edges annually for shifting caused by the freeze-thaw cycle; a shifted stone can crush the crown of a perennial, leading to crown rot or total plant senescence. Keep bypass pruners sharp to remove any scorched foliage that may have been damaged by reflected sunlight from light-colored stone surfaces.
The Yield:
While stone does not produce a harvest, the "yield" is the increased longevity and vigor of the garden beds it protects. Properly cut and placed stone prevents soil erosion, keeping the nutrient-rich topsoil where it belongs. By managing the thermal mass of the stone, you can effectively extend the growing season by 10 to 14 days in the autumn. This allows late-season blooms or vegetables to reach full maturity before the first killing frost. Post-installation, rinse the stone surfaces to ensure no chemical residues leach into the soil during the first rainfall, preserving the "day-one" freshness of the entire ecological site.
FAQ:
What is the best tool for cutting thick garden pavers?
A circular saw equipped with a diamond-segmented blade is the standard. For stones thicker than 2 inches, a gas-powered masonry saw provides the necessary torque to ensure a clean, vertical break without shattering the internal structure.
How do I prevent stone dust from killing my plants?
Utilize a wet-saw attachment or a constant water trickle to keep dust grounded. For dry cutting, use a high-powered shop vacuum at the point of contact and cover nearby foliage with a breathable landscape fabric or plastic sheeting.
Can I cut stone during the winter months?
Cutting is possible if temperatures remain above 32 degrees Fahrenheit. Using water-cooled blades in freezing temperatures creates ice hazards and can cause the stone to crack due to rapid thermal expansion and contraction within the pores.
How deep should I score the stone before snapping it?
Score the stone to at least one-third of its total thickness. For a 3-inch flagstone, a 1-inch deep groove is required. This ensures the break follows the weakened structural line rather than a natural fault in the mineral.