5 Clean Ways How to Design a Minimalist Landscape
The scent of damp, mineral-rich earth signals a high concentration of geosmin, a byproduct of soil-dwelling actinobacteria. When the turgor pressure within a leaf is at its peak, the cellular walls remain rigid and the plant architecture is crisp. This structural integrity is the foundation of modern aesthetics. Learning how to design a minimalist landscape requires a shift from decorative excess to biological precision. It is an exercise in restraint where every specimen serves a functional purpose within the ecosystem. By focusing on a limited palette and geometric clarity, the gardener highlights the raw form of the botanical subjects. Success depends on understanding the underlying soil chemistry and the physiological needs of the chosen species. A minimalist garden is not an empty space; it is a highly controlled environment where the intersection of hydrology, geology, and botany creates a silent, powerful impact. We begin by stripping away the ornamental noise to reveal the essential geometry of the living landscape.
Materials:
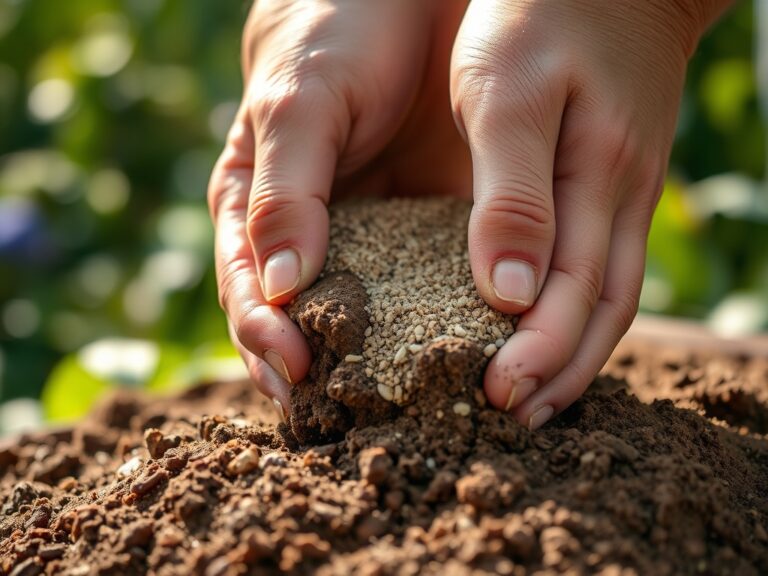
The substrate is the most critical component of a minimalist design. You must establish a **friable loam** that maintains a **Cation Exchange Capacity (CEC) of 15 to 25 cmol/kg**. This ensures the soil can hold and exchange essential nutrients like calcium and magnesium. For minimalist structural plants, target a **soil pH between 6.2 and 6.8** to maximize nutrient bioavailability.
Fertilization must be precise to prevent leggy, non-minimalist growth. Use a slow-release granular fertilizer with an NPK ratio of 10-10-10 for general establishment. For woody perennials that provide the "bones" of the design, a lower nitrogen ratio such as 5-10-10 encourages root development and lignification over excessive foliage. Incorporate 20 percent coarse horticultural sand into the top 8 inches of the soil profile to ensure rapid drainage and prevent anaerobic conditions in the rhizosphere.
Timing:
Minimalist landscapes rely on the structural permanence of perennials and evergreens. In Hardiness Zones 5 through 9, the primary planting window opens when the soil temperature consistently reaches 50 degrees Fahrenheit. This usually occurs 2 to 3 weeks after the last predicted frost.
The biological clock of the plant determines the success of the installation. You must time your planting to coincide with the vegetative growth stage, ensuring the root system is established before the plant enters its reproductive stage or summer dormancy. For deciduous structural elements, late autumn planting is preferred. This allows for root expansion during the winter months when the plant is in a state of senescence, reducing transplant shock and water requirements during the following spring surge.
Phases:

Sowing and Site Preparation
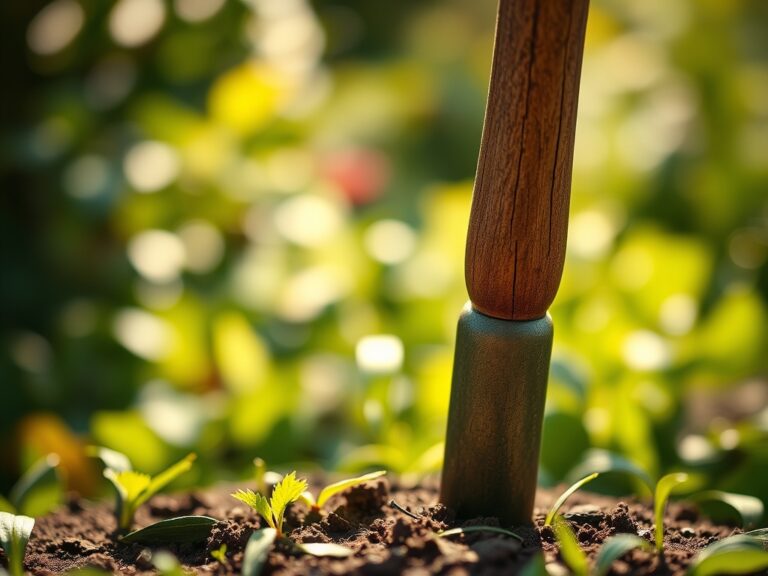
Clear the site of all biomass. Use a mechanical sod cutter to remove existing turf, ensuring you do not invert the soil layers and disrupt the existing microbial colonies. Grade the area to a 2 percent slope away from structures to manage hydraulic runoff.
Pro-Tip: Maintaining soil structure prevents the destruction of mycorrhizal symbiosis. These fungal networks extend the root system's reach by up to 100 times, significantly increasing phosphorus uptake and drought resistance.
Transplanting
When installing specimen plants, dig a hole twice as wide as the root ball but no deeper. The root flare must remain at or slightly above the soil surface. Backfill with native soil to maintain a consistent bulk density, which prevents the "bathtub effect" where water traps around the roots.
Pro-Tip: Proper depth prevents adventitious root growth from the trunk. This ensures the plant maintains its primary architectural form and avoids long term structural instability caused by girdling roots.
Establishing
During the first 90 days, the plant focuses on hydraulic integration. Apply a 3-inch layer of inorganic mulch, such as crushed basalt or river stone, to regulate soil temperature and suppress weed germination. Monitor the turgor pressure of the leaves daily to ensure the vascular system is functioning.
Pro-Tip: Avoid heavy pruning during the establishment phase to prevent auxin suppression. Auxins are hormones produced in the apical meristems that signal the roots to grow. Cutting the tips too early halts root expansion.
The Clinic:
Physiological disorders in a minimalist landscape are highly visible due to the clean lines of the design.
- Symptom: Interveinal chlorosis (yellowing between green veins) on new growth.
- Solution: This indicates an Iron deficiency, often caused by a pH above 7.0. Apply chelated iron and lower the pH using elemental sulfur.
- Symptom: Marginal leaf burn or necrosis on older leaves.
- Solution: This suggests Potassium deficiency. Apply a sulfate of potash supplement to restore osmotic regulation within the plant cells.
- Symptom: Stunted growth and dark purple coloration on the underside of leaves.
- Solution: This is a classic sign of Phosphorus deficiency. Ensure soil temperatures are above 55 degrees Fahrenheit, as cold soils inhibit phosphorus uptake.
- Fix-It for Nitrogen Chlorosis: If the entire leaf turns pale yellow, apply a liquid fish emulsion (2-4-1) for immediate nitrogen availability to restore chlorophyll production.
Maintenance:
Precision maintenance is the hallmark of the minimalist aesthetic. Deliver 1.5 inches of water per week directly to the drip line using a drip irrigation system to minimize evaporation and leaf pathogens. Use a soil moisture meter to verify that the moisture has penetrated 6 to 8 inches deep.
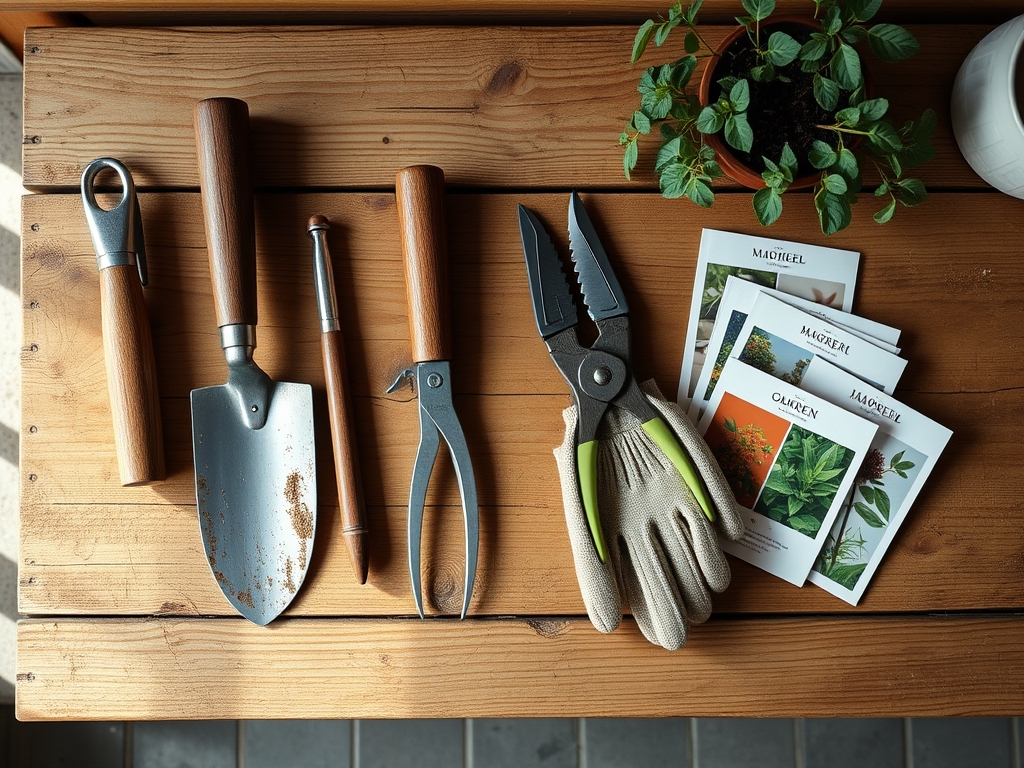
Maintain crisp edges using a half-moon edger or a sharp hori-hori knife for detail work around stones. Pruning must be done with bypass pruners to ensure clean, surgical cuts that heal quickly. Always prune back to a lateral bud or branch collar to avoid leaving "stubs" that invite decay. For monocots like ornamental grasses, shear the foliage to 3 inches above the crown in late winter before the new photoperiod triggers spring growth.
The Yield:
In a minimalist landscape, the "yield" is often the visual harvest of form and texture. If using structural edibles like rosemary or boxwood, harvest during the early morning when cell turgor is at its maximum. This ensures the stems remain rigid and the essential oils are concentrated. For woody stems, use a 45-degree angled cut to maximize the surface area for water uptake if the cuttings are used for indoor arrangements. Post-harvest, submerge the cut ends in 40-degree Fahrenheit water immediately to prevent air embolisms in the xylem.
FAQ:
What is the best mulch for a minimalist look?
Inorganic mulches like crushed granite or pea gravel are superior. They provide a permanent, clean texture and do not decompose. This maintains a stable soil height and prevents the introduction of weed seeds common in organic wood chips.
How many plant species should I use?
Limit your selection to 3 to 5 species. Use mass plantings of a single cultivar to create a sense of rhythm. This repetition simplifies maintenance and ensures that the nutritional requirements across the landscape remain uniform.
Can I use minimalist design in a small space?
Yes. Minimalism excels in small footprints. Focus on verticality and negative space. Use a single focal point, such as a multi-stemmed birch, and surround it with a uniform groundcover to make the area feel expansive and intentional.
How do I prevent weeds without chemicals?
Install a high-grade geotextile fabric beneath your inorganic mulch. This physical barrier prevents weed emergence from the seed bank. For any wind-blown seeds, manual extraction with a hori-hori knife ensures the entire taproot is removed without disturbing the soil.