9 Easy Steps to Install a Roll Down Shade
The scent of damp, loamy earth and the high turgor pressure of a healthy leaf signify a thriving garden, but excessive solar radiation can quickly lead to leaf scorch and cellular collapse. Managing the light environment is a critical component of horticultural success. Learning the steps to install a roll down shade allows a grower to regulate the microclimate, effectively reducing ambient temperatures by up to 15 degrees Fahrenheit. This physical barrier prevents the degradation of chlorophyll during peak afternoon sun. By securing a high density polyethylene (HDPE) fabric to a stable structure, you provide a controlled environment where stomatal conductance remains optimal even during heat waves. This installation is not merely a convenience; it is a structural intervention designed to protect the delicate vascular systems of shade loving species and high value ornamentals from permanent thermal damage.
Materials:

Before mounting the hardware, ensure the surrounding soil is prepared for the structural load. The ideal substrate is a friable loam with a **pH between 6.0 and 7.0**. This ensures that any runoff from the shade material does not alter the chemical balance of the rhizosphere. A high Cation Exchange Capacity (CEC) of **20 to 30 meq/100g** is preferred for the plants beneath the shade to maximize nutrient uptake.
For the installation, you will need:
- Weather-resistant roll down shade fabric (UV-stabilized HDPE).
- Stainless steel mounting brackets to prevent rust contamination of the soil.
- Variable speed drill with masonry or wood bits.
- Spirit level to ensure a horizontal plane.
- Bypass pruners to clear any encroaching vegetation.
- NPK 5-10-5 fertilizer to stabilize root systems of nearby plants post-installation.
Timing:
Installation should occur during the dormant season or early spring, specifically within the window between the last hard frost and the onset of the vegetative growth phase. In Hardiness Zones 5 through 8, this typically falls between late March and early April. The biological clock of most plants triggers a transition from vegetative to reproductive stages as day length increases. By installing the shade before the photoperiod reaches 14 hours of light, you prevent the sudden shock of high intensity radiation during the critical transition to flowering. Monitoring soil temperatures is essential; wait until the soil consistently reaches 50 degrees Fahrenheit at a four inch depth to ensure that any physical disruption to the root zone during installation does not lead to cold stress or stunted development.
Phases:

Sowing the Structural Foundation
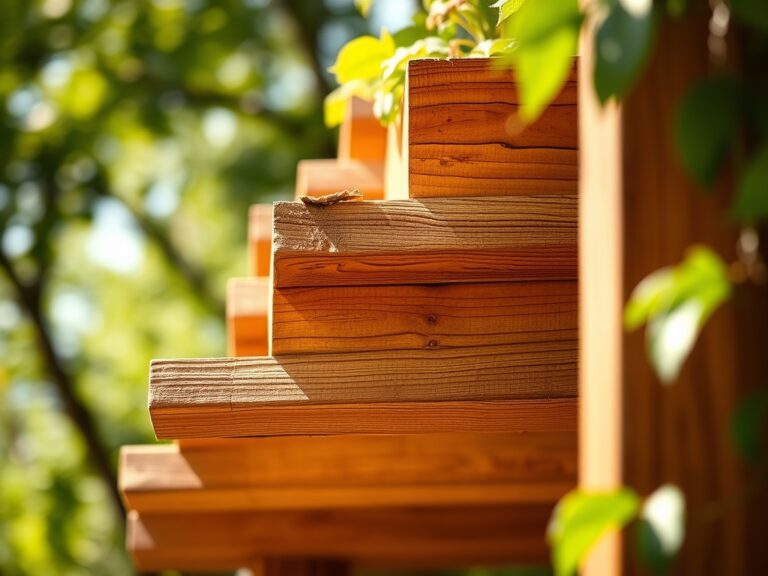
The first of the steps to install a roll down shade involves measuring the aperture of the structure. Use a steel tape to measure the width at the top, middle, and bottom to account for any structural shifting. Mark the bracket locations at least 2 inches from the edge of the frame to prevent wood splitting.
Pro-Tip: Proper alignment prevents uneven tension on the fabric. If the shade is skewed, it creates micro-climates of trapped heat. This prevents localized heat stress and ensures uniform transpiration across the leaf canopy.
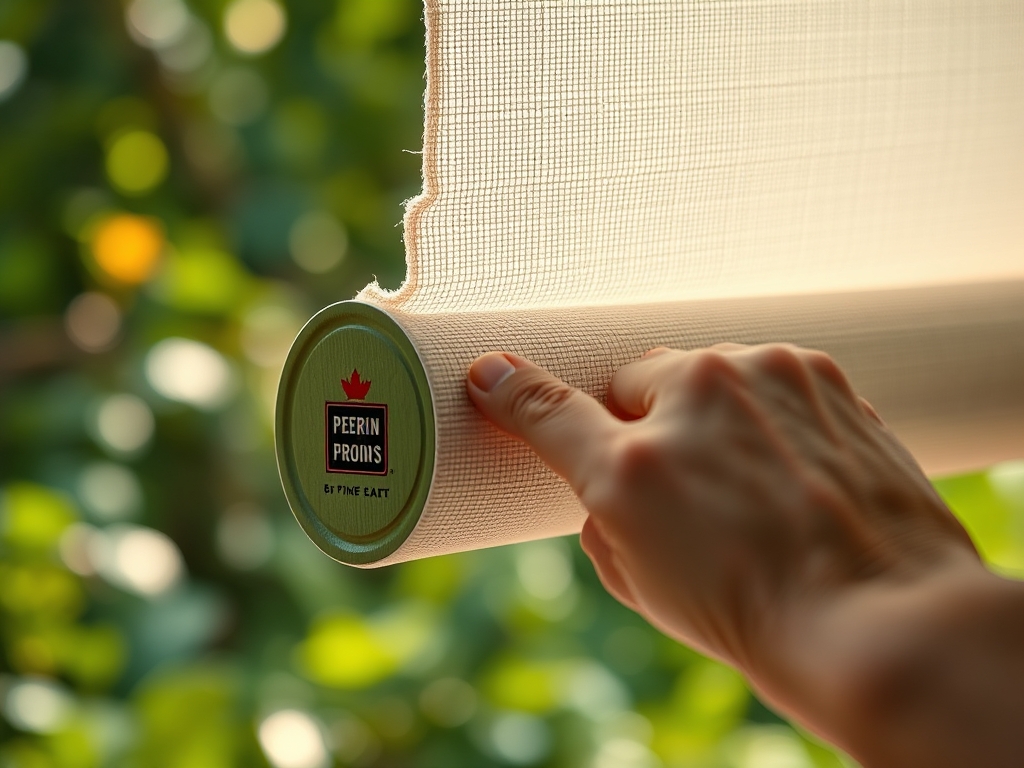
Transplanting the Hardware
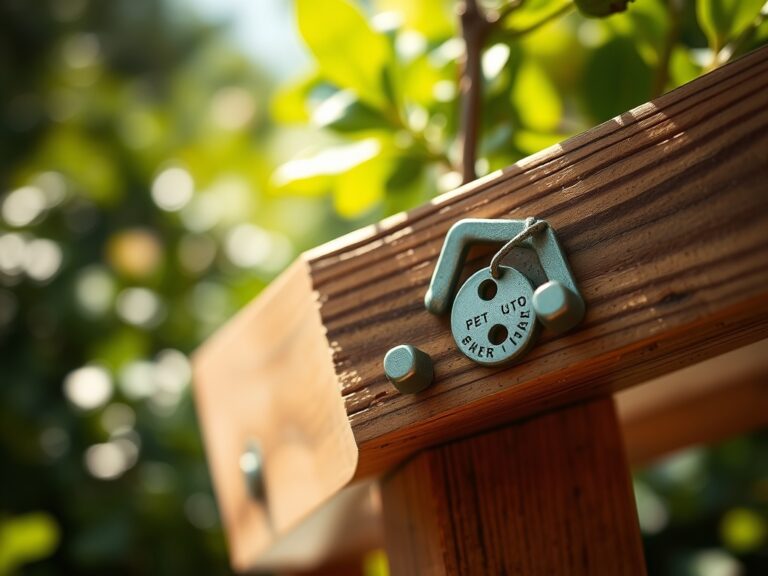
Secure the brackets using 2.5-inch exterior grade screws. If mounting into masonry, use expansion anchors to ensure the weight of the shade does not compromise the wall. Once the brackets are set, lift the roller tube into place and engage the locking mechanism.
Pro-Tip: Ensure the clutch mechanism is on the side of your dominant hand for ergonomic operation. Reducing physical friction during use prevents the release of metallic micro-particulates into the garden beds, maintaining a clean growing environment.
Establishing the Tension
Lower the shade to its full extension and install the tie-down "bungee" clips at the base. These clips are vital for wind resistance. A shade that flaps violently can cause mechanical damage to nearby foliage, leading to opportunistic fungal infections at the site of the tissue tear.
Pro-Tip: Maintaining tension prevents the "sail effect." By stabilizing the fabric, you maintain a consistent boundary layer of air near the plants. This stabilizes the vapor pressure deficit (VPD), allowing the plant to regulate moisture loss more efficiently through its stomata.
The Clinic:
Physiological disorders often arise when light levels are improperly managed. Monitor your plants for these specific symptoms:
- Symptom: Interveinal Chlorosis. The leaf tissue turns yellow while the veins remain green.
Solution: This often indicates a Magnesium deficiency or an iron lockout due to cold soil. Check the shade height; if it is too low, it may be keeping the soil too cool for nutrient transport. - Symptom: Sunscald. Large, tan, papery patches appear on the fruit or leaves.
Solution: Increase the shade density. Ensure the roll down shade is deployed before 11:00 AM to block peak UV-B radiation. - Symptom: Etiolation. Stems become long, weak, and pale.
Solution: The plant is receiving too little light. Retract the shade during morning hours (7:00 AM to 10:00 AM) to allow for blue-spectrum light absorption, which promotes compact, sturdy growth. - Fix-It for Nitrogen Chlorosis: If lower leaves are uniformly yellowing, apply a liquid fertilizer with an NPK of 10-5-5. The shade will help the plant recover by reducing the metabolic demand for cooling, allowing it to divert energy to nitrogen assimilation.
Maintenance:
A roll down shade requires periodic calibration to remain effective. Every six months, inspect the fabric for tears using a hori-hori knife to trim away any frayed edges that might snag the mechanism. Use a soil moisture meter to verify that the shade is not causing the soil to remain oversaturated; shaded areas require roughly 1.25 to 1.5 inches of water per week, delivered directly at the drip line.
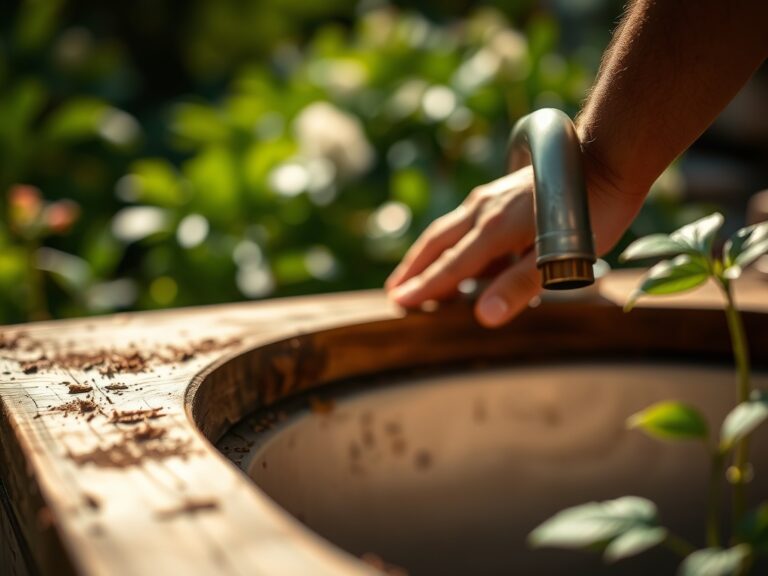
Clean the fabric with a mild, pH-neutral solution to remove dust and pollen. Accumulated debris can harbor pathogens like Botrytis cinerea. Ensure the roller bearings are lubricated with a dry silicone spray to prevent oil drips from contaminating the soil's organic matter.
The Yield:
For those growing leafy greens or cool-season herbs under the shade, the yield is measured by the crispness of the foliage. Harvest during the early morning hours, specifically between 5:00 AM and 7:00 AM, when cell turgidity is at its peak. Use sharp bypass pruners to make clean cuts at a 45-degree angle. Immediately submerge the harvested material in 40 degree Fahrenheit water to remove field heat. This process, known as hydro-cooling, halts the respiration rate and preserves the sugars within the plant tissue, ensuring "day-one" freshness for several days.
FAQ:
How do I choose the right shade percentage?
For most vegetable crops, a 40% to 50% shade cloth is ideal. It filters intense heat while allowing enough Photosynthetically Active Radiation (PAR) for glucose production. Specialist shade plants like ferns may require 70% or higher to prevent cellular bleaching.
Can I install a roll down shade on a slanted beam?
Yes, but you must use a universal joint bracket or a shim to ensure the roller tube remains perfectly level. A non-level installation leads to "telescoping," where the fabric bunches on one side, causing mechanical wear and uneven shading.
Will the shade fabric attract pests?
The fabric itself is inorganic and does not provide a food source. However, the cooler microclimate may attract gastropods like slugs. Maintain a 2-inch gap between the bottom of the shade and the soil to promote airflow and discourage pest colonization.
How do I secure the shade against high winds?
Install bottom rail tie-downs or bungee anchors. These allow for slight flexibility during gusts while preventing the shade from striking the building or plants. Always retract the shade if wind speeds are forecasted to exceed 35 miles per hour.