6 Power Ways How to Maintain a Garden Auger
Damp earth emits a sharp, geosmin-rich scent as the drill bit bites into the substrate. A healthy plant maintains high turgor pressure; its cellular walls remain rigid against gravity because the root system accesses deep moisture. To achieve this consistency, your tools must perform without mechanical resistance. Learning how to maintain a garden auger ensures that every planting hole provides the precise depth and diameter required for optimal root establishment. Neglecting the steel leads to friction heat, which can cauterize delicate root hairs upon contact. Proper maintenance preserves the structural integrity of the flighting, allowing for efficient soil displacement and reduced torque on the power head.
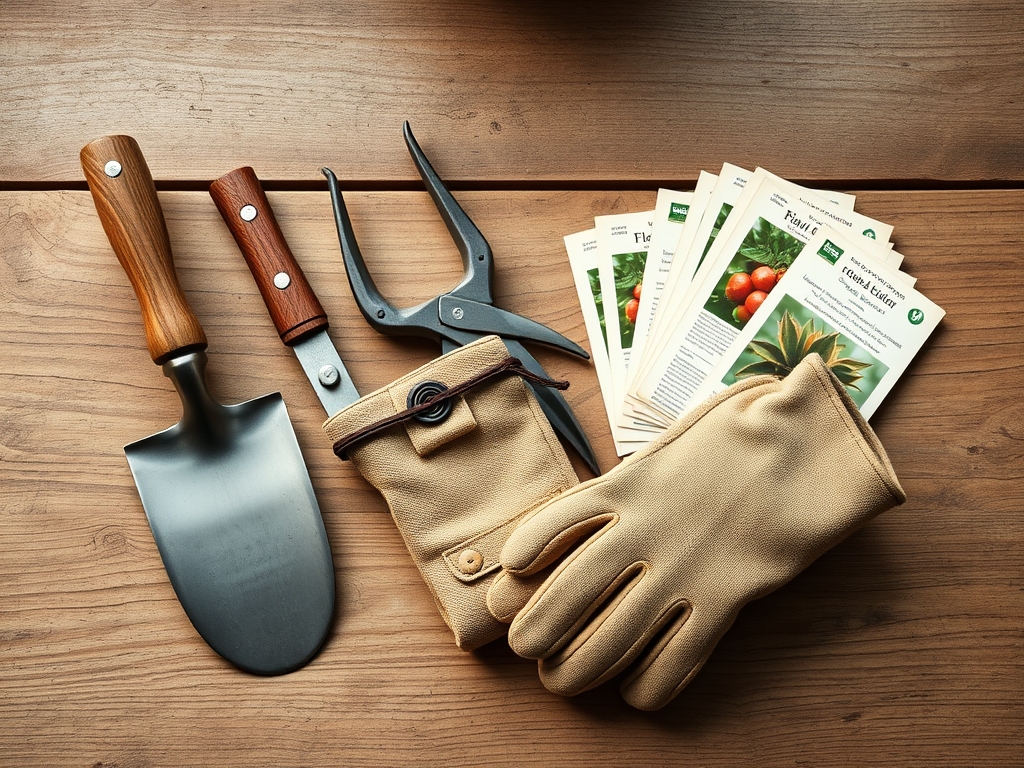
Materials:
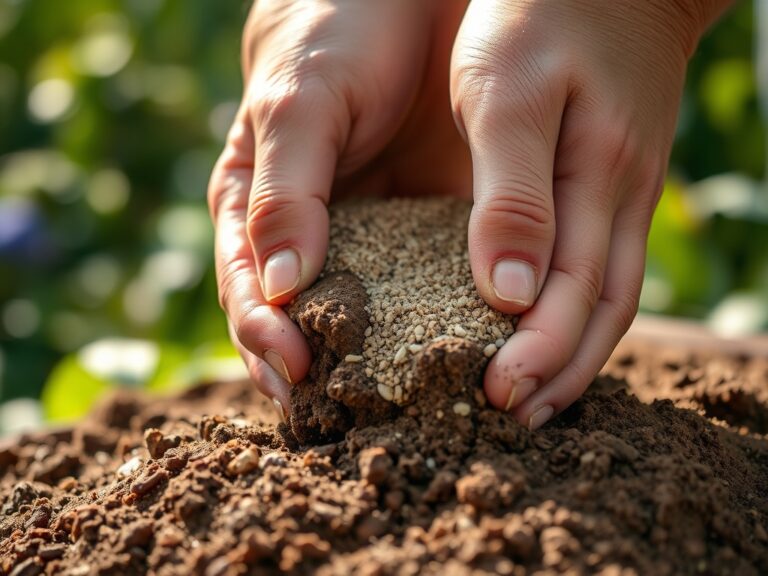
The ideal substrate for auger operation is a **friable loam** with a **Soil Cation Exchange Capacity (CEC) between 15 and 25 meq/100g**. This texture allows the auger to lift soil without excessive clumping or abrasive wear from high-sand content. Before using your auger to amend the soil, ensure your nutrient profile is balanced. For vegetative growth, target an **NPK ratio of 10-5-5** to support nitrogen-heavy leaf development. If transitioning to flowering, shift to a **5-10-10 ratio** to provide the phosphorus and potassium necessary for reproductive success. Maintain a **soil pH between 6.2 and 6.8** to ensure maximum bioavailability of micronutrients like manganese and iron.
Timing:
In Hardiness Zones 5 through 7, the primary window for auger use begins exactly 14 days after the last predicted frost date. Using an auger in frozen or waterlogged soil causes compaction in the rhizosphere, creating a "glazing" effect on the hole walls that prevents lateral root penetration. Observe the biological clock of your specimens; transplanting should occur during the late vegetative stage before the plant initiates senescence or shifts energy toward flower production. For perennials, the ideal window is when soil temperatures consistently reach 55 degrees Fahrenheit, measured at a 4-inch depth using a digital probe.
Phases:

Sowing and Site Preparation
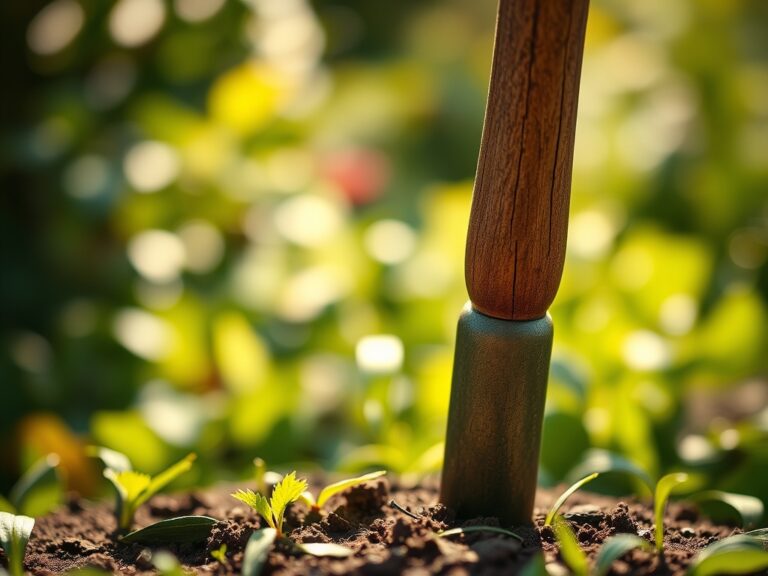
Clear the area of large aggregate rocks that exceed 2 inches in diameter. Position the auger tip vertically to ensure a straight shaft. A vertical bore prevents uneven pressure on the drill chuck and ensures the seedling sits at a uniform depth.
Pro-Tip: Utilize the auger to incorporate mycorrhizal inoculants directly into the backfill. This fosters mycorrhizal symbiosis, where fungal hyphae extend the root system's reach for phosphorus uptake by up to 100 times.
Transplanting
When moving a specimen from a nursery pot, bore a hole twice the width of the root ball. This creates a zone of loosened soil that reduces the energy the plant must expend to overcome mechanical resistance.
Pro-Tip: Avoid smooth-sided holes in clay-heavy soils. Scuff the interior walls with a hori-hori knife after boring. This breaks the "pot effect" and prevents root circling, a physiological disorder where roots fail to move into the surrounding native soil.
Establishing
Once the plant is set, use the auger to mix a slow-release organic fertilizer into the top 3 inches of the surrounding soil. This ensures nutrients move downward through the soil profile via gravity and irrigation.
Pro-Tip: Maintaining a consistent bore depth prevents auxin suppression. If a plant is buried too deep, the stem may rot; if too shallow, the roots are exposed to UV light, which triggers a hormonal response that stunts upward growth.
The Clinic:
Physiological disorders often stem from poor tool performance or soil management.
Symptom: Interveinal chlorosis (yellowing leaves with green veins).
Solution: This indicates a lack of iron or magnesium. Check soil pH; if it is above 7.5, the nutrients are locked. Use the auger to bore vertical drainage "chimneys" around the drip line and backfill with elemental sulfur to lower pH.
Symptom: Leaf curl and stunted terminal buds.
Solution: Check for soil compaction. Use a soil moisture meter to verify if water is reaching the root zone. If the meter reads below 30% at a 6-inch depth, use the auger to aerate the soil around the plant perimeter.
Fix-It for Nitrogen Chlorosis: If lower leaves turn pale yellow, apply a 20-0-0 liquid fertilizer. Ensure the auger is cleaned of all nitrogen salts after use, as these are highly corrosive to carbon steel.
Maintenance:
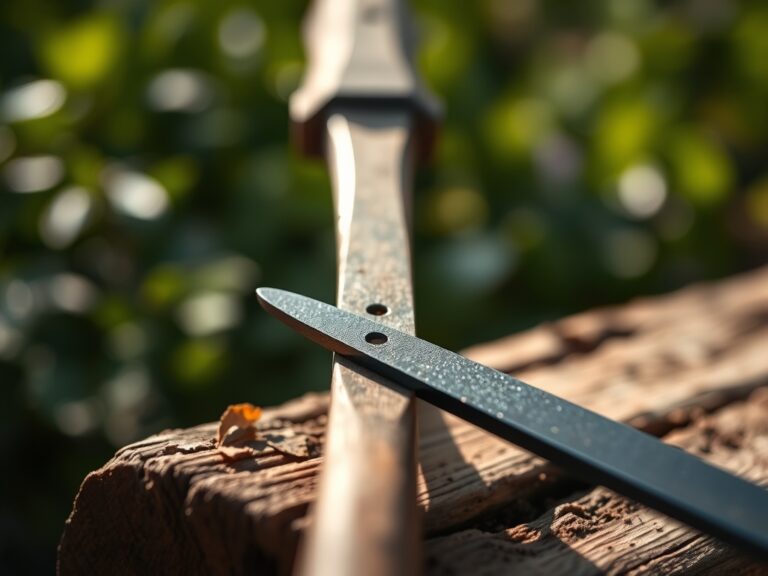
To master how to maintain a garden auger, follow a strict post-use protocol. After every session, scrub the flights with a stiff wire brush to remove all organic matter. Residual moisture trapped in soil particles leads to oxidation and pitting. Apply a thin coat of 3-in-1 oil or WD-40 to the entire steel surface to create a hydrophobic barrier.
Inspect the leading edge of the auger for dullness. A dull blade increases the "kickback" force on the operator and tears through roots rather than cutting them cleanly. Sharpen the edge using a 10-inch mill bastard file, maintaining the original factory bevel. For irrigation, provide 1.5 inches of water per week at the drip line, monitored by a rain gauge. Use bypass pruners to remove any roots that were jaggedly torn during the boring process to prevent pathogen entry.
The Yield:
When harvesting root crops or extracting bulbs, use the auger at a low RPM to loosen the soil 4 inches away from the main stem. This minimizes mechanical damage to the exterior skin of the harvest. For floral yields, cut stems at a 45-degree angle during the early morning when turgor pressure is at its peak. Immediately plunge the stems into 40-degree Fahrenheit water to slow the rate of respiration and preserve "day-one" freshness. For storage, maintain a humidity level of 85% to prevent cellular collapse.
FAQ:
How do I prevent my garden auger from rusting?
Clean the auger with a wire brush after every use to remove damp soil. Wipe the metal with a rag soaked in mineral oil or a silicone-based lubricant. Store the tool in a dry, climate-controlled environment to prevent oxidation.
How often should I sharpen the auger blade?
Sharpen the leading edge every 10 to 15 hours of use, or sooner if you encounter rocky soil. A sharp blade reduces the torque required from your drill and ensures clean cuts through small roots and organic debris.
Can I use a garden auger in heavy clay soil?
Yes, but you must operate at a lower RPM to prevent the motor from overheating. Bore in short 3-inch increments, lifting the auger frequently to clear the flights of heavy, sticky material that increases mechanical drag.
What is the best way to store an auger for winter?
Remove all dirt and grease the shaft and flights thoroughly. If the auger has a pilot bit, ensure it is coated in heavy-duty chassis grease. Store it vertically to prevent the shaft from warping under its own weight over time.