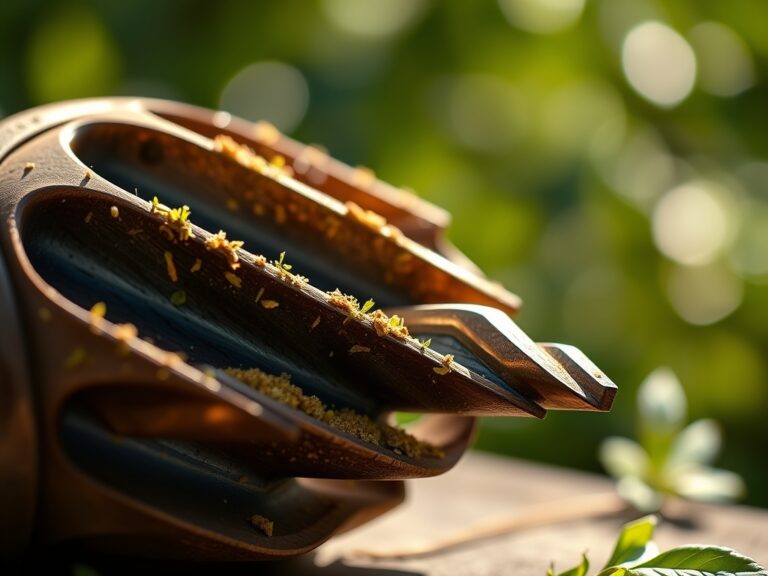
10 Best Anvils for Scythe Peening
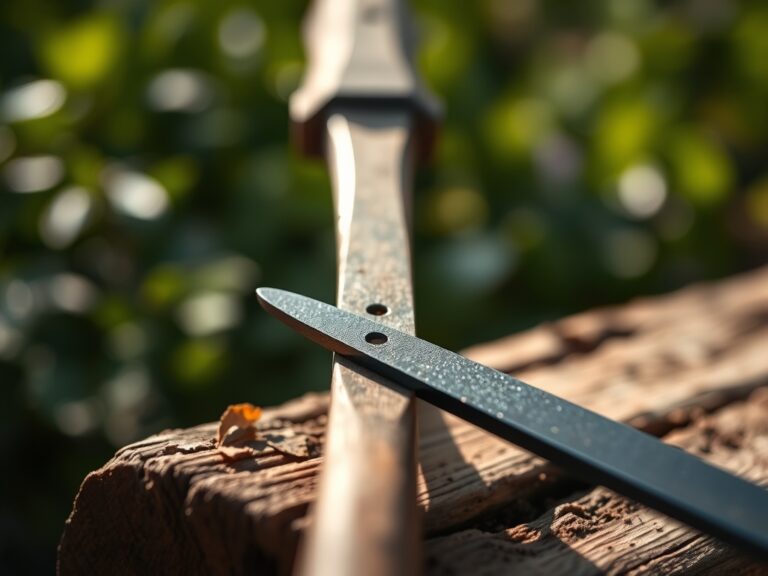
The smell of crushed clover and damp earth signals the height of the haying season; a time when the turgor pressure of the grass is at its peak. Maintaining a razor edge is not a matter of aesthetics but of mechanical efficiency. To achieve a thin, work-hardened edge, selecting the best anvils for scythe peening is the primary technical requirement for any serious land manager. Without a properly cold-forged edge, the blade will tear rather than slice, leading to premature plant senescence and ragged regrowth in the meadow. A scythe blade is essentially a surgical tool for the field. Its performance depends on the molecular realignment of the steel through controlled impact. This process requires a stable, high-carbon steel anvil capable of resisting the kinetic energy of a hammer blow without deformation. When the blade is drawn across the anvil face, the steel is drawn out to a thickness of approximately 0.1 mm, creating a primary bevel that is then finished with a whetstone.
Materials:
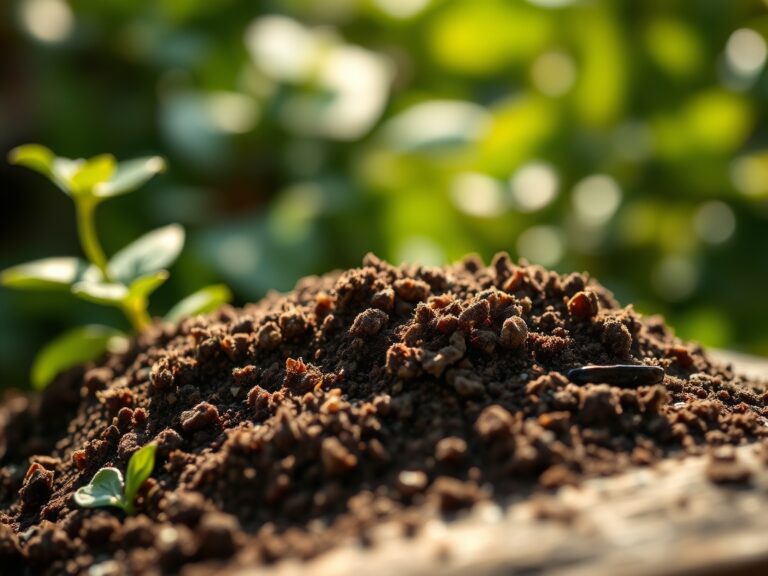
Success in the field begins with the soil substrate where your forage grows. For high-quality hay, aim for a **friable loam** with a **Cation Exchange Capacity (CEC) between 15 and 25 meq/100g**. This ensures the soil can hold essential nutrients like potassium, which regulates stomatal conductance and stalk strength. Maintain a **soil pH between 6.2 and 6.8** to maximize nutrient bioavailability. For established grass stands, an **NPK ratio of 3-1-2** is ideal during the early vegetative phase. Specifically, apply **150 lbs of Nitrogen per acre** in split applications to prevent leaching. The physical texture of the soil should allow for deep root penetration, reaching depths of **12 to 18 inches**, which provides the plant with the structural integrity needed to resist the shearing force of a well-peened blade.
Timing:
Agricultural cycles are dictated by the USDA Hardiness Zones; in Zones 4 through 7, the window for the first hay harvest typically falls between late May and early July. This coincides with the "Biological Clock" transition from the vegetative stage to the reproductive stage. For maximum nutritional density, harvest must occur during the boot stage, just before the inflorescence emerges from the sheath. At this point, the plant has high carbohydrate reserves and low lignin content. Cutting during this window ensures the fastest recovery of the rhizosphere, allowing the root system to push new growth before the heat of late summer. Peening your blade should occur every 10 to 15 hours of heavy mowing to compensate for the abrasive wear caused by silica-rich grass stems.
Phases:

Sowing
When establishing a meadow for scythe work, broadcast seed at a rate of 25 lbs per acre into a firm seedbed. Ensure seed-to-soil contact by rolling the area. The soil temperature must be a consistent 55 degrees Fahrenheit for optimal germination of cool-season grasses.
Pro-Tip: Proper seeding depth is critical because of photomorphogenesis. If seeds are buried deeper than 0.25 inches, the coleoptile may exhaust its energy reserves before reaching the light, leading to a thin, patchy stand that is difficult to mow.
Transplanting
While most forage is direct-seeded, specific medicinal herbs or border plants may be transplanted. Dig a hole twice the width of the root ball to reduce soil compaction. Ensure the crown is level with the soil surface to prevent crown rot.
Pro-Tip: Use a mycorrhizal inoculant during transplanting to foster mycorrhizal symbiosis. This fungal network extends the root system's reach, increasing phosphorus uptake and improving the plant's drought resistance by over 30 percent.
Establishing
During the first 60 days, moisture management is paramount. The soil should remain moist but not saturated to prevent anaerobic conditions in the root zone. Monitor the plants for signs of upright growth and tillering.
Pro-Tip: Avoid early pruning or grazing to allow for auxin suppression in the lateral buds. By letting the central leader grow, you encourage the development of a deep taproot or a robust fibrous root mat, which stabilizes the soil and improves the "cut-ability" of the forage.
The Clinic:
Plant health directly impacts how easily a blade moves through the field.
- Symptom: Interveinal chlorosis on young leaves. Solution: This indicates an Iron deficiency, often caused by a pH above 7.5. Lower the pH using elemental sulfur.
- Symptom: Leaf tip burn and "lodging" (falling over). Solution: This is typically a Potassium deficiency. Apply 0-0-60 potash to improve cellular turgor and stalk rigidity.
- Symptom: Purpling of older foliage. Solution: This signals a Phosphorus deficiency. Check soil temperature; if it is below 50 degrees Fahrenheit, phosphorus uptake is naturally inhibited.
- Fix-It (Nitrogen Chlorosis): If the entire field looks pale yellow, apply a quick-release urea-based fertilizer at a rate of 1 lb of N per 1,000 square feet. You should see a color shift within 5 to 7 days as chlorophyll production resumes.
Maintenance:
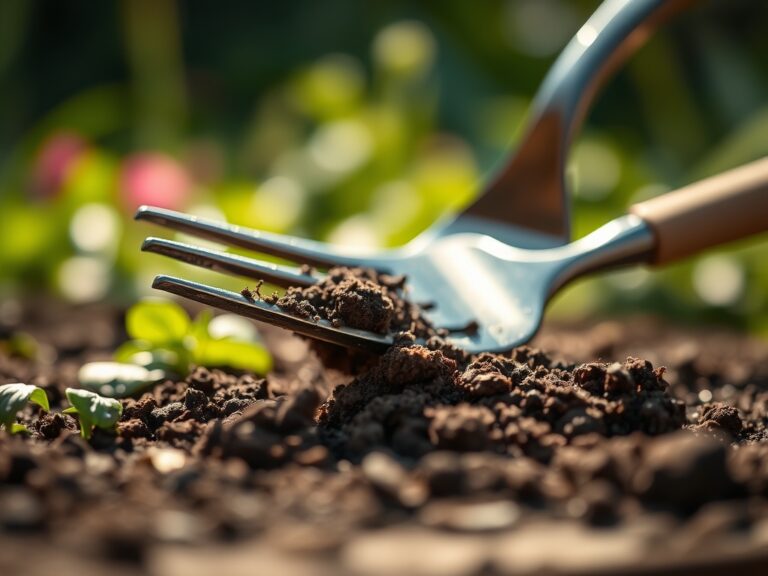
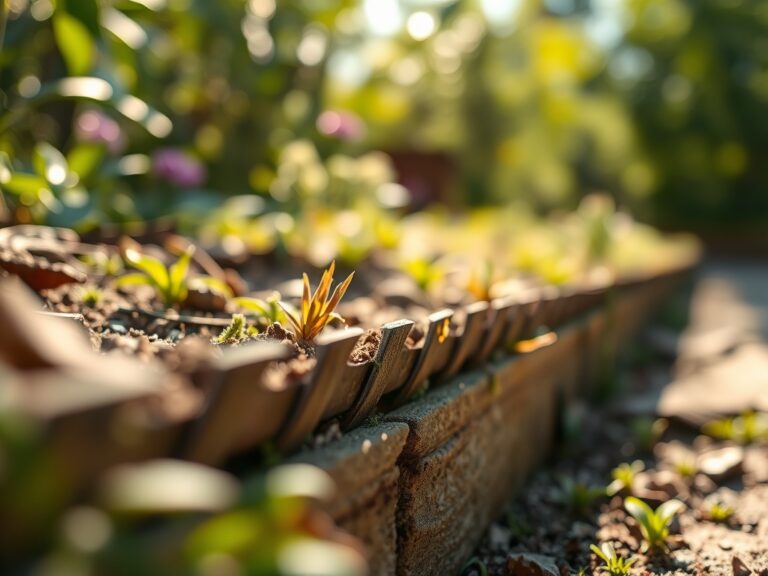
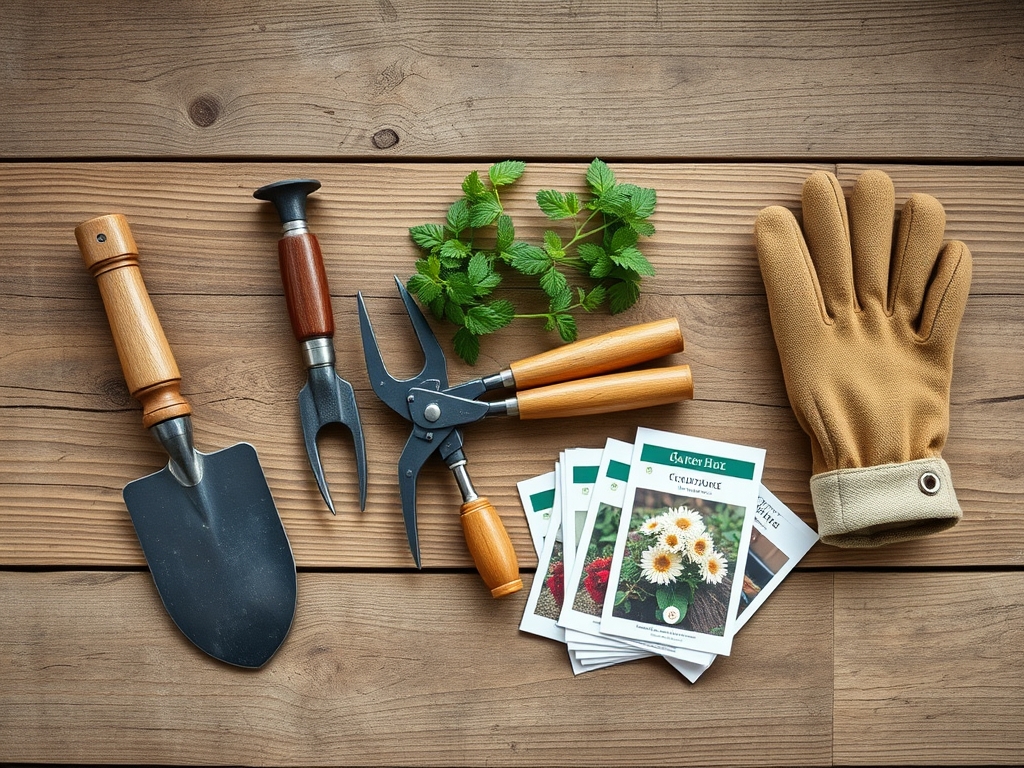
A productive meadow requires rigorous maintenance. Deliver 1.5 inches of water per week at the drip line during dry spells to maintain cellular turgor. Use a soil moisture meter daily to ensure the root zone stays between 60 and 80 percent of field capacity. For weed management, a hori-hori knife is the standard for extracting deep-rooted perennials like dock or thistle without disturbing the surrounding grass. When clearing woody encroachment, use bypass pruners to make clean, slanted cuts that shed water and prevent fungal infection. Keep your peening anvil clean and free of rust; a light coat of camellia oil after each use will prevent pitting on the striking surface.
The Yield:
Harvesting for hay requires a three-day window of dry weather. The ideal time to mow is 6:00 AM, when the dew is still on the grass; the moisture adds weight to the stems, making them easier to slice. After cutting, the grass should be tedded (flipped) to ensure even drying. The goal is to reach a moisture content of 15 percent for safe baling or stacking. For "day-one" freshness in culinary herbs, harvest just before anthesis (flowering) and immediately plunge the stems into 40-degree Fahrenheit water to maintain hydro-cooling and prevent wilting.
FAQ:
What is the best anvil for a beginner?
A farrow-style jig is the most effective anvil for beginners. It uses a guide cap to ensure the hammer strikes at the correct angle, preventing "bossing" or cracking of the steel. This ensures a consistent 3mm peened zone.
How often should I peen my scythe blade?
Peen the blade every 12 hours of actual mowing time. If you hit a stone or a woody stem, inspect the edge immediately. Use a soil moisture meter to ensure the grass isn't too dry, which increases blade wear.
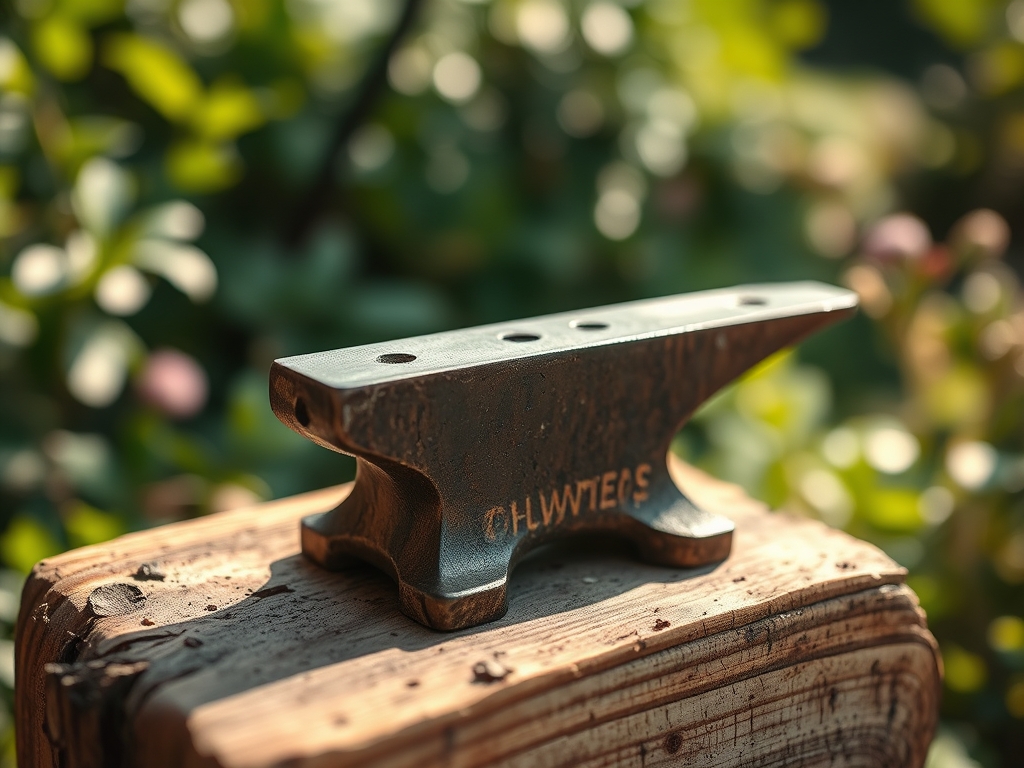
Can I use a standard bench anvil for peening?
No. A standard anvil is too soft and lacks the specific radius needed. Scythe anvils are hardened to 55-60 HRC and feature a narrow, curved face to move the metal outward toward the edge without thinning the spine.
Why does my blade edge keep cracking?
Cracking is usually caused by "over-peening" or working the metal when it is too cold. Ensure the ambient temperature is above 60 degrees Fahrenheit. Excessive force on a narrow anvil face can cause the steel to become brittle and fracture.