9 Vital Steps to Taking Plant Cuttings
The smell of damp peat and the crisp snap of a stem with high turgor pressure define the start of successful propagation. Mastering the steps to taking plant cuttings requires more than a casual interest; it demands an understanding of cellular biology and hormonal regulation. When you sever a stem, you are forcing the plant to transition from vegetative growth to adventitious root formation. This process relies on the presence of undifferentiated cells at the node and the careful management of moisture to prevent vascular collapse. Success is measured in the callus formation and the subsequent emergence of white, fuzzy root hairs that signal a healthy rhizosphere. You must act with precision, ensuring every cut is clean to avoid crushing the xylem and phloem tissues. By following a rigorous protocol, you can replicate genetic clones of your most vigorous specimens with high efficiency. This guide provides the technical framework needed to move from amateur experimentation to professional-grade horticultural success.
Materials:
The substrate is the foundation of the propagation environment. You need a friable medium that balances aeration with moisture retention. A standard mix consists of **50 percent perlite and 50 percent peat moss or coconut coir**. This ensures a low Cation Exchange Capacity (CEC) initially, which prevents salt buildup around sensitive new cells. The ideal soil pH for most cuttings ranges between **5.5 and 6.5**.
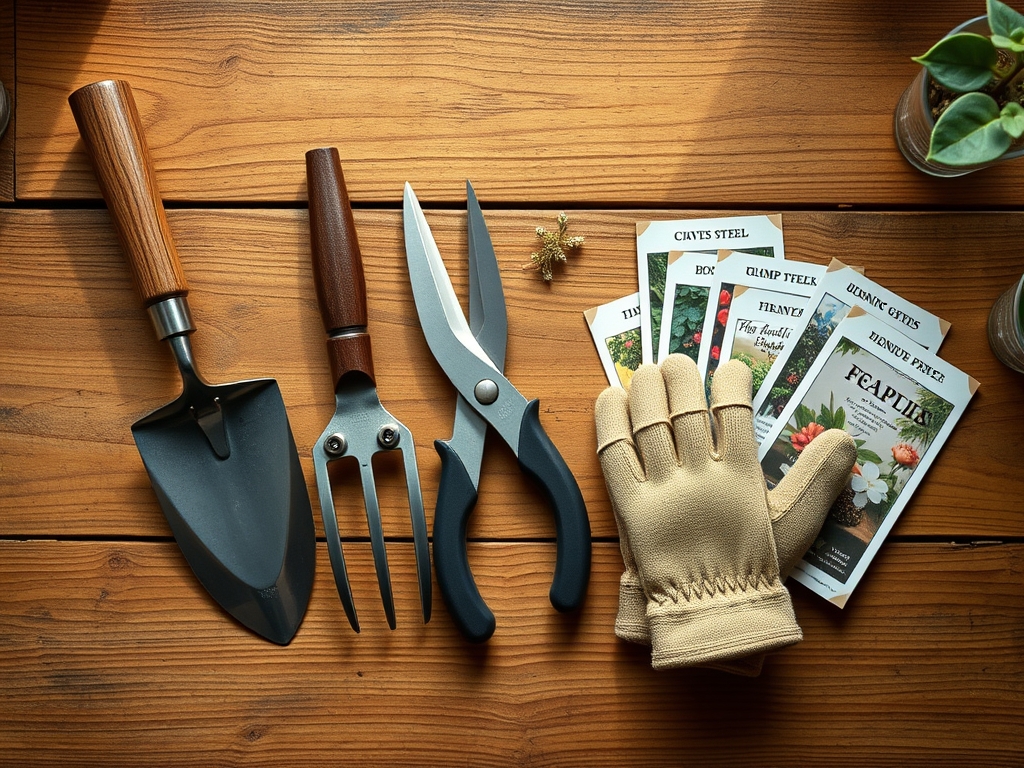
Avoid heavy fertilizers during the initial rooting phase. High nitrogen levels can stimulate soft, vegetative growth that is susceptible to fungal pathogens. Instead, focus on a low NPK ratio such as 0-5-0 (Phosphorus only) if using a starter solution, though most cuttings root best in a nutrient-neutral medium until the first true leaves appear. Phosphorus encourages root development without forcing premature foliage. Your tools must be surgical: a sharpened hori-hori knife or bypass pruners sterilized with 70 percent isopropyl alcohol to prevent the transmission of tobacco mosaic virus or other systemic pathogens.
Timing:
Timing is dictated by the biological clock of the parent plant and your local Hardiness Zone. For those in Zones 5 through 7, the window for softwood cuttings usually opens between late May and early July. This is when the plant is in a state of rapid vegetative growth and auxin levels are naturally high. Hardwood cuttings are best taken during the dormant season, typically six weeks before the last frost date.
The transition from vegetative to reproductive stages is critical. Once a plant shifts its energy toward flowering (senescence of the growth tip), the success rate for cuttings drops by as much as 60 percent. Always take cuttings in the early morning when turgor pressure is at its peak. This ensures the cells are fully hydrated, reducing the risk of immediate wilting. Monitor the photoperiod; plants require at least 12 to 14 hours of light to maintain the metabolic activity necessary for root initiation.
Phases:
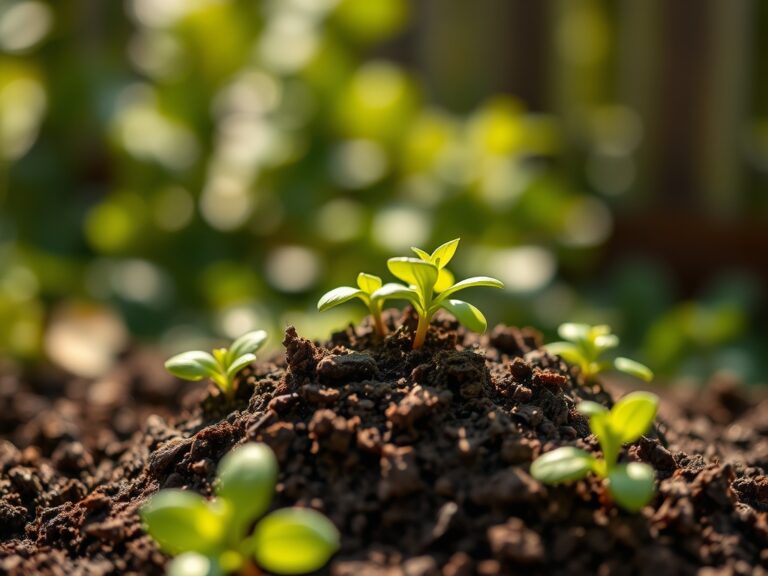
Sowing and Preparation
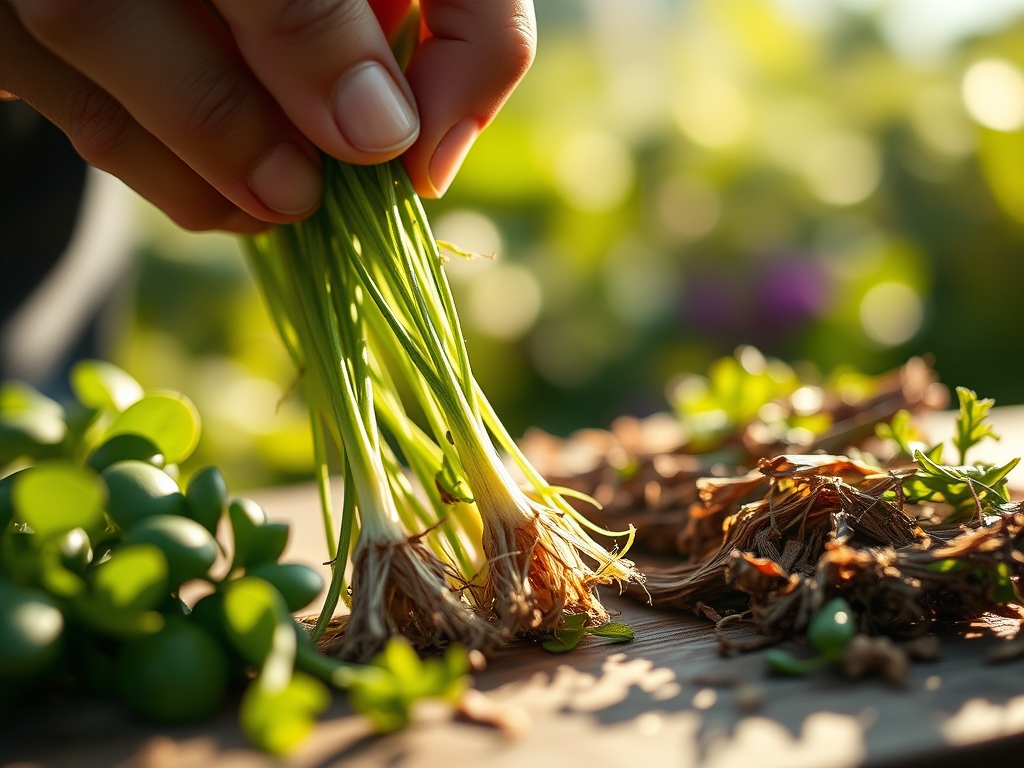
Select a healthy lateral shoot rather than the terminal leader. Make a diagonal cut at a 45-degree angle approximately 0.25 inches below a node. This increases the surface area for water uptake and exposes the maximum amount of cambium tissue. Remove the lower leaves to prevent them from rotting in the substrate, leaving only two or three leaves at the apex to drive photosynthesis.
Pro-Tip: Dip the basal end in an indole-3-butyric acid (IBA) rooting hormone. This synthetic auxin mimics the plant's natural signals to suppress apical dominance and trigger the differentiation of parenchyma cells into root tissue.
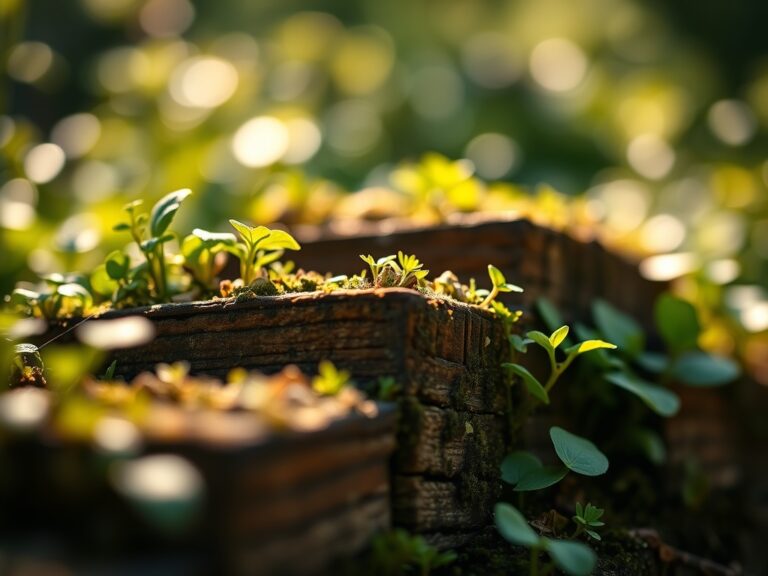
Transplanting and Rooting
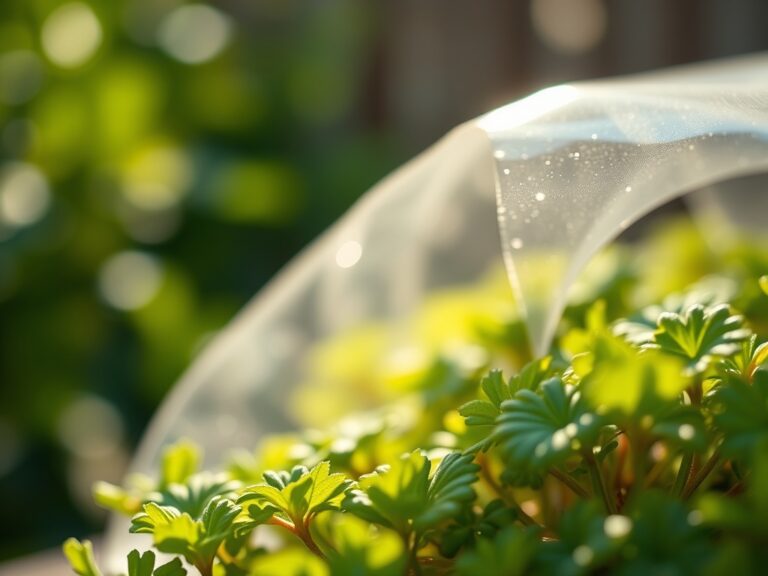
Place the cutting into the pre-moistened substrate. Ensure the node is buried at least 1 inch deep. Maintain a consistent ambient temperature of 70 to 75 degrees Fahrenheit. Use a humidity dome to keep relative humidity above 85 percent. This prevents transpirational pull from exceeding the cutting's limited water uptake capacity.
Pro-Tip: Use bottom heat via a propagation mat. Increasing the temperature of the rhizosphere by 5 to 10 degrees above the air temperature accelerates cellular division and prevents the cutting from diverting energy to foliage before the root system can support it.
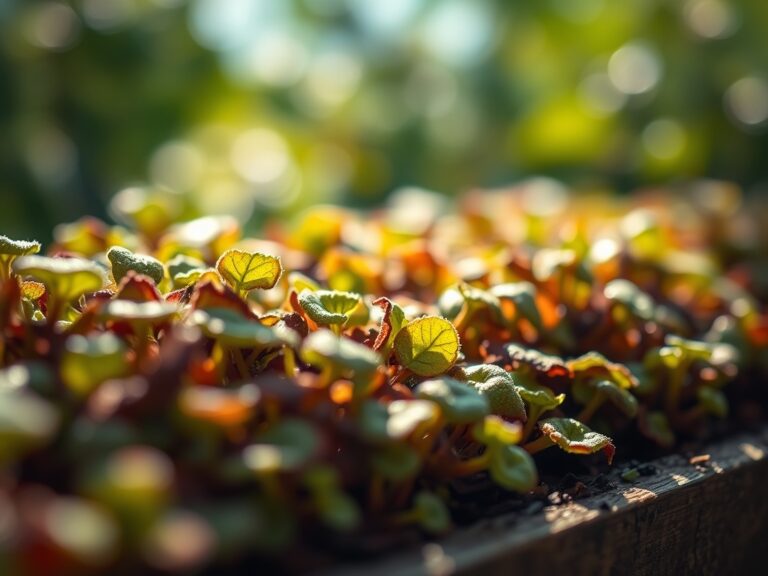
Establishing
Once roots reach 1 to 2 inches in length, usually within 14 to 21 days, begin the hardening-off process. Gradually reduce the humidity by venting the dome over a period of 4 days. Introduce a weak liquid fertilizer with an NPK ratio of 10-10-10 at quarter strength to support new vascular development.
Pro-Tip: Monitor for phototropism. Rotate your trays 180 degrees every two days to ensure even distribution of auxins within the stem. This prevents "leaning" and ensures a structurally sound root crown.
The Clinic:
Physiological disorders can derail a propagation project in hours. Use this diagnostic framework to identify and correct issues.
Symptom: Soft, brown, or blackened tissue at the base of the stem.
Solution: This indicates "Damping Off," caused by fungal pathogens like Pythium. Reduce irrigation frequency and ensure the substrate is not oversaturated. Increase airflow.
Symptom: Yellowing of lower leaves (Chlorosis).
Solution: This is often a Nitrogen deficiency. The plant is mobile-nutrient mining, pulling nitrogen from old growth to support new cells. Apply a 5-5-5 NPK water-soluble fertilizer at half strength.
Symptom: Leaf drop despite moist soil.
Solution: This suggests "Vascular Wilt" or lack of oxygen in the root zone (hypoxia). Ensure your containers have adequate drainage holes. Check the soil with a soil moisture meter; it should read in the "Moist" range, not "Wet."
Fix-It for Nutrient Deficiencies: If you notice interveinal chlorosis (yellowing between green veins), the pH may be too high, locking out iron and magnesium. Flush the medium with distilled water and adjust the pH to 5.8.
Maintenance:
Precision maintenance is the difference between survival and vigor. Use a soil moisture meter daily. The substrate should never drop below 30 percent moisture content. Provide 1.5 inches of water per week once the plant is established in its secondary pot, applying it directly at the drip line to encourage outward root expansion.
Pruning is essential for structural integrity. Use bypass pruners to pinch back the terminal bud once the plant reaches 6 inches in height. This breaks apical dominance and forces lateral branching. Clean your tools with a bleach-water solution (1:10 ratio) after every use to maintain a sterile environment.
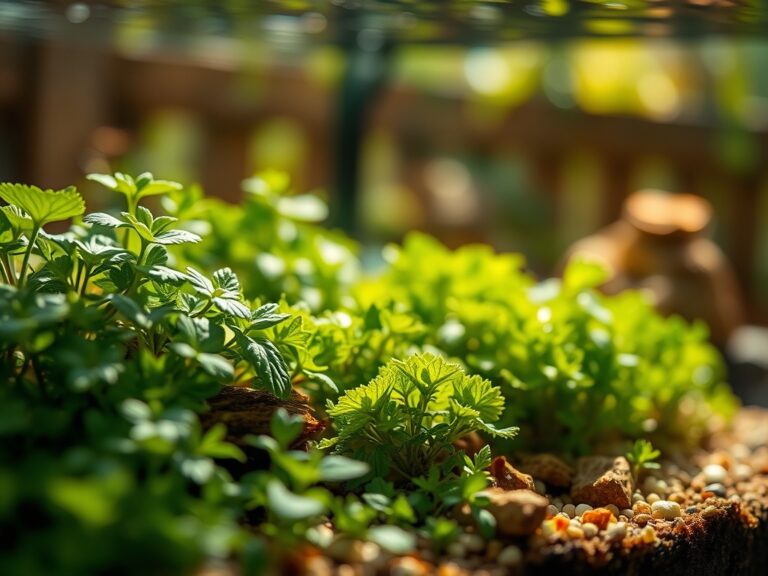
The Yield:
For those propagating herbs or flowering perennials, the harvest begins when the plant has established a robust root ball that fills a 4-inch pot. For maximum essential oil content in herbs, harvest just before the flower buds open. Use a hori-hori knife to take clean snips in the cool of the morning.
To maintain "day-one" freshness, immediately plunge the cut ends into 40-degree Fahrenheit water. This "hydro-cooling" removes field heat and slows the metabolic rate, preventing the breakdown of sugars and preserving the structural integrity of the cell walls.
FAQ:
How long does it take for cuttings to root?
Most softwood cuttings develop sufficient root systems within 14 to 21 days. Hardwood cuttings are slower, often requiring 6 to 10 weeks. Success depends on maintaining a consistent 70-degree Fahrenheit substrate temperature and high humidity.
Can I root cuttings in plain water?
While possible for some species, water-grown roots lack "root hairs" adapted for soil. This makes the transition to a solid medium difficult. Using a perlite-peat mix creates a more resilient root system with better oxygen exchange.
What is the best NPK ratio for new cuttings?
Initially, use a 0-0-0 neutral medium. Once roots appear, transition to a balanced, diluted 10-10-10 or a phosphorus-heavy 5-10-5 ratio. This supports root elongation without overstimulating leaf growth before the plant is stable.
Why are my cuttings wilting under a dome?
Wilting usually indicates a lack of contact between the stem and the substrate or excessive heat. Ensure the medium is firmly packed around the base. If temperatures exceed 85 degrees Fahrenheit, the plant may suffer from heat stress.