8 Best Lumens for Indoor Plants Tips
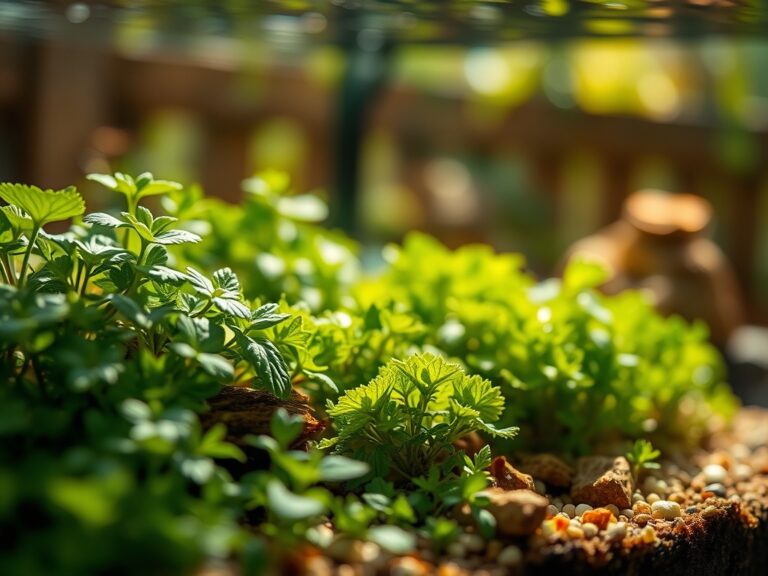
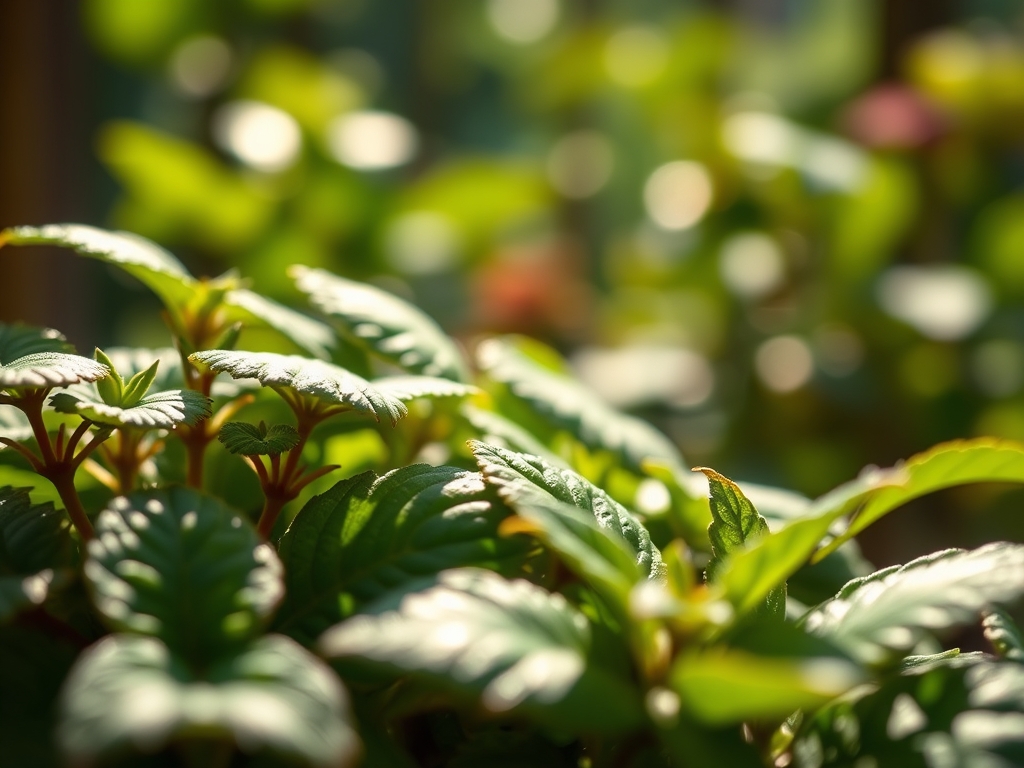
The scent of damp, well aerated peat and the firm turgor of a thickened leaf blade signal a plant in peak physiological health. Achieving this state indoors requires precise control over the photon flux density hitting the foliage. Understanding the best lumens for indoor plants is the difference between a specimen that merely survives and one that thrives through active photosynthesis. Lumens measure the total quantity of visible light emitted by a source; however, for the indoor gardener, this metric serves as the primary baseline for calculating the intensity required to drive the Calvin cycle. A low-light tropical plant might require only 2,000 lumens per square foot, while high-output fruiting species demand upwards of 10,000 lumens. Without this intensity, the plant enters a state of etiolation, stretching its internodes and weakening its cellular structure. Successful cultivation depends on matching the lumen output to the specific light saturation point of the species, ensuring the chloroplasts are saturated without inducing photoinhibition or thermal stress.
Materials:
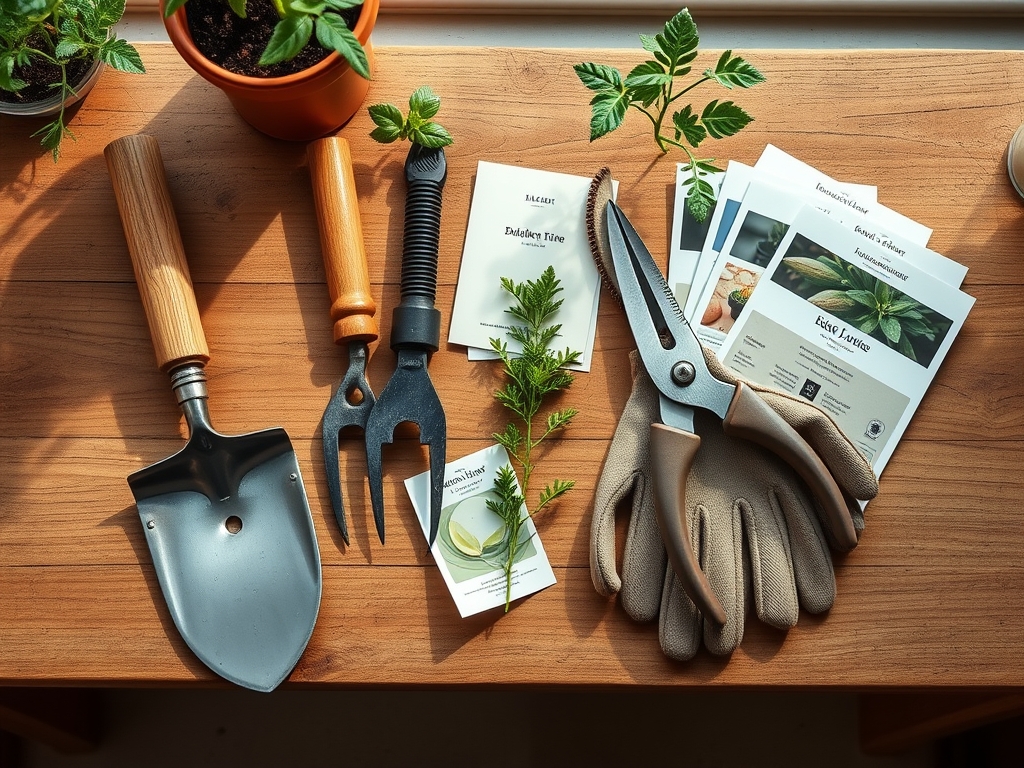
The foundation of indoor success begins in the rhizosphere. Use a friable loam substrate with a high Cation Exchange Capacity (CEC) to ensure nutrient availability. For most indoor foliage, maintain a soil pH between 6.0 and 6.5. This range optimizes the solubility of macronutrients.
Incorporate a balanced NPK ratio of 10-10-10 for general maintenance; however, for heavy vegetative growth, shift to a high-nitrogen formula like 20-10-10. The substrate must remain porous. A mix of 60 percent peat moss, 20 percent perlite, and 20 percent vermiculite provides the necessary capillary action while preventing anaerobic conditions. If you are growing succulents, increase the mineral content to 50 percent coarse sand or grit to facilitate rapid drainage and prevent root rot.
Timing:
Indoor environments bypass traditional Hardiness Zones, but they are still subject to the "Biological Clock" of the plant. Even in a climate-controlled room, plants sense the shifting photoperiod. The transition from the vegetative stage to the reproductive stage is governed by phytochrome pigments. For short-day plants, you must reduce the light duration to 10 hours of light and 14 hours of total darkness to trigger flowering.
Most indoor species thrive when ambient temperatures remain between 65 and 75 degrees Fahrenheit. Avoid placing plants near drafty windows where temperatures drop below 55 degrees Fahrenheit, as this can trigger premature senescence or dormancy. Monitor the humidity; a level of 50 to 60 percent is ideal for most tropicals to maintain stomatal conductance and prevent excessive transpiration.
Phases:

Sowing
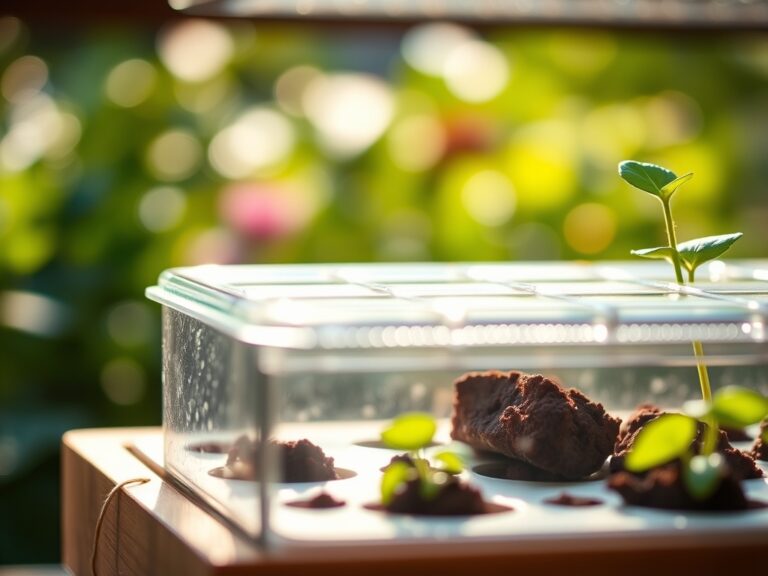
Start seeds in a sterile medium to prevent "damping off" caused by fungal pathogens. Maintain a constant soil temperature of 70 to 75 degrees Fahrenheit using a heat mat. Light intensity is less critical during the first 48 hours, but once the cotyledons emerge, provide at least 3,000 lumens to prevent leggy growth.
Pro-Tip: Position lights within 3 to 6 inches of the seedlings. This prevents the accumulation of auxins in the shaded side of the stem, which causes phototropism (stretching toward the light) and results in weak, spindly stalks.
Transplanting
Move seedlings when they have developed at least two sets of true leaves. Use a hori-hori knife to gently loosen the root ball, ensuring the delicate root hairs remain intact. Transition the plant into a pot that is no more than 2 inches wider than the current root mass to prevent "over-potting," which leads to waterlogged soil and root hypoxia.
Pro-Tip: Inoculate the new substrate with mycorrhizal fungi. This symbiotic relationship expands the root surface area, significantly increasing the uptake of phosphorus and water through hyphal networks.
Establishing
During the establishment phase, the plant focuses on structural integrity. Ensure the light source provides the best lumens for indoor plants at this stage, typically 5,000 to 7,000 lumens for moderate-light species. Monitor the leaf angle; leaves that turn away from the light source are receiving too much intensity, while those drooping may be suffering from low turgor pressure.
Pro-Tip: Rotate the container 90 degrees every week. This ensures even light distribution and prevents the plant from developing a lopsided growth habit due to unidirectional light sources.
The Clinic:
Physiological disorders often mimic pest damage but are usually rooted in environmental stress or nutrient imbalances.
Symptom: Interveinal Chlorosis (yellowing between green veins).
Solution: This is a classic sign of Iron or Magnesium deficiency. Check the soil pH first; if it is above 7.0, the plant cannot uptake these minerals. Lower the pH using sulfur or apply a chelated mineral foliar spray.
Symptom: Tip Burn or Marginal Necrosis.
Solution: This typically indicates "salt burn" from over-fertilization or tap water high in chlorine and fluorides. Flush the substrate with distilled water equal to three times the volume of the pot.
Symptom: Edema (water-soaked bumps on the underside of leaves).
Solution: This occurs when the roots take up water faster than the leaves can transpire it. Increase airflow with a small fan and reduce watering frequency.
Fix-It: Nitrogen Chlorosis
If the oldest leaves are turning uniformly pale green or yellow, the plant is scavenging nitrogen for new growth. Apply a liquid fertilizer with a high N-value (such as 5-1-1) to restore chlorophyll production.
Maintenance:
Precision is the hallmark of a master horticulturist. Use a soil moisture meter to verify the volumetric water content before hydrating. Most indoor plants require the top 1 to 2 inches of soil to dry out between waterings. When you do water, apply enough so that 10 to 15 percent of the volume drains out the bottom to leach out accumulated salts.
Prune using bypass pruners to make clean, sharp cuts that heal quickly. Remove any necrotic tissue or crossing branches to improve airflow through the canopy. For dust accumulation, wipe leaves with a damp cloth; dust blocks stomata and reduces the effective lumens reaching the chloroplasts by up to 30 percent.
The Yield:
If growing indoor herbs or microgreens, harvest during the morning hours when essential oil concentration and turgor pressure are at their peak. Use sharp shears to avoid crushing the vascular tissue. For leafy greens, never harvest more than one-third of the foliage at a time to ensure the plant has enough photosynthetic surface area to recover. Post-harvest, submerge the stems in 40-degree Fahrenheit water to remove field heat and maintain crispness.
FAQ:
How many lumens do I need for low-light plants?
Low-light plants like Snake Plants or Pothos require approximately 500 to 2,000 lumens. Providing light within this range ensures the plant maintains its color and structural integrity without burning the delicate foliage under intense indoor "sun."
Can too many lumens hurt my plants?
Yes. Exceeding the light saturation point causes photo-oxidation, where chlorophyll is destroyed faster than it can be replaced. Symptoms include bleached or scorched leaves. Always monitor the distance between the light source and the uppermost leaves.
Is there a difference between lumens and PAR?
Lumens measure brightness as perceived by the human eye. PAR (Photosynthetically Active Radiation) measures the light wavelengths (400 to 700nm) that plants actually use for photosynthesis. Lumens are a helpful baseline, but PAR is the scientific standard.
How do I measure lumens at home?
You can use a dedicated digital lux meter or a smartphone app. Place the sensor at the leaf level to get an accurate reading of the light intensity reaching the plant's surface rather than the output at the source.