6 Basic Steps to Deep Water Culture
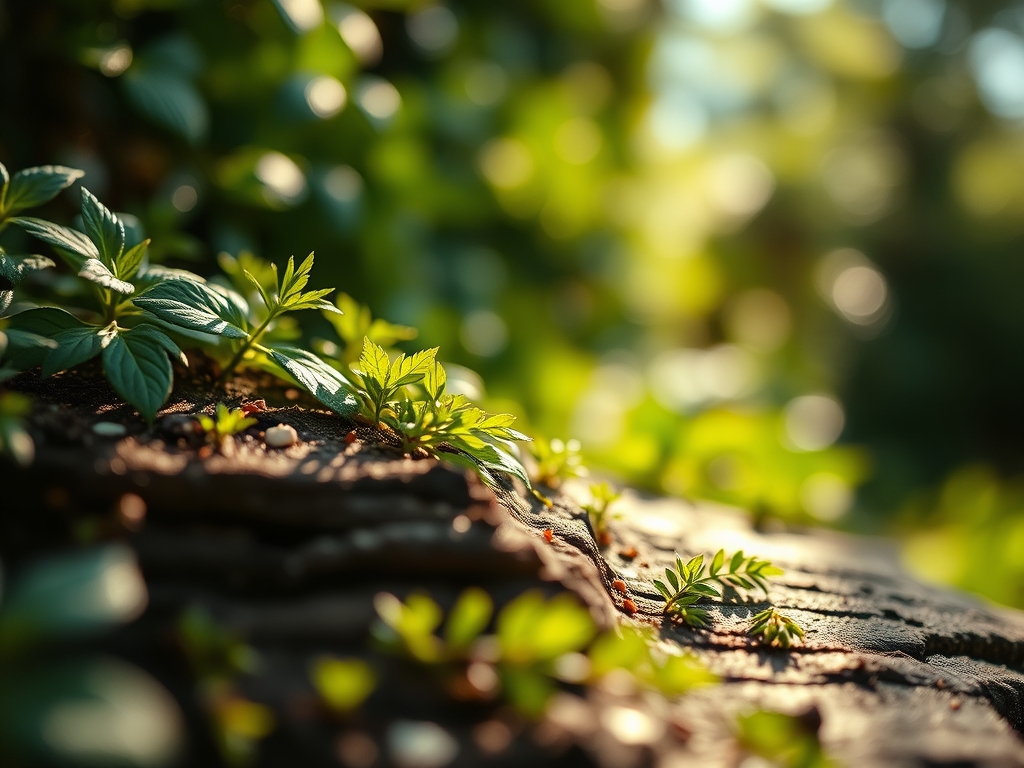
A healthy plant in a deep water culture system exhibits a specific kind of structural integrity. The leaves feel thick and cool to the touch because the turgor pressure is at its maximum; the cells are literally engorged with water. When you lift the reservoir lid, you should smell nothing but clean, oxygenated water and the faint, earthy scent of healthy rhizosphere activity. Mastering the steps to deep water culture requires a shift from traditional soil management to the precise manipulation of liquid chemistry and dissolved oxygen. You are no longer managing a static bed of earth; you are maintaining a life-support system that delivers ions directly to the root hairs. This method eliminates the energy expenditure plants usually waste on searching for water in dry soil. Instead, that energy is diverted into rapid biomass production and fruit development. Success depends on the stability of the water temperature and the consistency of the nutrient solution.
Materials:
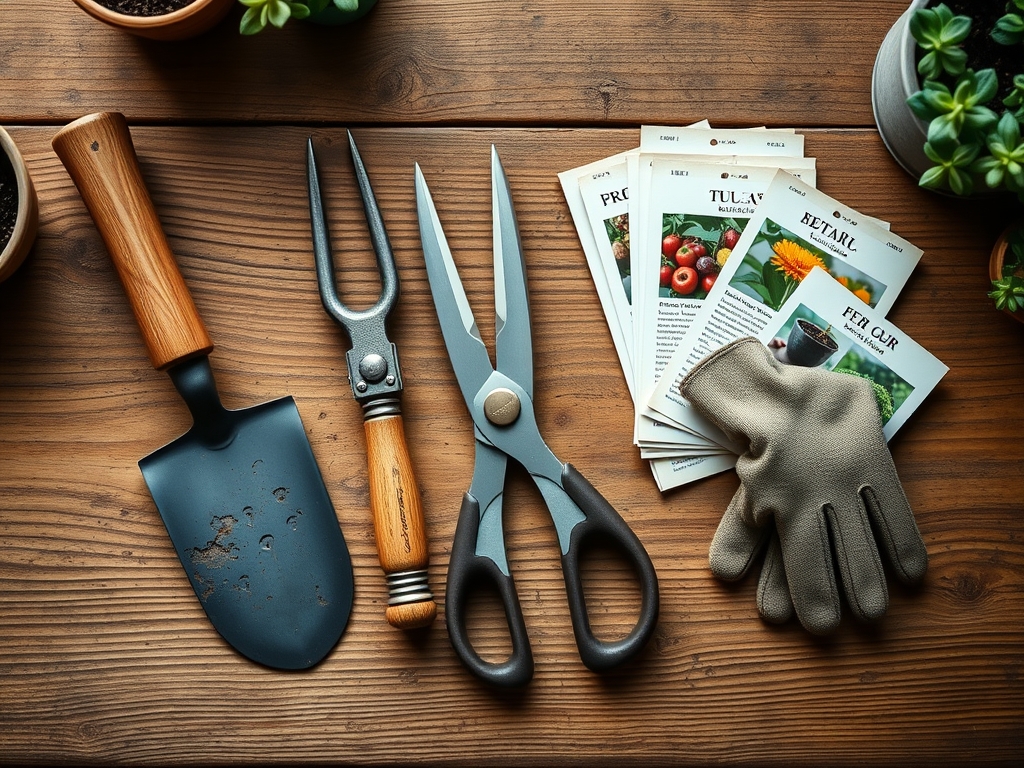
While DWC is a soil-less method, the transition from seedling to reservoir requires a substrate that mimics the physical texture of a **friable loam** without the organic breakdown. You need expanded clay pebbles or rockwool cubes. These materials provide the structural support for the crown while maintaining a high **Cation Exchange Capacity (CEC)** for nutrient retention at the root interface.
The nutrient solution must be tailored to the growth stage. For the vegetative phase, utilize a water-soluble fertilizer with an NPK ratio of 3-1-2 or 4-1-1. High nitrogen levels are essential for chlorophyll production and leaf expansion. As the plant enters the reproductive phase, shift to a 1-3-2 or 0-5-4 ratio to promote flower and fruit development. The pH of the solution must be strictly maintained between 5.5 and 6.5. If the pH drifts outside this window, specific ions like iron or phosphorus become chemically locked, leading to immediate deficiency symptoms.
Timing:
Deep water culture allows you to bypass traditional Hardiness Zones if you are growing indoors; however, if your reservoir is located in a greenhouse, you must account for ambient temperature fluctuations. Root zone temperatures should ideally stay between 65 and 70 degrees Fahrenheit. If the water exceeds 75 degrees, the dissolved oxygen levels drop precipitously, inviting anaerobic pathogens.
The "Biological Clock" of the plant is governed by the photoperiod. For most DWC crops, a 16 hour light cycle during the vegetative stage ensures rapid growth. When you are ready to trigger the transition to the reproductive stage, you must reduce the light cycle to 12 hours. This shift signals the plant to cease auxin production in the apical meristem and begin the synthesis of florigen; the hormone responsible for budding.
Phases:
Sowing
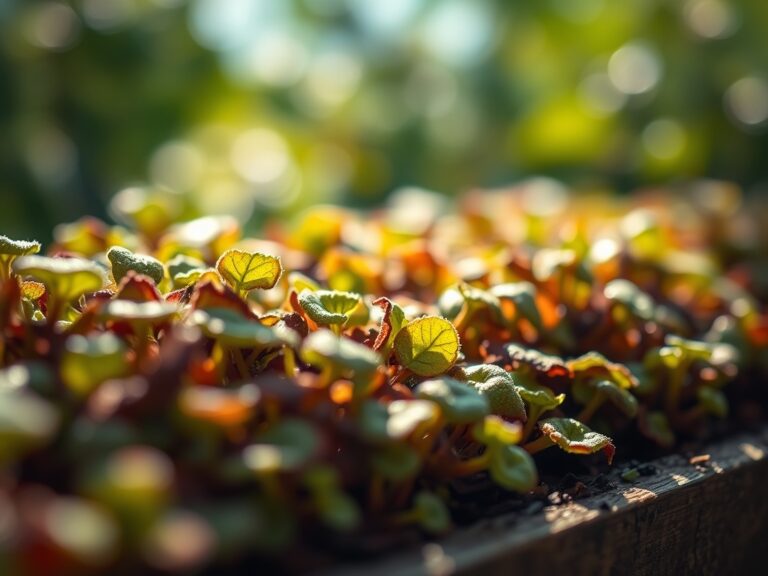
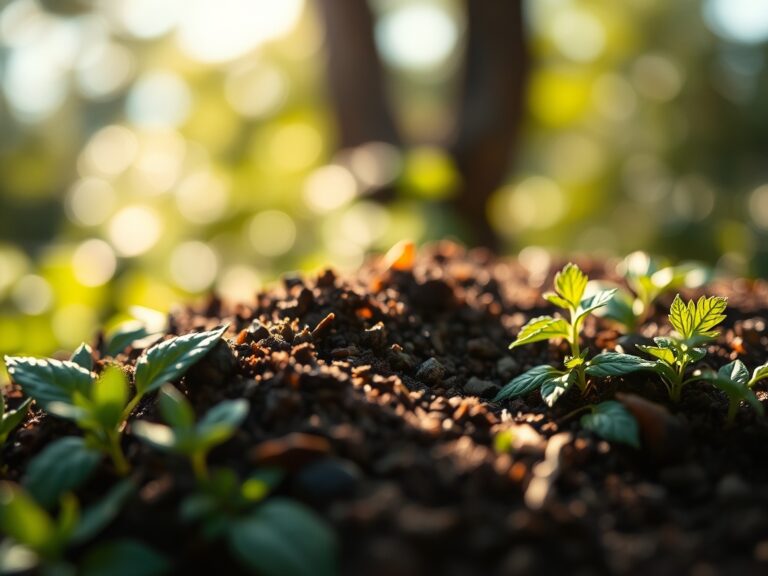
Start seeds in a neutral medium like rockwool or rapid rooter plugs. Keep the medium moist but not saturated. The goal is to encourage the primary radicle to grow downward in search of the water table.
Pro-Tip: Maintain a high humidity dome to prevent transpiration stress. The biological why: Seedlings have not yet developed a robust vascular system; high humidity reduces the vapor pressure deficit, allowing the plant to retain internal moisture while the first roots form.
Transplanting
Once the roots emerge from the bottom of the starter plug, move the plant into a net pot filled with expanded clay pebbles. Suspend the net pot over the reservoir so the bottom 0.5 inches of the pot is submerged in the nutrient solution.
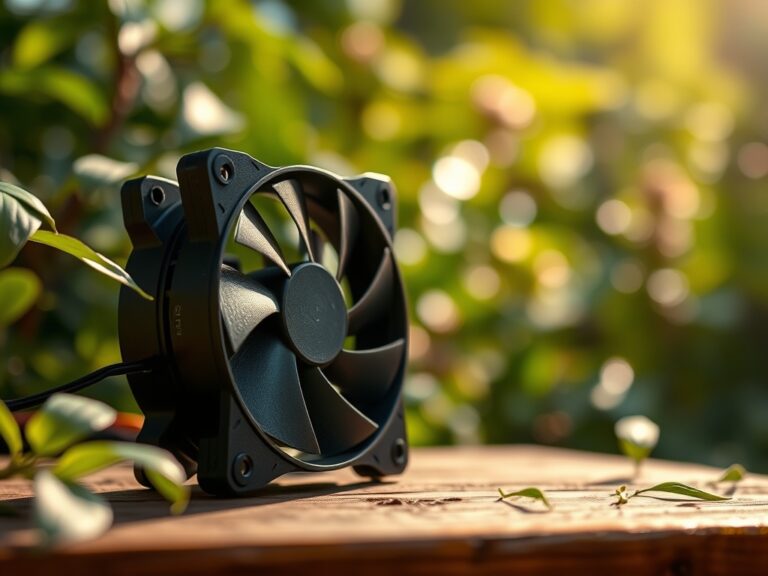
Pro-Tip: Use an air stone to create a constant stream of bubbles. The biological why: This process, known as oxygenation, prevents root rot. Roots require oxygen for cellular respiration; without it, the plant cannot synthesize the ATP needed to actively transport nutrients across cell membranes.
Establishing
As the root system expands into the reservoir, lower the water level. There should eventually be a 2 to 3 inch gap of air between the bottom of the net pot and the surface of the water.
Pro-Tip: Avoid disturbing the "air roots" that develop in the gap. The biological why: These specialized roots are adapted for maximum gas exchange. Submerging them suddenly can cause the plant to "drown" as it loses its primary source of atmospheric oxygen.
The Clinic:
Physiological disorders in DWC happen fast because there is no soil buffer.
-
Symptom: Interveinal chlorosis (yellowing between leaf veins) on new growth.
-
Solution: This is likely Iron deficiency. Check the pH immediately. If the pH is above 7.0, the iron is unavailable. Lower the pH to 5.8.
-
Symptom: Brown, slimy roots with a foul odor.
-
Solution: This is Pythium (Root Rot). Increase aeration and lower the reservoir temperature. Treat with a hydrogen peroxide solution (3%) at a rate of 2-3 ml per gallon to kill pathogens.
-
Symptom: Tip burn on young leaves.
-
Solution: This indicates Calcium deficiency or high salinity. Ensure your air circulation is high to promote transpiration, which pulls calcium upward through the xylem.
-
Fix-It for Nitrogen Chlorosis: If older leaves are turning uniform pale green or yellow, increase your NPK ratio to a higher Nitrogen concentration. Add a nitrogen-heavy supplement at 50% strength to avoid osmotic shock.
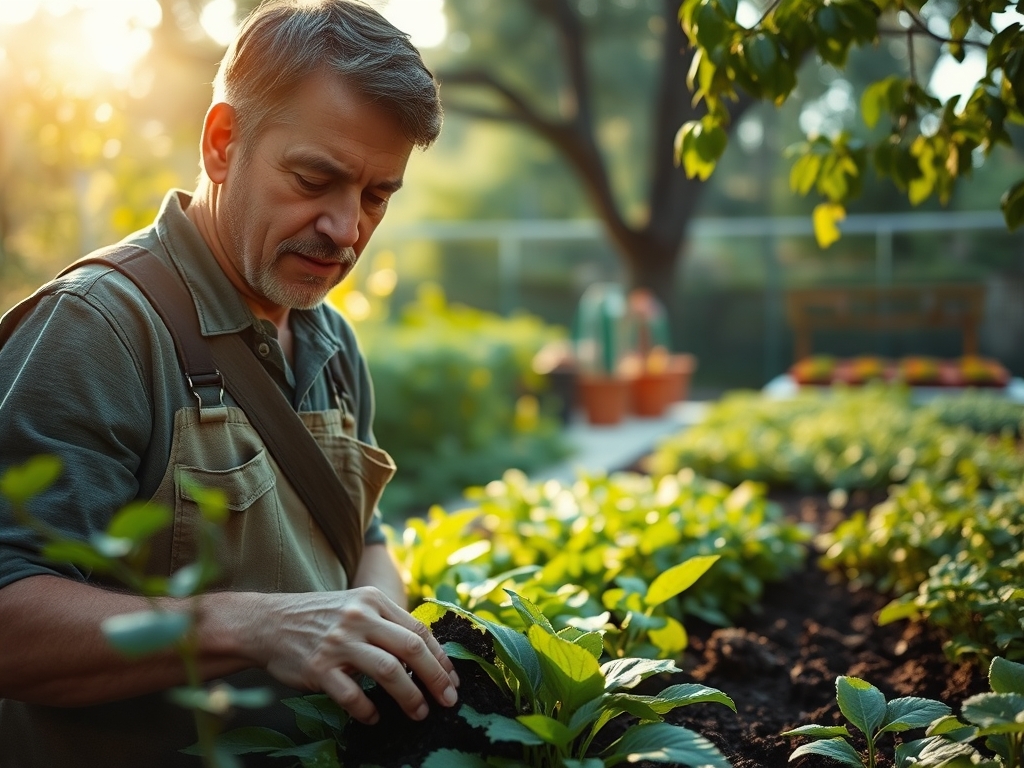
Maintenance:
Precision is the hallmark of a professional grower. Use a soil moisture meter (repurposed to check the medium in the net pot) and a high-quality EC (Electrical Conductivity) meter. Your EC should range from 1.2 to 2.0 depending on the plant's size. Check the reservoir level daily. A large plant can transpire 0.5 to 1.0 gallons of water per day.
When pruning, use sterilized bypass pruners to remove lower, shaded leaves that are beginning senescence. This improves airflow and directs energy to the upper canopy. Every 14 days, perform a complete reservoir change. Drain the old solution and scrub the bucket to remove biofilm. Use a hori-hori knife only if you need to divide or manage large root masses in a communal system, though this is rare in standard DWC.
The Yield:
Harvesting in DWC is often cleaner than in soil. For leafy greens, harvest when the leaves reach the desired size but before the plant begins to bolt. For fruiting crops, monitor the color and firmness. To ensure "day-one" freshness, harvest in the early morning when the plant is at peak turgor.
After cutting, immediately place the base of the stems in chilled water. This "cold shock" slows down the metabolic rate and preserves the sugars and volatile oils within the tissues. For DWC plants, you can often harvest the entire plant with the roots attached and keep them in a shallow tray of water to extend shelf life for several days.
FAQ:
What is the ideal water temperature for DWC?
The ideal temperature is 65 to 70 degrees Fahrenheit. Temperatures above 75 degrees reduce dissolved oxygen levels and increase the risk of root rot pathogens like Pythium. Use a water chiller or insulated reservoirs to maintain stability.
How often should I change the nutrient solution?
Perform a full reservoir change every 7 to 14 days. This prevents the buildup of toxic mineral salts and ensures the NPK ratios remain balanced. Always recalibrate your pH and EC meters after every solution change.
Can I use organic nutrients in a DWC system?
It is not recommended. Organic nutrients often contain thick particulate matter that clogs air stones and fosters bacterial growth. Use mineral-based, water-soluble nutrients designed specifically for hydroponics to maintain a sterile and efficient root environment.
Why are my plant leaves curling downward?
Downward curling, or "clawing," usually indicates Nitrogen toxicity or over-oxygenation of the roots. Check your EC levels. If the EC is above 2.5, flush the system with pH-balanced water for 24 hours to leach excess minerals.