10 Basic Steps to Prevent Late Blight
Late blight destroyed one million lives in the Irish famine, and it can collapse a tomato or potato crop in seven days. The pathogen Phytophthora infestans thrives in cool, humid conditions, producing airborne sporangia that germinate within four hours of contact with wet foliage. Implementing steps to prevent late blight requires precise environmental management, resistant cultivar selection, and vigilant monitoring. A single infected plant left unchecked can release 300,000 spores daily, spreading the disease across an entire garden or farm. The following steps to prevent late blight combine cultural practices, biological controls, and targeted chemical interventions to protect solanaceous crops from this oomycete pathogen.
Materials

Effective prevention begins with soil and amendment preparation. Use compost with a neutral to slightly acidic pH of 6.0 to 6.8, which supports beneficial bacterial populations that compete with P. infestans in the root zone. Apply a balanced organic fertilizer rated 4-4-4 or 5-5-5 at transplanting to promote moderate vegetative growth without excess nitrogen, which creates succulent tissue prone to infection.
Copper-based fungicides such as Bordeaux mixture (copper sulfate and hydrated lime) provide contact protection on leaf surfaces. Select formulations with 50-77% metallic copper equivalent. For organic systems, potassium bicarbonate products alter leaf surface pH to inhibit sporangial germination. Chlorothalonil and mancozeb remain standard synthetic protectants, applied on a seven-to-ten-day schedule before symptom appearance.
Mycorrhizal inoculants containing Glomus species improve plant vigor by enhancing phosphorus uptake through hyphal networks. These fungi increase cation exchange capacity in the rhizosphere, supporting robust root development that buffers stress responses. Strain-specific Bacillus subtilis and Trichoderma harzianum products colonize leaf surfaces and produce antifungal metabolites that suppress early-stage infections.
Stakes, cages, or trellis systems keep foliage off the ground and improve air circulation. Choose materials that allow spacing of 24 to 36 inches between plants. Drip irrigation lines or soaker hoses deliver water directly to the root zone, eliminating leaf wetness that facilitates infection.
Timing
Hardiness zone and frost dates dictate transplanting schedules. In zones 5 through 7, set out tomato and potato transplants two weeks after the last spring frost, typically mid-May to early June. Late blight risk peaks when overnight temperatures remain above 50°F and daytime humidity exceeds 90% for two consecutive days. These conditions occur most frequently from late June through August in northern climates and during autumn rains in southern regions.
Plant resistant varieties labeled with resistance genes Ph-2, Ph-3, or Ph-5. Cultivars such as 'Defiant', 'Mountain Magic', and 'Iron Lady' carry dominant resistance alleles that trigger hypersensitive responses upon pathogen recognition. In potatoes, 'Elba', 'Jacqueline Lee', and 'Keuka Gold' demonstrate field tolerance to multiple P. infestans lineages, including the aggressive US-23 and US-24 clonal strains.
Begin preventive fungicide applications when plants reach 12 inches in height or when regional disease forecasting systems indicate favorable infection periods. Many extension services operate BLITECAST or similar models that calculate disease severity values based on temperature and leaf wetness duration. Initiate sprays when cumulative severity values reach 15 to 18.
Phases
Sowing: Start seeds indoors six to eight weeks before the target transplant date. Maintain germination temperatures between 70°F and 75°F to promote rapid emergence and strong cotyledon development. Use sterile seed-starting mix to prevent damping-off pathogens that weaken seedlings. Pro-Tip: Inoculate germination trays with Trichoderma spores at a rate of one gram per gallon of media to establish endophytic colonization that persists through the growing season.
Transplanting: Harden off seedlings over seven to ten days by gradually exposing them to outdoor conditions. Dig planting holes 8 inches deep and incorporate 2 tablespoons of bone meal (0-10-0) and 1 tablespoon of kelp meal (1-0.5-2.5) per hole. Set transplants at a depth that buries the first true leaves, encouraging adventitious root formation along the buried stem. Space plants 30 inches apart in rows separated by 48 inches. Pro-Tip: Prune lower leaves to a height of 10 inches above the soil line at transplanting, reducing the number of contact points where soil-splashed sporangia can initiate infections.
Establishing: Apply 3 inches of organic mulch around each plant, leaving a 2-inch gap at the stem base to prevent collar rot. Straw, shredded leaves, or pine needles reduce soil splash and maintain consistent soil moisture. Train indeterminate varieties to a single leader by removing suckers when they reach 2 to 3 inches in length. This practice increases air movement through the canopy and allows better fungicide coverage. Pro-Tip: Prune suckers at a 45-degree angle using sterilized shears dipped in a 10% bleach solution between plants to prevent mechanical transmission of pathogens.
Troubleshooting
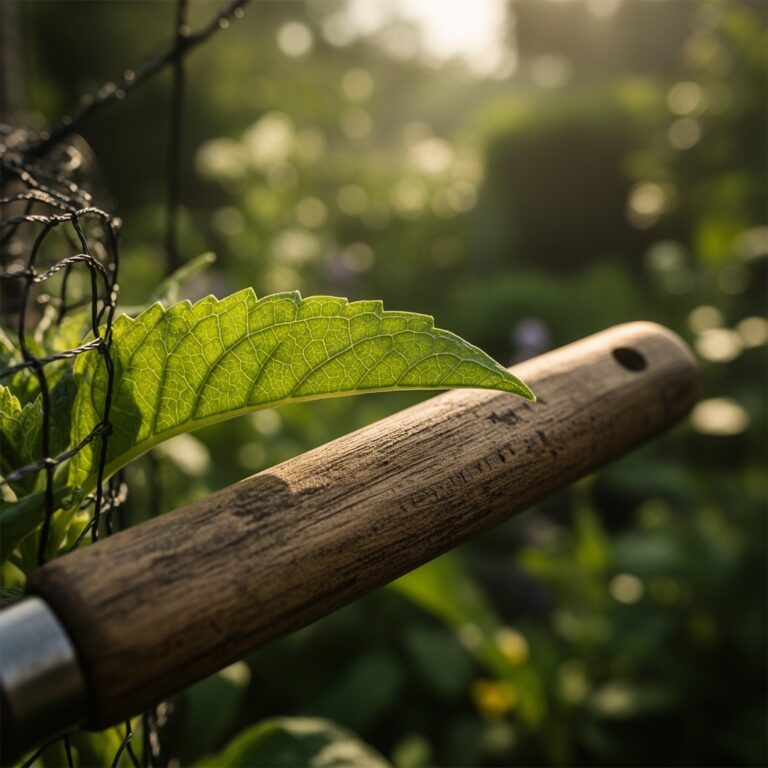
Symptom: Irregular gray-green water-soaked lesions appear on lower leaves, expanding rapidly to 1 to 2 inches within 48 hours. White fungal growth forms on the underside of lesions under humid conditions.
Solution: Remove and destroy affected leaves immediately. Increase fungicide application frequency to every five days. Reduce irrigation duration to minimize leaf wetness periods.
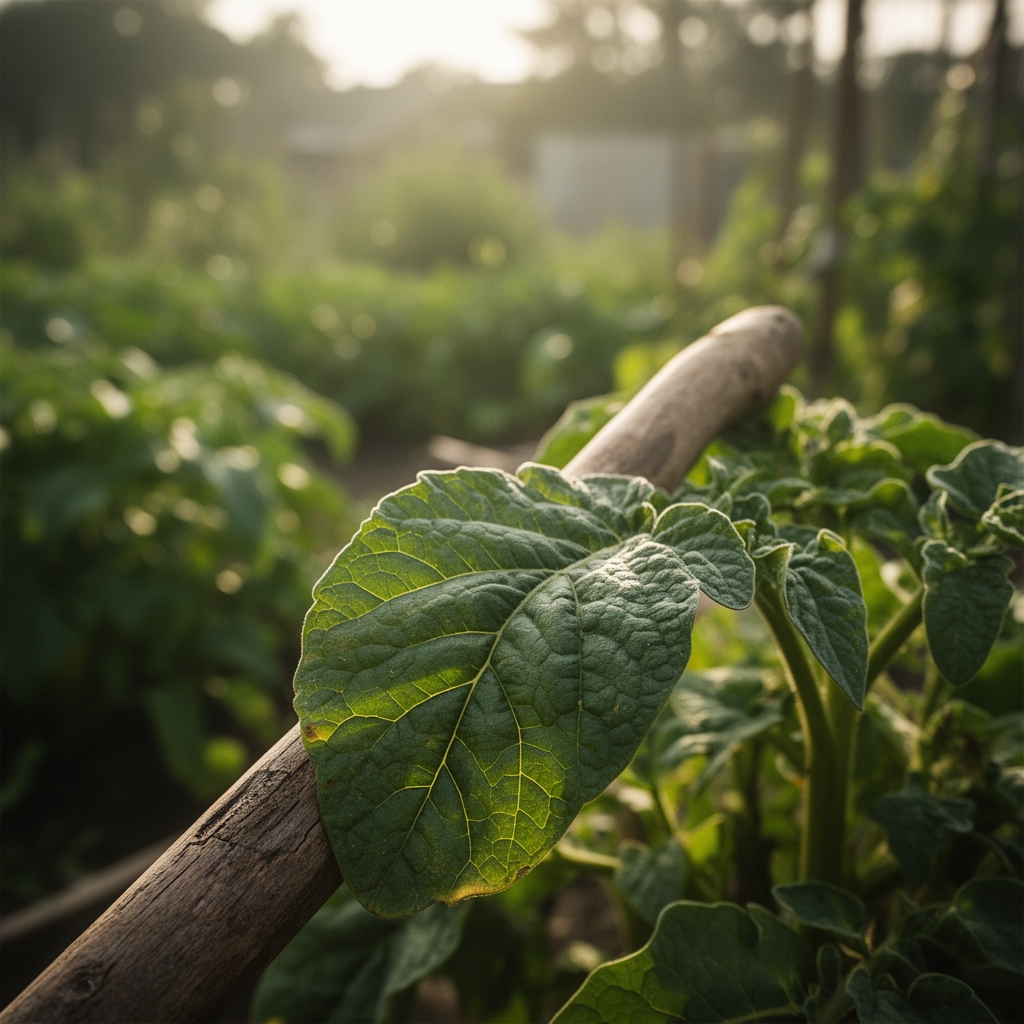
Symptom: Dark brown lesions with concentric rings develop on upper foliage, often confused with early blight caused by Alternaria solani.
Solution: Submit samples to a diagnostic lab for species confirmation via PCR assay. Late blight lesions lack the defined target pattern of early blight and expand more rapidly. Implement strict sanitation and fungicide rotation to prevent resistance development.
Symptom: Firm, reddish-brown lesions penetrate fruit skin, progressing to internal rot with a characteristic earthy odor.
Solution: Harvest unaffected fruit immediately and cure at 55°F to 60°F with 85% relative humidity for 10 days. Destroy all infected fruit and plant debris to reduce overwintering inoculum.
Symptom: Entire plant wilts suddenly despite adequate soil moisture, with blackened stem sections near the soil line.
Solution: This indicates systemic infection. Remove and bag the entire plant, including roots. Do not compost. Drench surrounding soil with a copper hydroxide solution at labeled rates to suppress localized spore populations.
Symptom: Tubers develop shallow, purplish-brown lesions that progress to dry, granular rot extending 0.5 inches deep into flesh.
Solution: Delay harvest for 14 days after vine death to allow tuber skin to set. Cure harvested potatoes at 50°F to 55°F for two weeks. Store at 40°F with 95% humidity. Discard tubers showing any lesions before storage.
Maintenance
Water plants early in the morning to allow foliage to dry before nightfall. Deliver 1 to 1.5 inches per week through drip irrigation, adjusting based on rainfall. Overhead watering extends leaf wetness duration by four to six hours, creating optimal conditions for sporangial germination.
Scout plants every two to three days, inspecting lower leaves and stem junctions where humidity accumulates. Use a 10x hand lens to detect early-stage lesions and sporulation before visible symptoms develop. Record weather data, noting periods when relative humidity exceeds 90% for more than 10 hours combined with temperatures between 60°F and 78°F.
Rotate fungicide modes of action to prevent resistance. Alternate between single-site inhibitors such as mandipropamid (FRAC code 40) and multi-site protectants like chlorothalonil (FRAC code M5). Apply products to runoff, ensuring complete coverage of upper and lower leaf surfaces. Reapply after rainfall exceeding 0.5 inches or as indicated by disease forecasting models.
Remove volunteer tomato and potato plants from previous seasons, as they harbor overwintering inoculum. Maintain a three-year crop rotation away from other solanaceous species including eggplant, pepper, and petunia. Encourage natural enemies such as lady beetles and lacewings that prey on aphids and other insects that vector plant pathogens.
FAQ
Can late blight survive winter in cold climates?
The pathogen survives in living tissue only. In zones 6 and colder, it persists in cull piles, volunteer plants, and infected tubers left in the soil. It cannot survive in dead plant debris or free in the soil.
Do resistant varieties eliminate the need for fungicides?
Resistant cultivars reduce disease pressure but do not provide complete immunity. New P. infestans strains can overcome single resistance genes. Combine resistant varieties with cultural practices and reduced fungicide schedules for integrated management.
How do I distinguish late blight from early blight?
Late blight lesions lack concentric rings, appear water-soaked, and expand rapidly under humid conditions. White sporulation occurs on lesion undersides. Early blight produces target-like patterns and progresses more slowly. Laboratory confirmation provides definitive identification.
Can I save seeds from plants that survived late blight?
Yes, if the plant produced healthy fruit before infection. P. infestans does not transmit through true seed in tomatoes. Ferment seeds for three days, rinse thoroughly, and dry completely before storage.
What temperature kills late blight spores?
Sporangia die within hours at temperatures above 86°F in dry conditions. However, the pathogen thrives between 60°F and 75°F with high humidity, making temperature management impractical as a standalone control strategy.