6 Basic Steps to Use a Water Propagation Station
The sharp snap of a pothos stem between your fingers marks the beginning of a practice that has fueled plant collections for centuries. Water propagation stations transform a single cutting into a genetically identical offspring through deliberate manipulation of auxin distribution and adventitious root formation. Understanding the steps to use a water propagation station ensures predictable root development while minimizing contamination and stem rot.
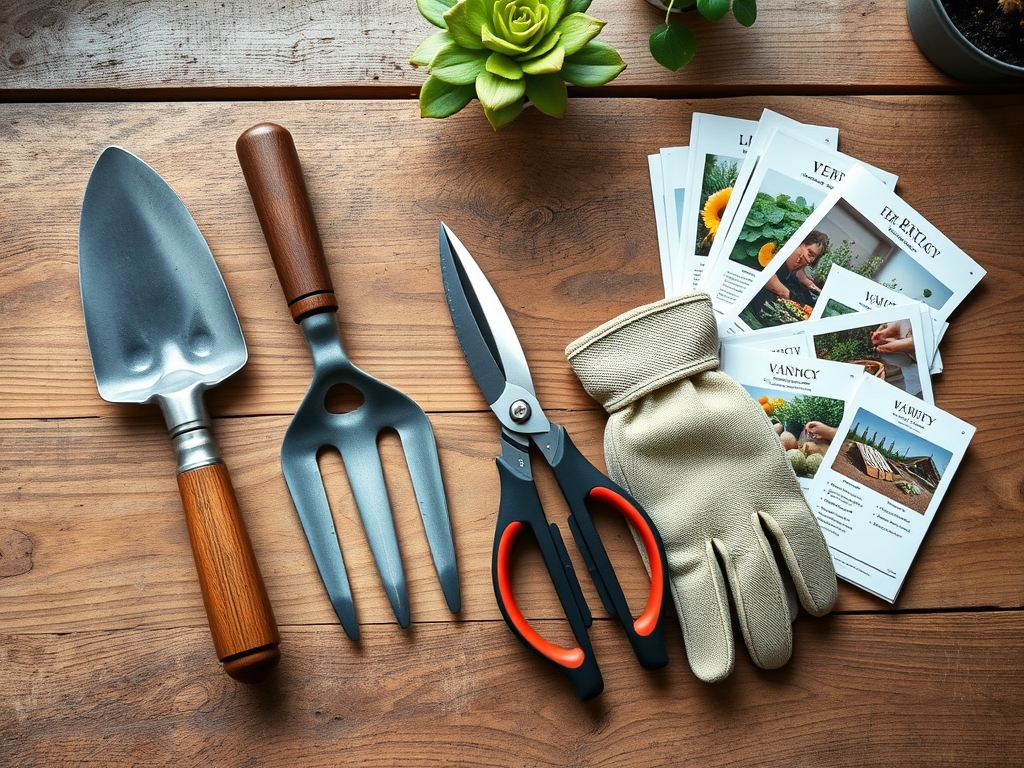
Materials
A functional water propagation station requires specific components aligned with both pH stability and nutrient availability. Select containers made from borosilicate glass or food-grade plastic with openings ranging from 0.5 to 2 inches in diameter. These materials prevent leaching and maintain visual access to root development.
Distilled or dechlorinated tap water serves as the primary medium. Municipal water should rest uncovered for 24 hours to dissipate chlorine compounds. Target pH values between 5.5 and 6.5 for optimal nutrient uptake during the rooting phase. For enhanced results, incorporate liquid fertilizer at one-quarter strength with an NPK ratio of 3-1-2 after initial callus formation appears.
Pruning shears require sterilization with 70% isopropyl alcohol between each cut. Clean blades prevent pathogen transfer, particularly bacterial soft rot and fungal spores. A rooting hormone powder containing 0.1% indole-3-butyric acid (IBA) accelerates adventitious root initiation in woody species. Optional supplements include liquid mycorrhizal inoculant at 10 ml per liter once roots reach 1 inch in length.
Timing
Propagation success correlates directly with photoperiod and ambient temperature patterns. In USDA Hardiness Zones 7 through 10, initiate water propagation between March 15 and June 30 when stem tissues exhibit maximum turgidity and growth hormone concentrations. Zones 3 through 6 should begin propagation after the last frost date, typically April 20 through May 15.
Avoid propagation during active flowering or seed set. These reproductive phases redirect auxin away from vegetative tissue, reducing root development by 40 to 60 percent. Indoor propagation under artificial lighting maintains consistency year-round with 12 to 14 hours of light at 200 to 400 foot-candles.
Seasonal temperature windows between 65°F and 75°F produce optimal results. Root emergence typically occurs within 7 to 21 days depending on species maturity and cutting diameter.
Phases
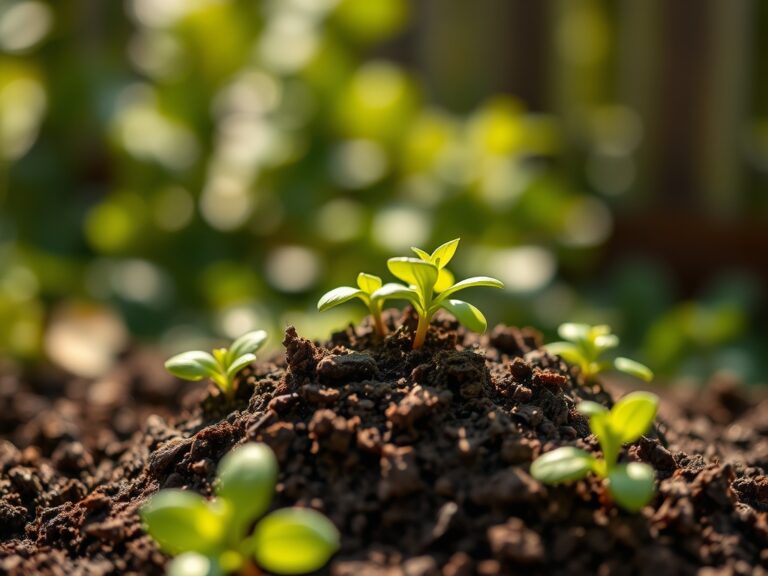
Sowing Phase
Select healthy stem sections measuring 4 to 6 inches with at least two nodes present. Make cuts at a 45-degree angle directly below a node using sterilized shears. The angled cut increases surface area for water absorption and nutrient uptake. Remove all foliage from the bottom two-thirds of the cutting to prevent submersion and bacterial growth.
Position cuttings in the propagation station with nodes submerged 1 to 2 inches below the waterline. Maintain a minimum of 0.5 inches between individual cuttings to ensure adequate oxygen circulation. Place the station in indirect light with intensity between 100 and 300 foot-candles.
Pro-Tip: Apply rooting hormone only to the bottom 0.25 inches of woody cuttings before water placement. Excess hormone creates callus overgrowth that blocks vascular tissue development.
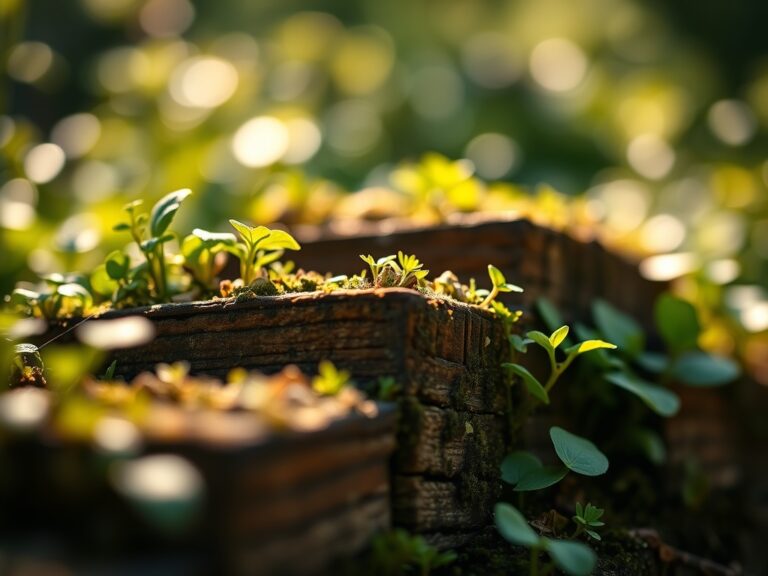
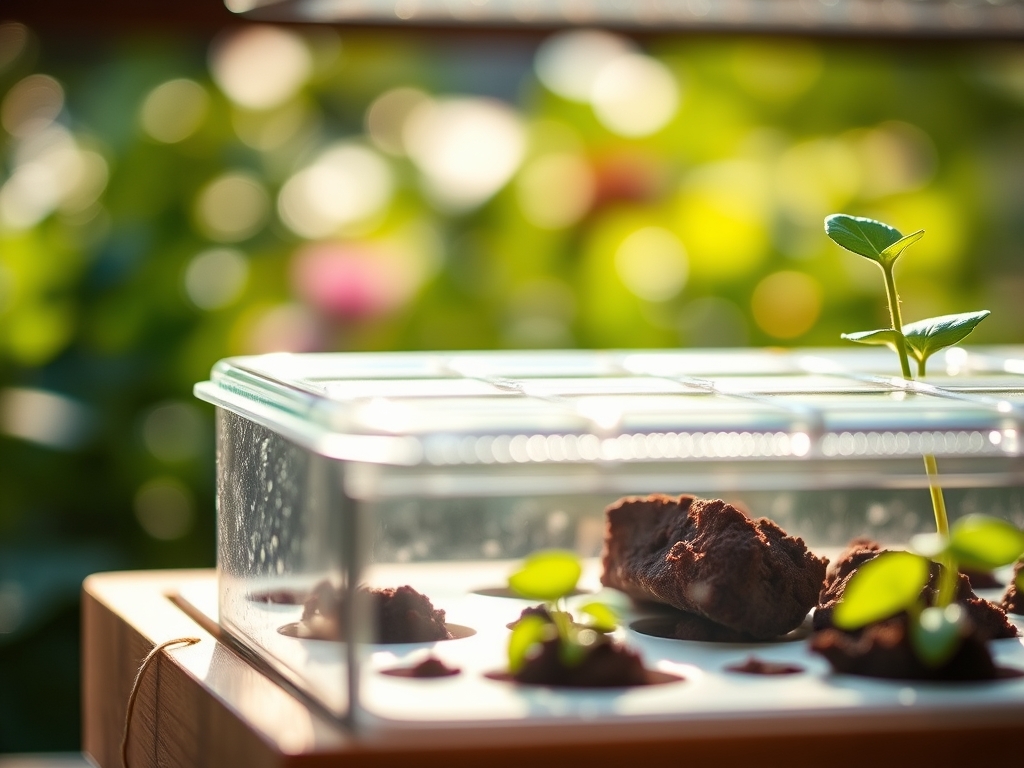
Transplanting Phase
Monitor root length daily once initial growth appears. Transplant when roots reach 2 to 3 inches in length with visible lateral branching. Roots exceeding 4 inches become brittle and suffer transplant shock at rates above 50 percent.
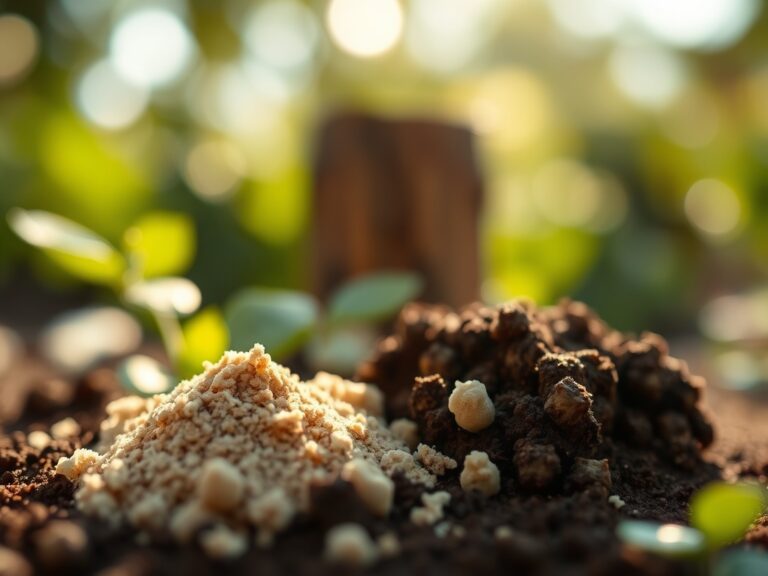
Prepare containers with a growing medium containing 40% peat moss, 30% perlite, and 30% compost. This mixture provides a cation exchange capacity between 15 and 25 meq/100g, ideal for newly developed root systems. Pre-moisten the medium to field capacity before inserting cuttings.
Create a planting hole 3 inches deep. Position the cutting at the same depth it maintained in water. Firm the medium gently around roots to eliminate air pockets while avoiding compression damage.
Pro-Tip: Inoculate the transplant hole with mycorrhizal fungi at 1 teaspoon per 4-inch pot. These symbiotic relationships increase phosphorus uptake by 300 percent during establishment.
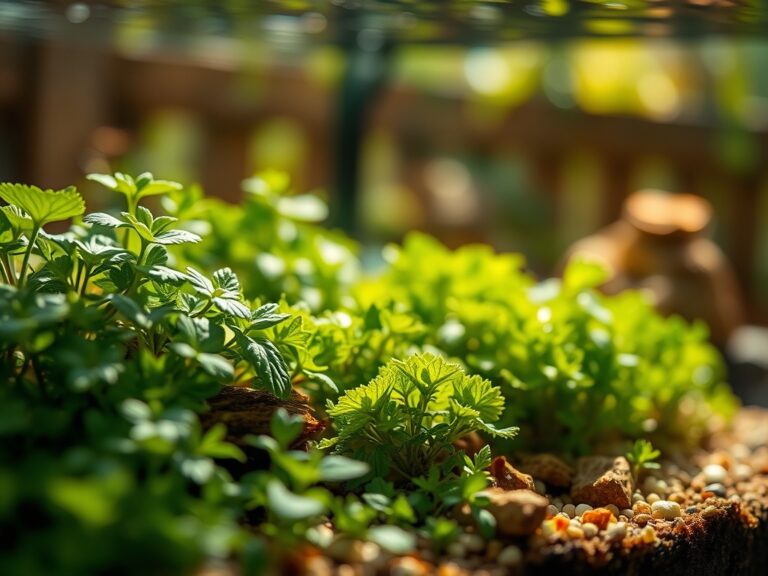
Establishing Phase
Maintain soil moisture at 60 to 70 percent field capacity for 14 days post-transplant. Water requirements typically measure 4 to 6 ounces per 4-inch pot every 48 hours. Reduce watering frequency by 25 percent after new leaf growth emerges.
Apply diluted fertilizer at one-half strength with an NPK ratio of 10-5-5 beginning at day 21. This nitrogen-heavy formulation supports foliar development without encouraging premature flowering.
Pro-Tip: Reduce light intensity by 30 percent during the first week post-transplant. Gradual acclimation prevents chlorophyll degradation and leaf drop.
Troubleshooting
Symptom: Cloudy water with sulfur odor developing within 3 to 5 days.
Solution: Replace water immediately. Sterilize container with 10% bleach solution. Trim away any soft, discolored stem tissue and re-cut at a 45-degree angle above affected areas.
Symptom: Brown, crispy leaf margins while roots remain absent after 14 days.
Solution: Increase ambient humidity to 50 to 60 percent using a pebble tray or room humidifier. Reduce light intensity to 100 foot-candles.
Symptom: White, fuzzy growth on submerged nodes.
Solution: Remove cutting and discard affected portions. This indicates saprophytic fungal colonization. Ensure all foliage remains above the waterline during future attempts.
Symptom: Roots turn black and brittle at tips.
Solution: Reduce water temperature to 65°F to 70°F. Black root tips indicate oxygen depletion. Increase surface area exposure or add an aquarium air stone for gentle oxygenation.
Maintenance
Change water every 5 to 7 days to prevent bacterial accumulation. Each water change removes metabolic waste products that inhibit root growth. Wipe container interiors with a clean cloth to eliminate biofilm deposits.
Maintain water levels 1 to 2 inches below the original cut surface. Stems require both submersion and air exposure at the waterline interface where callus tissue forms. Add 2 to 4 ounces of room-temperature water daily to compensate for evaporation.
Prune any yellowing foliage immediately using sterilized tools. Senescent leaves leach nitrogen into the water column, accelerating bacterial growth. Inspect cuttings daily for pest presence, particularly aphids and spider mites attracted to stressed tissue.
FAQ
How often should water be changed in a propagation station?
Every 5 to 7 days maintains water quality and prevents pathogen buildup. More frequent changes are necessary if cloudiness or odor develops.
Can fertilizer be added to propagation water immediately?
Wait until visible callus tissue forms, typically 7 to 10 days post-cutting. Early fertilization at concentrations above 100 ppm nitrogen inhibits root formation.
Which species root most successfully in water?
Pothos, philodendron, coleus, begonia, and mint demonstrate root emergence within 7 to 14 days. Woody species like rosemary and lavender require 21 to 28 days.
What causes roots to stop growing after initial development?
Oxygen depletion is the primary cause. Roots consume dissolved oxygen rapidly. Transfer to soil when roots reach 2 to 3 inches to ensure continued growth.
Should propagation stations be placed in direct sunlight?
No. Direct sun raises water temperature above 80°F, reducing dissolved oxygen by 40 percent. Indirect light at 100 to 300 foot-candles prevents both algae growth and excessive transpiration.