5 Easy Ways How to Air Layer Houseplants
Crushing a handful of damp sphagnum moss releases the sharp, metallic scent of geosmin and organic decay. A healthy Ficus elastica displays high turgor pressure; its leaves are rigid and glossy, indicating a robust vascular system. When a specimen becomes leggy or outgrows its container, traditional propagation often fails due to moisture stress. Learning how to air layer houseplants allows a grower to bypass the vulnerability of unrooted cuttings by inducing adventitious root growth while the branch remains physically attached to the parent vascular system. This method utilizes the plant's existing sap flow to sustain the new clone until it develops a self-sufficient root architecture. By manipulating the movement of auxins and carbohydrates within the phloem, you can force a specific node to transition from vegetative extension to root initiation. This process requires precision, patience, and an understanding of plant physiology to ensure the parent plant remains stable while the offspring thrives.
Materials:
Successful air layering depends on the Cation Exchange Capacity (CEC) and moisture retention of the rooting medium. Long-fibered sphagnum moss is the industry standard because it maintains a pH range of 4.0 to 4.5, which inhibits many fungal pathogens while providing a high surface area for moisture. The moss must be hydrated until saturated, then squeezed until it reaches the consistency of a wrung-out sponge.
For the hormonal stimulus, use a rooting powder or gel containing Indole-3-butyric acid (IBA) at a concentration of 0.1% to 0.3%. Avoid high-nitrogen fertilizers during this stage; an NPK ratio of 0-10-10 is preferable if any amendment is used, as excess nitrogen can stimulate soft vegetative growth rather than lignified root tissue. You will also need polyethylene plastic film to create a moisture barrier and grafting tape or zip ties to secure the enclosure. The substrate should be a friable material that allows for gas exchange while preventing desiccation of the emerging root primordia.
Timing:
While houseplants exist in controlled indoor environments, they still respond to the external photoperiod and the biological clock of their species. The ideal window for air layering is during the early spring or late winter, just as the plant exits its semi-dormant state and enters a period of active cell division. In Hardiness Zones 8 through 11, this typically aligns with late February. In northern Zones 3 through 7, wait until late March or April when ambient light levels increase.
This timing exploits the transition from the dormant phase to the vegetative stage. During this window, the concentration of endogenous auxins is at its peak at the apical meristems. By intercepting these hormones through a strategic wound, you maximize the speed of root formation. Attempting this during the senescence of late autumn will result in a much slower response, increasing the risk of the wound callous drying out before roots can penetrate the medium.
Phases:
Sowing the Wound
Select a semi-woody stem and locate a node. Using a sterilized bypass pruner or a sharp blade, perform a "girdling" cut. Remove a ring of bark approximately 1.5 times the diameter of the stem. This process severs the phloem, which transports sugars downward, but leaves the xylem intact to continue upward water transport.
Pro-Tip: This technique works because of auxin suppression. When the phloem is severed, the downward flow of indole-3-acetic acid (IAA) is physically blocked at the cut site. This accumulation of hormones at the upper edge of the wound signals the plant to differentiate undifferentiated parenchyma cells into root tissue.
Transplanting the Medium
Pack the prepared sphagnum moss around the girdled section. The ball of moss should be roughly the size of an orange, approximately 3 to 4 inches in diameter. Wrap the plastic film tightly around the moss to create a hermetic seal. Ensure the ends are secured with tape to prevent moisture loss.
Pro-Tip: Maintaining high turgor pressure within the moss is vital for mycorrhizal symbiosis. If the medium dries out, the delicate root hairs will desiccate instantly. The plastic wrap mimics a miniature greenhouse, maintaining 100% relative humidity within the rhizosphere of the new root ball.
Establishing the New Root System
Monitor the site for 8 to 12 weeks. Once you observe white, thick roots pressing against the plastic, the layer is ready for detachment. Use a hori-hori knife to make a clean cut below the new root mass. Remove the plastic carefully but leave the sphagnum moss intact to avoid damaging the fragile new root hairs.
Pro-Tip: This phase relies on phototropism management. Roots are naturally hydrotropic (drawn to water) and negatively phototropic (repelled by light). Keeping the root ball covered with an opaque material like aluminum foil over the plastic can actually accelerate root development by simulating the dark environment of the soil.
The Clinic:
Symptom: Soft, Brown Root Tips
Solution: This indicates anaerobic conditions or root rot caused by over-saturation. If the moss is dripping wet, it displaces oxygen, leading to tissue necrosis. Fix-It: Re-wrap the layer with fresh moss that is only damp, not soaking, and ensure the seal allows for microscopic gas exchange.
Symptom: Callous Formation Without Roots
Solution: This occurs when the girdling cut was too shallow or the IBA concentration was too low. The plant is attempting to heal the wound rather than grow roots. Fix-It: Scrape the callous slightly to expose the cambium again and re-apply a stronger rooting hormone.
Symptom: Nitrogen Chlorosis (Yellowing Leaves)
Solution: The parent plant may be struggling to support the branch through the restricted xylem. Fix-It: Apply a foliar spray with a 1-1-1 NPK ratio to provide immediate nutrient uptake through the stomata, bypassing the wounded stem section.
Maintenance:
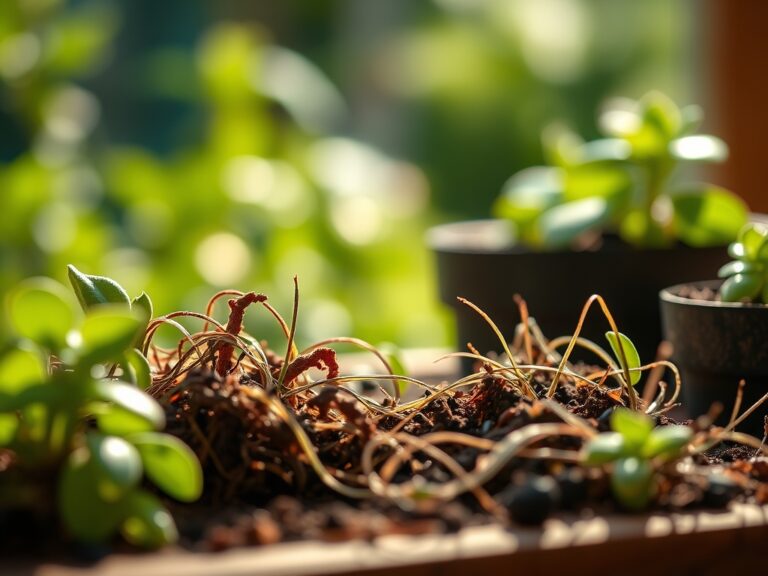
Post-separation maintenance is the most critical period for survival. The new plant has a high shoot-to-root ratio, meaning the small root ball must support a large leaf surface area. Place the new plant in a substrate with high Cation Exchange Capacity, such as a mix of 60% peat and 40% perlite.
Check the moisture levels daily using a soil moisture meter. The goal is to maintain a consistent moisture level equivalent to 1.5 inches of water per week, delivered directly to the root zone. Avoid direct sunlight for the first 14 to 21 days to reduce transpiration stress. Use bypass pruners to remove approximately 20% of the lower foliage; this reduces the water demand on the new roots while the plant establishes itself in its new container.
The Yield:
When the air layered section is successfully potted, the "yield" is a genetically identical clone that retains the maturity of the parent. For fruiting houseplants like Citrus or Monstera deliciosa, this means the new plant may flower or fruit within the first year, whereas a seed-grown plant would take years to reach the reproductive stage.
To ensure "day-one" freshness and minimize transplant shock, keep the humidity around the new plant at 60% to 70% using a humidifier. Do not apply granular fertilizer for at least six weeks; allow the root tips to harden and expand into the new potting medium before introducing mineral salts that could cause osmotic burn.
FAQ:
Which plants are best for air layering?
Woody or semi-woody species like Ficus, Philodendron, Camellia, and Dracaena respond best. These plants have a robust cambium layer that easily differentiates into root tissue when the phloem is interrupted and treated with IBA hormones.
How long does air layering take?
Most houseplants require 8 to 12 weeks to develop a sufficient root mass. The duration depends on the ambient temperature (70-75 degrees Fahrenheit is ideal) and the plant's specific metabolic rate during its active growing season.
Can I air layer in the winter?
It is possible but not recommended. Lower light levels and cooler temperatures slow down the plant's metabolism. This results in a higher failure rate and a longer period where the wound is susceptible to pathogens and desiccation.
What happens if the roots are brown?
Brown or mushy roots indicate fungal infection or lack of oxygen. Healthy new roots should be white or light tan and firm to the touch. If they are brown, the layer has likely failed and should be removed.