5 Handy Ways How to Build a Potting Station
The smell of damp peat moss and the gritty texture of perlite define the workspace of a serious horticulturalist. Maintaining high turgor pressure in a seedling requires a dedicated environment where moisture and temperature remain controlled. Learning how to build a potting station is the first step toward professional-grade plant propagation. A well-constructed bench prevents substrate contamination and ensures that the rhizosphere remains undisturbed during critical transplanting phases. Efficiency in the garden begins with a centralized, ergonomic hub.
Materials:
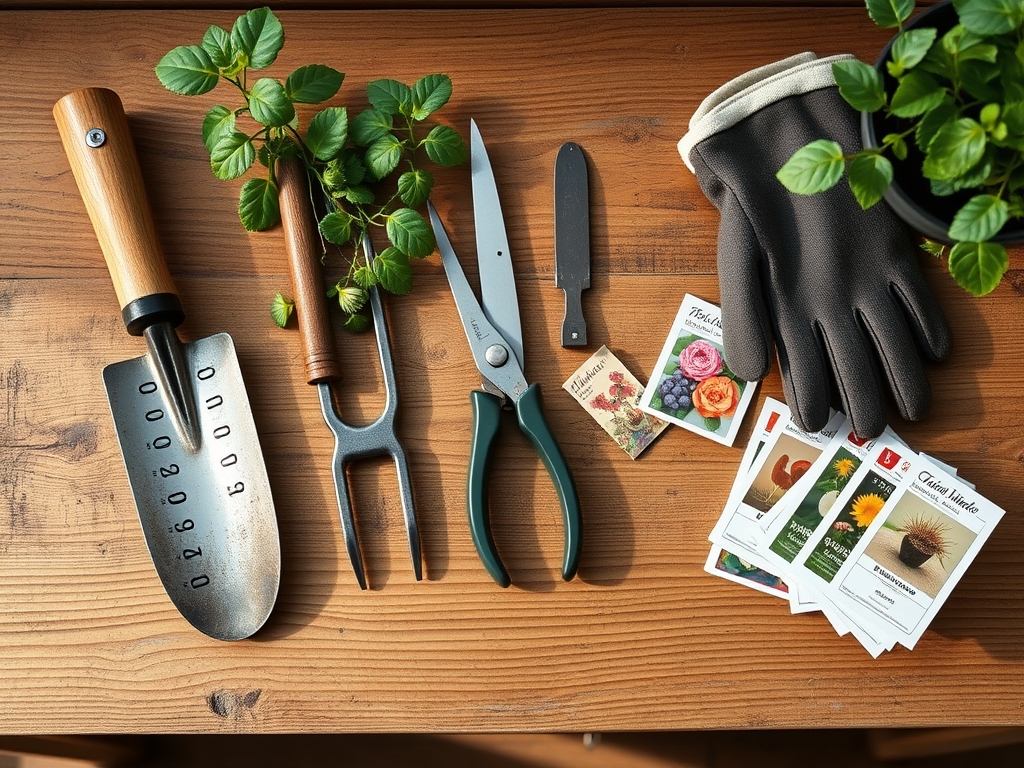
The foundation of any potting station is the substrate management system. You must stock materials that cater to specific botanical needs. For general vegetative growth, maintain a supply of **friable loam** with a **pH range of 6.0 to 7.0**. This allows for optimal nutrient availability. Your station should have dedicated bins for specific NPK amendments.
A standard "Starter Mix" requires a ratio of 1-2-1 to encourage root development without excessive foliar elongation. For heavy feeders, keep a 10-10-10 balanced granular fertilizer on hand. The physical texture of your primary potting medium must be porous enough to allow for a Cation Exchange Capacity (CEC) that holds onto essential ions like Magnesium and Calcium while permitting rapid drainage. Use a mix of 60 percent sphagnum peat, 20 percent perlite, and 20 percent vermiculite to achieve this balance.
Timing:
Successful potting operations align with the local frost-date windows and Hardiness Zones. In Zones 5 through 7, the primary window for indoor seed starting begins 6 to 8 weeks before the last predicted frost. This timing is critical for the biological clock of the plant. As a seedling moves from the vegetative stage to the reproductive stage, its metabolic demands shift.
Understanding the photoperiod is essential. Most temperate species require 14 to 16 hours of light to prevent premature senescence or "bolting." When the soil temperature at the station reaches a consistent 65 to 70 degrees Fahrenheit, microbial activity in the rhizosphere accelerates. This is the signal to begin the hardening-off process. If you ignore these thermal cues, you risk transplant shock, which halts growth for up to 14 days.
Phases:
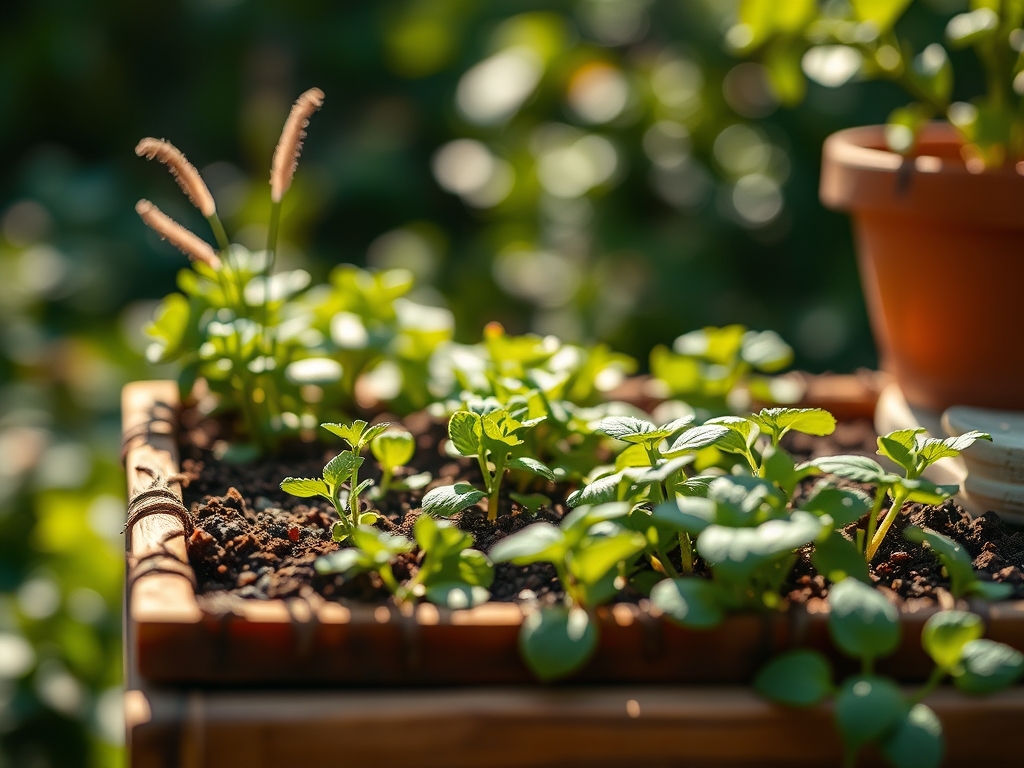
Sowing
Begin by sterilizing all trays with a 10 percent bleach solution to eliminate pathogens. Fill cells with a fine-textured seed-starting mix. Press seeds to a depth of two to three times their diameter. Use a heat mat to maintain a constant 75 degree substrate temperature for tropical species.
Pro-Tip: Maintain consistent moisture to trigger imbibition. This is the biological process where the seed coat absorbs water, activating enzymes that break down stored starches into energy for the embryo.
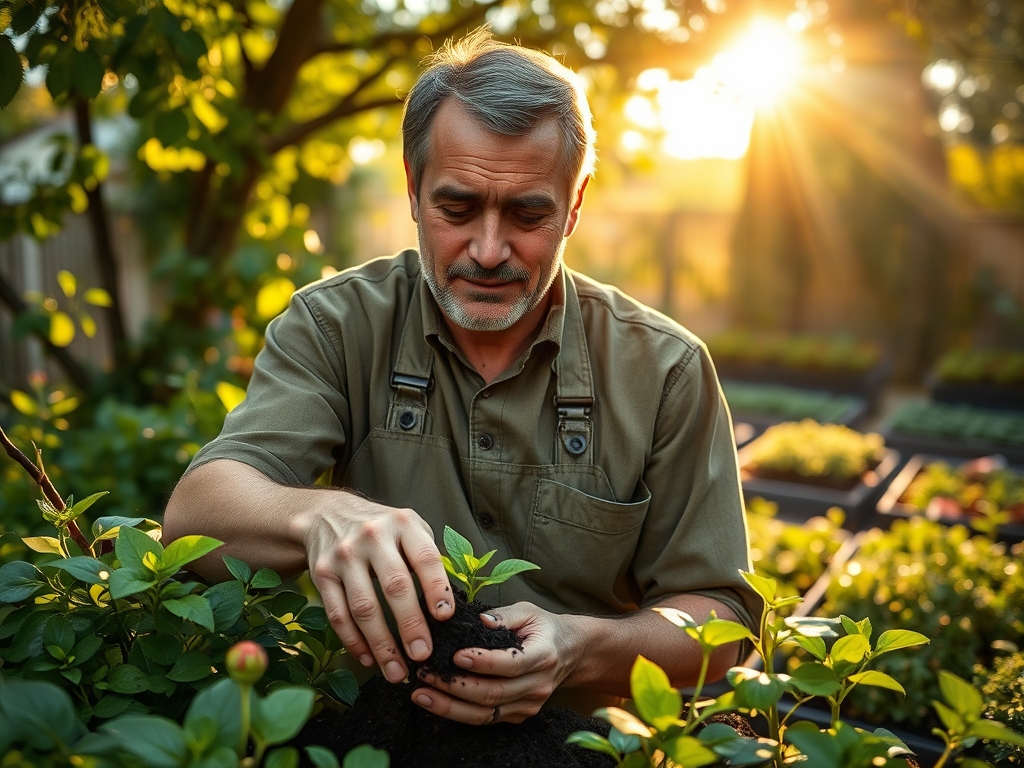
Transplanting
Move seedlings when the first set of "true leaves" appears. This transition requires careful handling of the root ball to avoid damaging the fine root hairs. Use a hori-hori knife to gently lift the plant from its cell. Ensure the new container has adequate drainage holes to prevent anaerobic conditions.
Pro-Tip: Inoculate the new potting site with mycorrhizal fungi. This creates a symbiotic relationship where the fungi extend the root system's reach, significantly increasing the uptake of phosphorus and water.
Establishing
Once transplanted, place the pots in a location with controlled airflow. This strengthens the stems through a process called thigmomorphogenesis. Monitor the soil moisture meter daily. The goal is to keep the substrate at 60 percent field capacity.
Pro-Tip: Use a weak solution of seaweed extract to suppress auxin dominance in the apical meristem. This encourages lateral branching, resulting in a sturdier, bushier plant architecture rather than a leggy specimen.
The Clinic:
Physiological disorders often manifest at the potting station before plants reach the field. Use this diagnostic guide to identify and correct issues immediately.
Symptom: Interveinal Chlorosis
This appears as yellowing between the leaf veins while the veins remain green.
Solution: This is typically a Magnesium deficiency. Apply a foliar spray of Epsom salts (1 tablespoon per gallon of water) to restore chlorophyll production.
Symptom: Tip Burn
The edges of new leaves appear scorched or withered.
Solution: This indicates a Calcium deficiency or inconsistent watering. Calcium is immobile within the plant; if transpiration stops due to high humidity or dry soil, the mineral cannot reach the growing tips.
Symptom: Purpling of Lower Leaves
The underside of older leaves turns a distinct purple or dark red hue.
Solution: This is a classic Phosphorus deficiency. Check the soil pH. If the pH is below 5.5, phosphorus becomes chemically locked and unavailable to the roots. Raise the pH using dolomitic lime.
Fix-It: Nitrogen Chlorosis
If the entire plant turns a pale lime green, it lacks Nitrogen. Apply a high-nitrogen liquid feed with an NPK of 4-1-1 to rapidly boost vegetative growth and restore deep green color.
Maintenance:
A potting station requires rigorous upkeep to remain a sterile and functional environment. Clean your bypass pruners with isopropyl alcohol after every use to prevent the spread of viral pathogens. The station floor should be swept daily to remove spilled substrate that can harbor fungus gnats.
Irrigation management is the most frequent task. Most containerized plants require approximately 1.5 inches of water per week, delivered directly to the soil surface at the drip line. Avoid wetting the foliage, as this increases the risk of fungal infections like powdery mildew. Use a soil moisture meter to verify that the root zone is damp but not saturated. If the meter reads in the "Red" zone, allow the top one inch of soil to dry out completely before the next application.
The Yield:
For those using their potting station for herbs or edible starts, harvesting is a science of timing. Harvest leafy greens in the early morning when turgor pressure is at its peak. This ensures the cells are fully hydrated, providing the crispest texture.
Use sharp, sterilized snips to make a clean cut at a 45-degree angle just above a node. This promotes rapid healing and secondary growth. For "day-one" freshness, immediately submerge the stems in 40 degree Fahrenheit water to remove field heat and slow the rate of respiration. This technique extends the shelf life of the harvest by up to 30 percent.
FAQ:
What is the best height for a potting station?
Construct the work surface to be 34 to 36 inches high. This height aligns with the average waistline, reducing lumbar strain during long sessions of repetitive tasks like pricking out seedlings or filling heavy nursery pots.
How do I prevent damping off at my station?
Ensure high air circulation and avoid overwatering. Damping off is caused by soil-borne fungi that thrive in cool, wet conditions. Use a sterilized, soilless medium and maintain a substrate temperature above 65 degrees Fahrenheit.
Can I reuse potting soil from previous years?
Reusing soil is risky due to pathogen accumulation and nutrient depletion. If you must reuse it, solarize the soil by heating it to 140 degrees Fahrenheit for four hours to kill weed seeds and harmful microbes.
What lighting is best for a potting bench?
Use full-spectrum LED lights that provide at least 2,000 to 3,000 lumens per square foot. Ensure the light source is adjustable so it can remain 3 to 6 inches above the plant canopy as the seedlings grow.