9 Practical Steps to Install a Garden Sink
The smell of bruised tomato foliage and damp earth defines a productive workspace; yet, without a dedicated water source, field hygiene suffers. Managing the turgor pressure of harvested greens requires immediate hydration to prevent cellular collapse. Learning the steps to install a garden sink transforms a chaotic plot into a professional grade station. A functional sink allows for the immediate removal of grit and pathogens from root crops before they enter the kitchen. This installation ensures that the rhizosphere remains in the field while the harvest stays pristine. Proper plumbing prevents the accumulation of stagnant water, which can harbor anaerobic bacteria or fungal spores. By integrating a sink into your potting bench or outdoor workstation, you streamline the workflow from soil to table. This guide provides the technical framework to establish a durable, high performance utility station.
Materials:
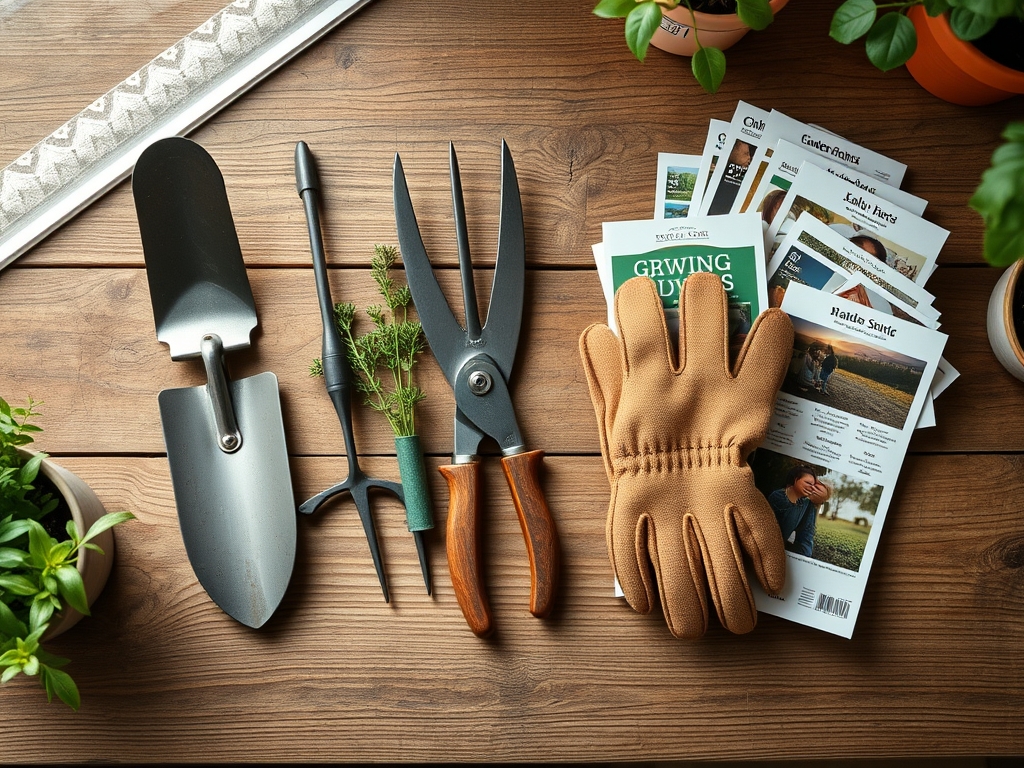
Constructing a garden sink requires materials that withstand high humidity and fluctuating pH levels. The surrounding soil must be a **friable loam** with a high Cation Exchange Capacity (CEC) to manage greywater runoff if you are not diverting to a sewer line. For the substrate beneath the drainage area, use a mix of coarse sand and pea gravel to facilitate rapid percolation.
If you plan to utilize the greywater for nearby ornamental beds, monitor the NPK ratios of any soaps used. Standard garden soils benefit from a balanced 10-10-10 NPK profile, but excessive sodium from detergents can disrupt the soil structure. Ensure the sink basin is non-porous; stainless steel or heavy duty polymer is preferred to resist UV degradation and acidic leaching. You will need a 3/4 inch braided stainless steel hose for the supply line and a 1.5 inch PVC pipe for the drain assembly.
Timing:
Installation should occur during the dormant season or early spring, specifically between Hardiness Zones 4 and 9, before the ground thaws completely but after the risk of deep permafrost has passed. In Zone 6, this window typically opens in late March. Aligning the installation with the "Biological Clock" of your garden is vital. You must complete heavy construction before plants transition from the vegetative stage to the reproductive stage to avoid disturbing root systems during peak nutrient uptake.
Avoid installation during periods of heavy saturation. Soil compaction occurs when heavy equipment or repeated foot traffic presses against wet earth; this destroys the macropores necessary for oxygen exchange. Aim for a soil moisture level where a squeezed handful crumbles easily rather than forming a solid bolus.
Phases:

Sowing the Foundation
The first of the steps to install a garden sink involves site selection and excavation. Dig a trench 12 to 18 inches deep for the water supply line to protect it from thermal expansion and mechanical damage from a hori-hori knife or shovel.
Pro-Tip: Ensure the trench floor is level. This prevents air pockets in the line that can cause "water hammer," which vibrates the soil and can disrupt the mycorrhizal symbiosis in the surrounding fungal networks.
Transplanting the Hardware
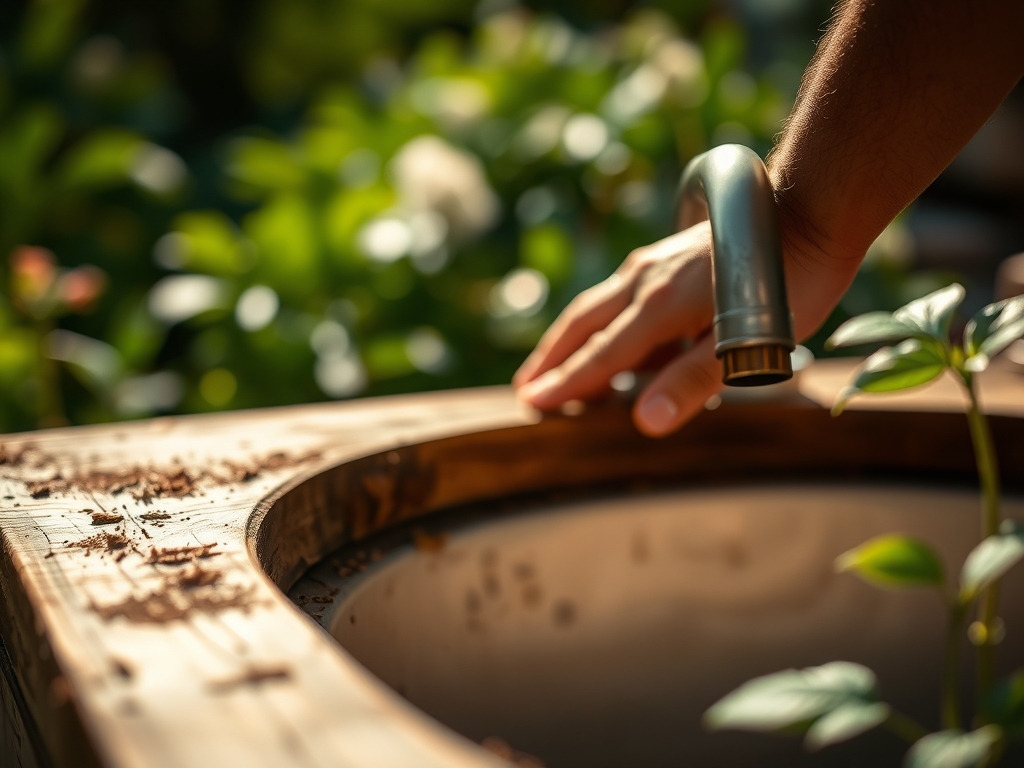
Secure the sink basin to a pressure treated frame. Connect the faucet assembly using Teflon tape on all threaded joints to ensure a watertight seal. If using a hose bib adapter, install a backflow preventer to protect your primary water source from contamination.
Pro-Tip: Use a soil moisture meter to check the area around the drain. Maintaining a consistent moisture gradient prevents localized salt accumulation, which can trigger auxin suppression in nearby sensitive cultivars.
Establishing the Drainage
Route the drain pipe away from the foundation of your home. If using a French drain system, the pit should be 3 feet deep and filled with graduated aggregate. This allows the water to filter through the soil profile, utilizing the natural filtration capacity of the earth.
Pro-Tip: Plant moisture loving species like Salix or Sambucus near the drainage exit. Their high transpiration rates help manage the extra volume through phototropism and active water transport, preventing the soil from becoming anoxic.
The Clinic:
Physiological disorders in the garden often manifest near water stations due to localized environmental shifts.
- Symptom: Interveinal chlorosis (yellowing between leaf veins) on nearby plants.
- Solution: This often indicates Nitrogen chlorosis or Iron deficiency caused by high pH greywater. Test the soil pH; if it exceeds 7.5, apply elemental sulfur to lower it.
- Symptom: Leaf Wilting despite wet soil.
- Solution: This suggests root rot (Phytophthora). The drainage pit is likely clogged. Clear the aggregate and ensure the water is not pooling in the rhizosphere.
- Symptom: Salt crusting on the soil surface.
- Solution: Flush the area with 2 inches of fresh water to leach accumulated carbonates and sodium deeper into the subsoil.
Maintenance:
A garden sink requires rigorous upkeep to remain a sanitary asset. Check all connections for leaks every spring as the ground shifts. Use bypass pruners to keep vegetation at least 12 inches away from the sink structure to allow for airflow and prevent fungal colonization.
During the peak growing season, ensure the drainage area receives no more than 1.5 inches of water per week total, including sink runoff and irrigation. If the soil becomes compacted, use a broadfork to aerate the perimeter without damaging the buried lines. In winter, blow out the lines with compressed air or insulate them with foam sleeves to prevent bursting at temperatures below 32 degrees Fahrenheit.
The Yield:
While a sink does not produce a crop, it dictates the quality of your yield. For leafy greens, harvest in the early morning when turgor pressure is at its peak. Immediately submerge the greens in a cold "kill bath" in the sink to remove field heat. This process slows senescence (the aging process) and preserves the crispness of the cell walls. For root crops, use a soft brush to remove soil over the sink; this keeps the "clean zone" of your kitchen free from soil borne pathogens like Listeria or E. coli. Handling plants post-harvest with cold, clean water ensures "day-one" freshness for up to 72 hours longer than dry-stored produce.
FAQ:
How deep should I bury the water lines?
Bury lines 12 to 18 inches deep. In colder climates, go below the frost line, which can be 36 inches or more. This prevents freezing and protects pipes from damage during routine tilling or digging with garden tools.
Can I drain my garden sink directly onto my lawn?
Only if using biodegradable, plant safe soaps. Ensure the area has high percolation rates. Excessive greywater can lead to soil saturation, causing anaerobic conditions that kill grass roots and encourage fungal pathogens like Pythium.
What is the best material for an outdoor sink?
304-grade stainless steel is the industry standard. It resists corrosion from acidic soil contact and does not leach chemicals into the water. It is also easy to sanitize, which is critical for maintaining food safety during harvest.
Do I need a P-trap for an outdoor garden sink?
If the sink drains into a sewer or septic system, a P-trap is mandatory to block sewer gases. If draining into a greywater pit or French drain, a trap is unnecessary and may actually freeze and crack in winter.