10 Pro Ways How to Build a Garden Pergola
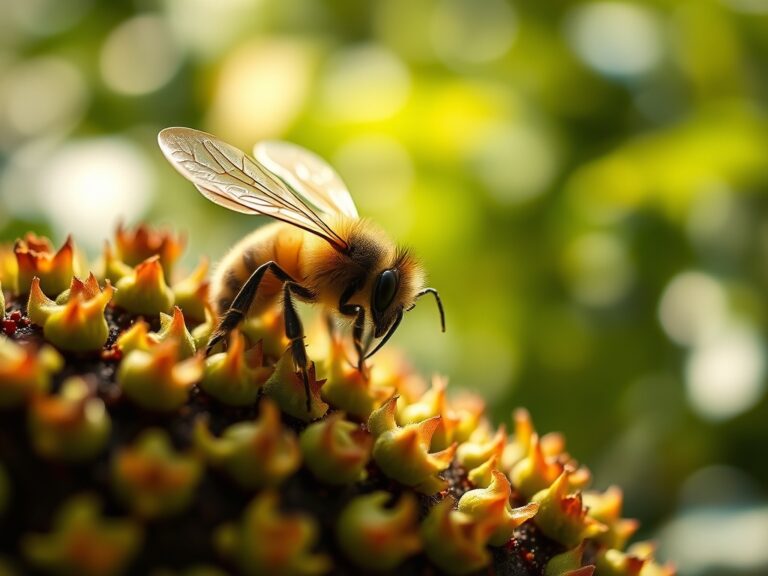
The smell of freshly turned, friable loam signals the start of a structural project that defines the vertical architecture of a landscape. When you learn how to build a garden pergola, you are not merely assembling timber; you are creating a framework for phototropic climbers to maximize their photosynthetic surface area. A well-constructed pergola manages light infiltration and air circulation, reducing the humidity that fosters fungal pathogens in the lower canopy. Success requires a mastery of load-bearing physics and an understanding of the botanical requirements of the species that will eventually colonize the rafters.
Materials:
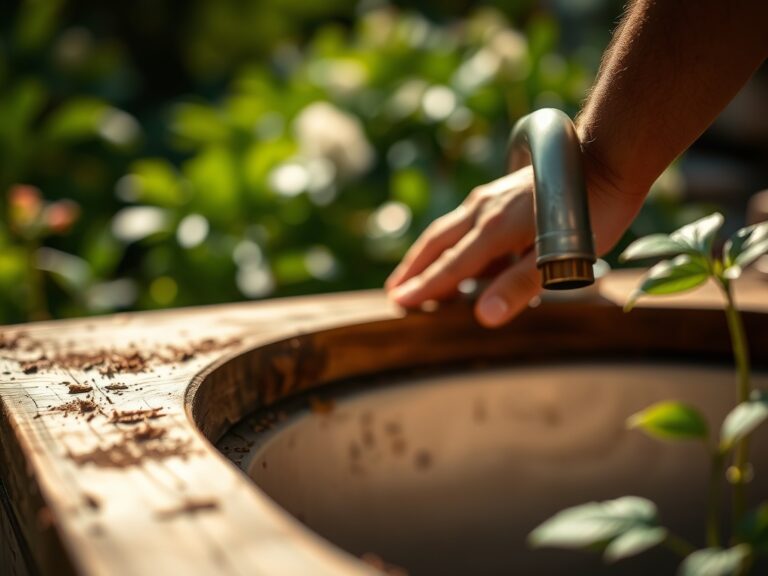
Construction begins with the substrate. The footings must be anchored in soil with a high Cation Exchange Capacity (CEC) to ensure long-term stability and nutrient availability for surrounding flora. Ideal soil for the base area is a **friable loam with a pH between 6.0 and 7.0**. Before setting posts, test the soil; if the pH is below 5.5, incorporate dolomitic lime to raise alkalinity.
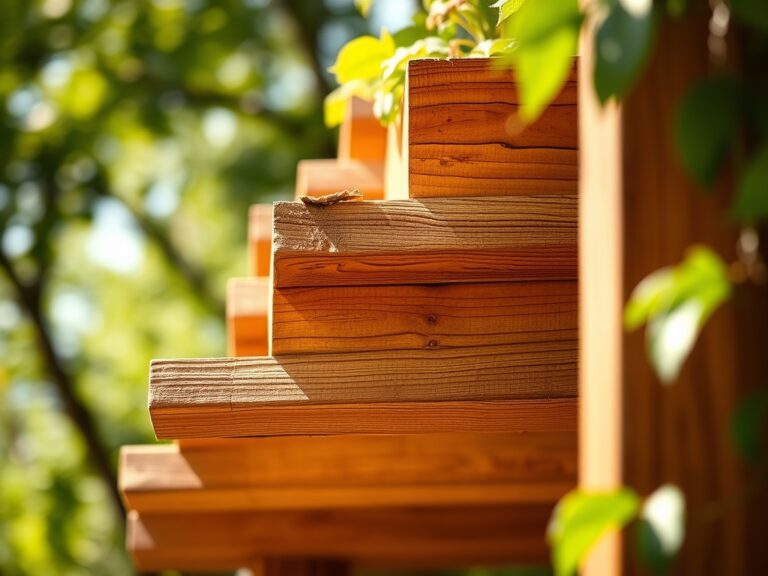
For the vegetation intended to climb the structure, prepare the rhizosphere with a balanced NPK ratio of 10-10-10 for general establishment. If flowering vines like Wisteria or Clematis are the goal, transition to a 5-10-10 formula to prioritize phosphorus for bud development over nitrogen-heavy vegetative growth. Use pressure-treated lumber rated for ground contact or rot-resistant species like Western Red Cedar to withstand the constant moisture of the transpiration zone.
Timing:
Timing the installation is critical for the survival of the surrounding ecosystem. Execute the heavy construction phase during the dormant season, typically between late autumn and early spring, depending on your Hardiness Zone. In Zones 5 through 7, this window falls between November and March. Constructing during the "Biological Clock" transition—when plants move from senescence to the first signs of bud break—minimizes root compaction and mechanical damage to emerging perennials.
Avoid heavy soil disturbance when the ground is saturated. Working in wet soil collapses the macropores necessary for oxygen diffusion to the roots. Wait until the soil temperature reaches a consistent 50 degrees Fahrenheit (10 degrees Celsius) before introducing new climbers to the structure. This ensures the root system can establish hydraulic conductance before the high-evapotranspiration demands of summer.
Phases:

Sowing and Foundation
Excavate post holes to a depth of at least 36 inches, or below the local frost line, to prevent heave. The diameter should be three times the width of the post. Fill the base with 4 inches of crushed aggregate to facilitate drainage away from the timber.
Pro-Tip: When backfilling with concrete, slope the surface away from the post. This prevents water from pooling at the base, which would otherwise lead to anaerobic conditions and fungal decay of the wood fibers.
Transplanting and Anchoring
Once the frame is secure, introduce your climbing species at the base of the posts. Dig a hole twice the width of the root ball. Ensure the crown sits level with the soil surface to prevent stem rot. If using woody vines, install heavy-gauge copper or stainless steel wire in a grid pattern across the posts.
Pro-Tip: Utilize auxin suppression by training primary canes horizontally along the lower rafters. This breaks apical dominance, encouraging the plant to produce more lateral shoots and a denser canopy of foliage and flowers.
Establishing the Canopy
As the plants reach the rafters, use soft ties to guide their growth. Do not use wire directly on the stems, as this can girdle the vascular tissue (xylem and phloem) as the plant increases in girth. Monitor the turgor pressure of the leaves daily during the first growing season.
Pro-Tip: Inoculate the planting hole with mycorrhizal fungi. This symbiotic relationship extends the root system's reach, increasing the uptake of phosphorus and water, which is vital for plants growing in the rain shadow created by the pergola roof.
The Clinic:
Physiological disorders often manifest when the structural environment clashes with biological needs.
-
Symptom: Interveinal chlorosis (yellowing between leaf veins).
-
Solution: This typically indicates Iron or Magnesium deficiency. Check the soil pH; if it is too high, iron becomes insoluble. Apply chelated iron or Epsom salts (Magnesium Sulfate) to restore chlorophyll production.
-
Symptom: Flagging or wilting despite moist soil.
-
Solution: This suggests Root Rot (Phytophthora) caused by poor drainage at the pergola base. Improve the soil structure by adding organic matter to increase porosity or install a French drain.
-
Symptom: Stunted growth and necrotic leaf margins.
-
Solution: Potassium deficiency is the likely culprit. Potassium regulates stomatal opening; without it, the plant cannot manage transpiration. Apply a high-potash fertilizer (0-0-50) to the drip line.
Maintenance:
A pergola requires precise hydrological management. Deliver 1.5 inches of water per week at the drip line using a soaker hose to ensure deep root penetration. Use a soil moisture meter to verify that the moisture has reached a depth of 6 to 8 inches.
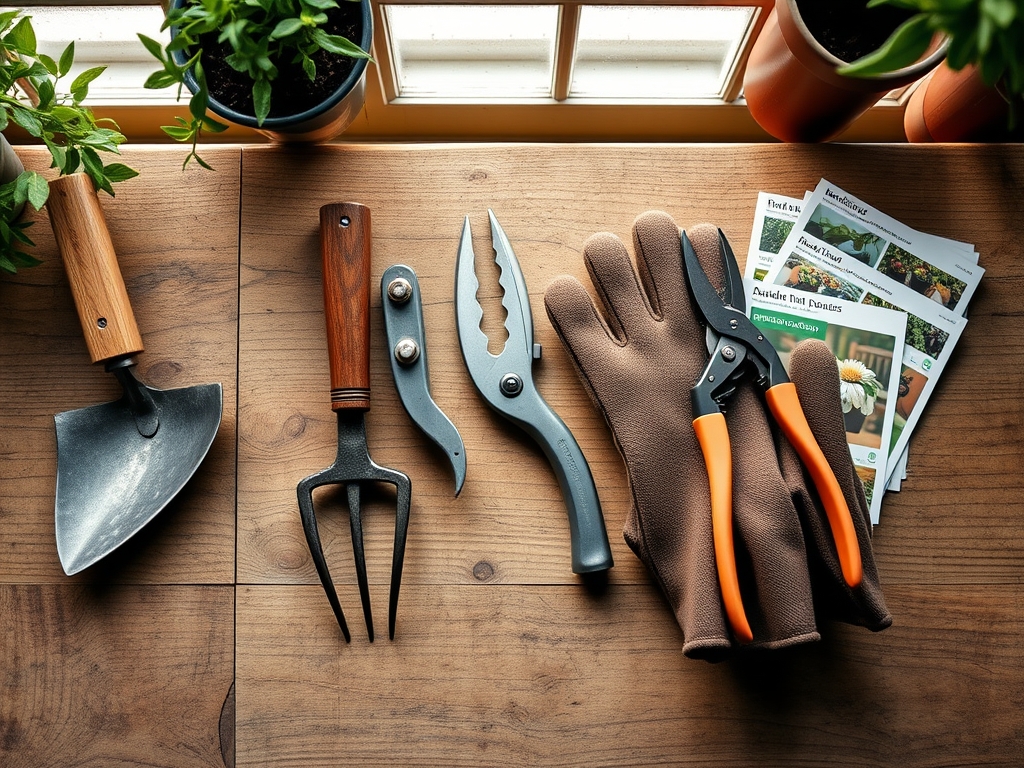
Pruning is the most critical maintenance task. Use bypass pruners for green wood and a pruning saw for limbs over 1 inch in diameter. Clean your tools with a 10 percent bleach solution between plants to prevent the spread of pathogens. Use a hori-hori knife to remove invasive weeds competing for nutrients in the rhizosphere. Every three years, inspect the structural integrity of the timber, looking for signs of boring insects or moisture-induced degradation.
The Yield:
If your pergola supports viticulture (grapes) or hops, harvest timing is determined by sugar content and aromatic oils. For grapes, use a refractometer to measure Brix levels; a reading of 18 to 22 is ideal for most varieties. Harvest in the cool of the early morning to maintain high turgor pressure and prevent the fruit from bruising.
For floral yields like Jasmine or Honeysuckle, harvest flowers just as they begin to open. Place the stems immediately into 100-degree Fahrenheit water to eliminate air bubbles in the xylem, ensuring maximum vase life and scent retention. Post-harvest, prune the vine to the nearest "node" to stimulate the next reproductive cycle.
FAQ:
How deep should pergola posts be buried?
Posts must be buried at least 36 inches deep or below the local frost line. This prevents the structure from shifting during freeze-thaw cycles and provides the necessary leverage to support the weight of heavy, mature woody vines.
What is the best wood for a garden pergola?
Western Red Cedar and Redwood are the premier choices due to their natural tannins, which resist decay and insect infestation. Pressure-treated lumber is a cost-effective alternative but must be rated for ground contact to ensure longevity in moist soil.
How do I stop my pergola from wobbling?
Install diagonal knee braces at the junction of the posts and beams. These braces create rigid triangles that counteract lateral forces from wind or the weight of a heavy canopy, ensuring the structural integrity of the frame over time.
Can I grow grapes on a pergola?
Yes, but you must ensure the structure can support significant weight. A mature grapevine can weigh several hundred pounds. Use heavy-duty hardware and prune annually to manage the biomass and maintain air circulation within the fruiting zone.