10 Basic Steps to Loosen Heavy Soil
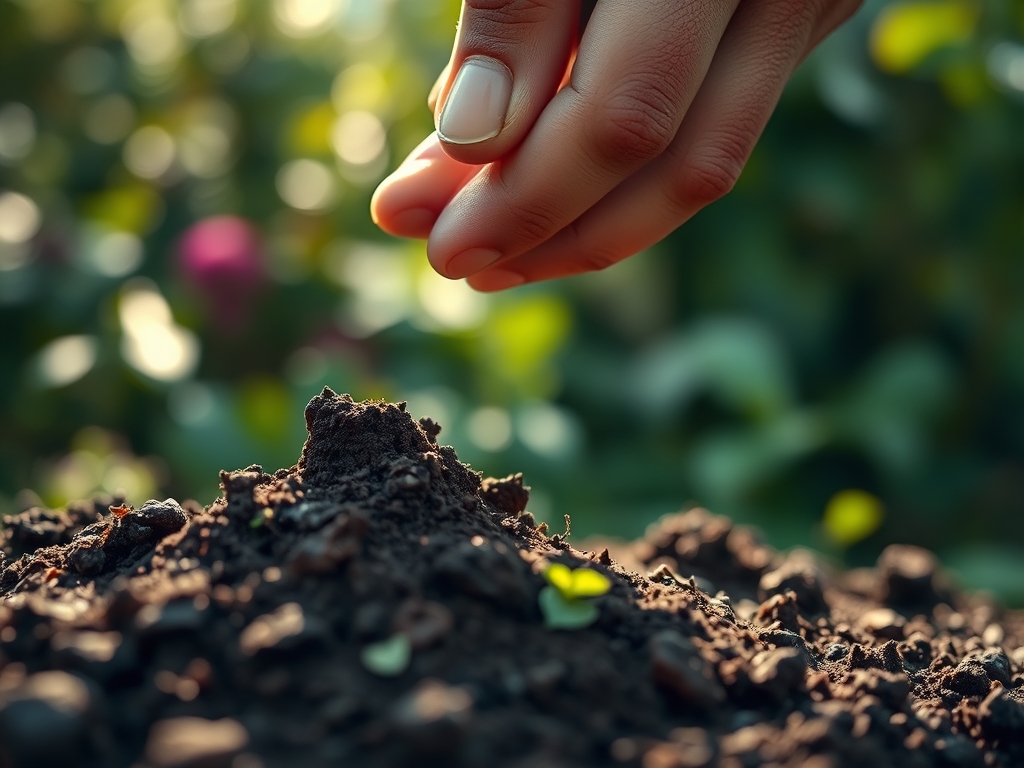
Heavy clay soil feels like cold, wet concrete against the blade of a spade. It smells of anaerobic decomposition when saturated; a sharp, metallic scent that indicates a lack of oxygen in the rhizosphere. When you squeeze a handful, it holds its shape with stubborn persistence, lacking the granular crumble of a healthy substrate. To achieve the high turgor pressure required for upright plant growth, you must implement specific steps to loosen heavy soil. This process transforms a dense, suffocating medium into a porous network capable of supporting rapid gas exchange and deep root penetration. Without intervention, roots hit a physical wall, leading to stunted growth and nutrient lockout.
Materials:
The objective is to move the soil toward a friable loam texture. This requires specific inputs to balance the Cation Exchange Capacity (CEC) and ensure nutrients remain available to the plant.
- Organic Matter: Well-composted leaf mold or aged manure with a balanced NPK ratio of 1-1-1. This introduces humic acid to flocculate clay particles.
- Gypsum (Calcium Sulfate): Essential for sodic soils. It displaces sodium with calcium, improving structure without raising the pH level above the ideal 6.5 to 7.0 range.
- Coarse Sharp Sand: Use only in large volumes (at least 50 percent by volume) to avoid creating a mortar-like consistency.
- Expanded Shale or Perlite: Physical lighteners that maintain macropores for oxygen.
- Cover Crop Seed: Daikon radish or cereal rye to provide biological drilling.
Timing:
Timing is dictated by the USDA Hardiness Zones and the moisture content of the earth. In Zones 4 through 7, the primary window for soil modification is late autumn, after the first killing frost but before the ground freezes solid. This allows the freeze-thaw cycle to physically fracture clay aggregates over winter.
Do not work heavy soil when it is wet. Compaction occurs instantly if you compress clay while its pores are filled with water. The "Biological Clock" of the soil involves a transition from the dormant winter state to the active microbial surge in spring. Aim to have all structural amendments incorporated at least 30 days before the last frost date to allow the soil chemistry to stabilize before the vegetative growth phase begins.
Phases:

Sowing and Preparation
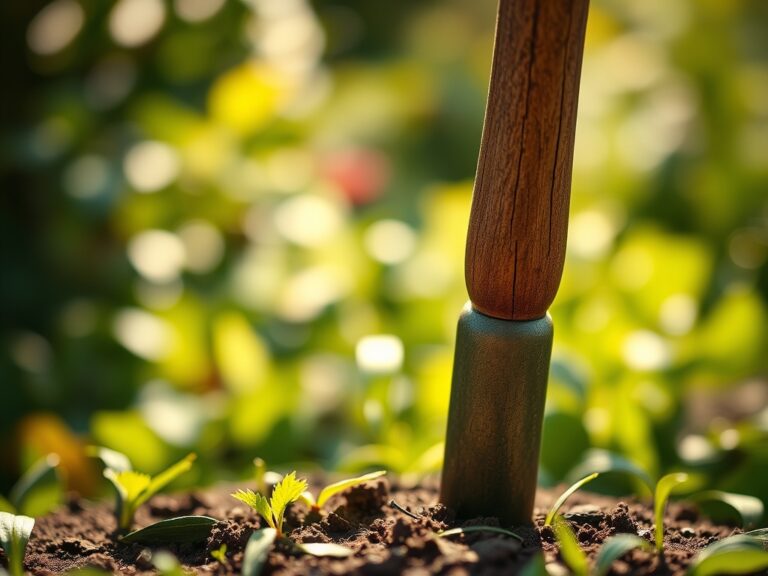
Clear the surface of all debris. Apply a 3-inch layer of organic amendments across the site. Use a broadfork to lift the soil rather than a tiller. Tilling at high speeds can pulverize soil aggregates into a fine dust that settles into an even denser hardpan.
Pro-Tip: Focus on preserving the existing mycorrhizal symbiosis. Excessive inversion of soil layers destroys the fungal networks that help roots absorb phosphorus. Lifting the soil creates air pockets without decapitating the fungal hyphae.
Transplanting into Loosened Soil
When moving starts into the ground, dig a hole twice as wide as the root ball but no deeper. This ensures the root crown sits exactly at the soil line. Backfill with a mix of native soil and finished compost to prevent the "bathtub effect" where water collects in a hole of soft soil surrounded by hard clay.
Pro-Tip: High auxin suppression occurs when roots are physically constricted. By loosening the surrounding 18 inches of soil, you reduce the mechanical stress on the root cap, allowing the plant to prioritize upward vegetative growth rather than defensive root thickening.
Establishing the Root System
Once planted, mulch the area with 2 inches of arborist wood chips. This prevents the surface from crusting under the sun, which can reach temperatures over 100 degrees Fahrenheit on bare clay, killing surface-level beneficial bacteria.
Pro-Tip: Deep irrigation encourages positive phototropism in reverse; roots grow toward moisture gradients. Slow, deep watering sessions establish a vertical root architecture that makes the plant drought-resistant.
The Clinic:
Heavy soil often leads to physiological disorders caused by poor drainage or localized nutrient imbalances.
- Symptom: Interveinal Chlorosis. Yellowing leaves with green veins.
- Solution: This indicates a lack of iron or magnesium, often caused by a high pH in clay. Apply chelated iron or lower the pH using elemental sulfur to a target of 6.2.
- Symptom: Root Rot (Phytophthora). Wilting despite wet soil and a foul odor from the root zone.
- Solution: Improve drainage immediately. Incorporate perlite or expanded shale to increase the air-to-water ratio.
- Symptom: Stunted Growth and Purpling Leaves.
- Solution: This is a sign of Phosphorus deficiency, common in cold, compacted clay. Use a 0-10-0 bone meal amendment to provide accessible phosphorus during the early establishment phase.
Fix-It for Nitrogen Chlorosis: If the entire leaf turns pale green or yellow, apply a high-nitrogen liquid fertilizer with a ratio of 10-0-0 for immediate uptake while the organic matter continues to break down.
Maintenance:
Consistent monitoring prevents the soil from reverting to its compacted state. Apply 1.5 inches of water per week at the drip line using a soaker hose to avoid surface runoff. Use a soil moisture meter to ensure the moisture has penetrated at least 8 inches deep.
When weeding, use a hori-hori knife to cut taproots below the soil surface without overturning the entire bed. If a plant shows signs of senescence or disease, remove it using sharp bypass pruners to make clean cuts that heal quickly. Never walk on the growing beds; use permanent paths to ensure the weight of your body does not collapse the delicate macropores you have created.
The Yield:
For root crops grown in loosened soil, harvest occurs when the shoulder of the vegetable is visible at the soil surface. For leafy greens, harvest in the early morning when turgor pressure is at its peak. Use a sharp knife to cut the stems. Immediately plunge the harvest into a cold water bath at 40 degrees Fahrenheit to remove field heat. This preserves the cellular structure and ensures "day-one" freshness by slowing down the metabolic rate of the harvested tissue.
FAQ:
How do I tell if my soil is too heavy?
Perform a ribbon test. Squeeze moist soil into a ball and push it out with your thumb. If the ribbon extends more than two inches before breaking, the clay content is high and requires immediate organic amendments.
Can I use sand to loosen clay?
Only if you add enough to make up 50 to 70 percent of the total soil volume. Adding small amounts of sand to heavy clay creates a substance similar to concrete, which further restricts root growth and drainage.
How deep should I loosen the soil?
Aim for a depth of 12 to 18 inches. Most feeder roots reside in the top foot of soil, but loosening the layer beneath ensures proper drainage and prevents the formation of a restrictive hardpan.
What is the best amendment for heavy clay?
Composted organic matter is the most effective. It improves the Cation Exchange Capacity, feeds beneficial microbes, and physically separates clay particles. Apply a 3-inch layer annually to maintain the soil structure and nutrient profile.