7 Detailed Steps to Lay a Cobble Path
The smell of damp earth after a heavy rain signals the perfect state for soil compaction. When the ground is at field capacity, the moisture acts as a lubricant for mineral particles; this allows them to slide into a dense, stable matrix. Mastering the steps to lay a cobble path requires understanding the structural integrity of the rhizosphere. You are not just placing stones; you are engineering a drainage system that prevents anaerobic conditions in the surrounding soil.
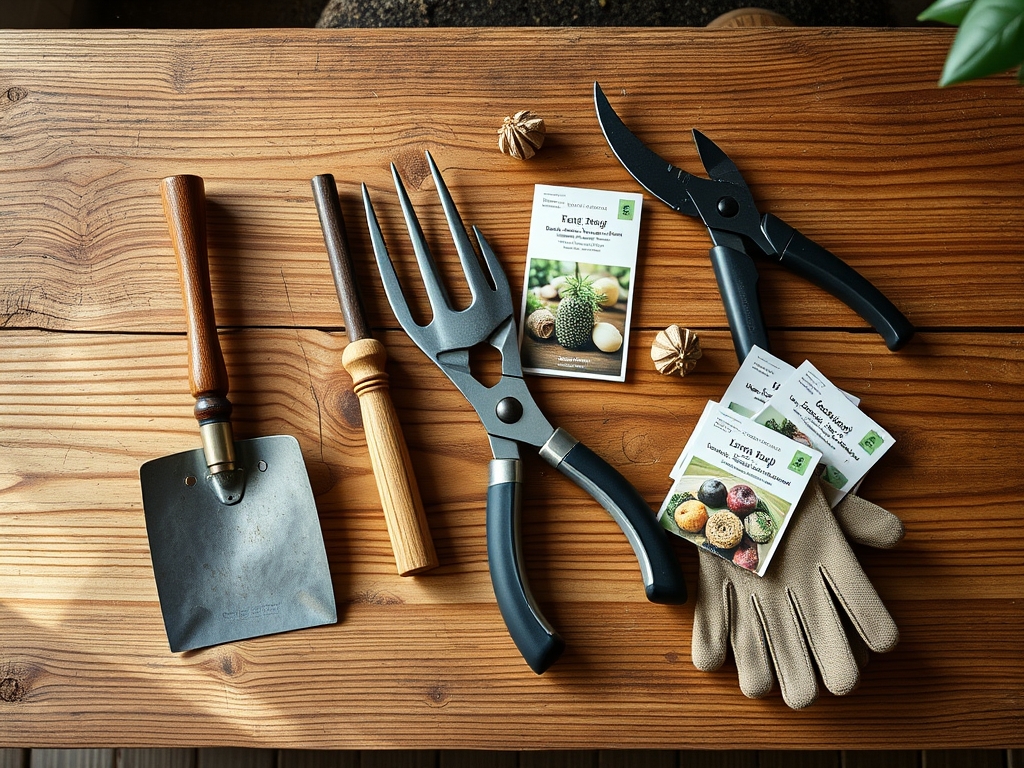
Materials:
A successful path depends on the substrate. The ideal base is a **friable loam** with a high Cation Exchange Capacity (CEC). This ensures that the surrounding vegetation remains healthy despite the proximity of hardscaping. Use a base of crushed limestone or granite fines. For the planting pockets between cobbles, aim for a soil pH of **6.2 to 6.8**.
Incorporate a slow-release organic fertilizer with an NPK ratio of 5-10-5. High phosphorus levels encourage robust root development (rhizogenesis) without triggering excessive vegetative growth that would require constant pruning. The substrate must have a bulk density of approximately 1.3 to 1.5 g/cm3 to support the weight of the cobbles while maintaining enough macropores for gas exchange.
Timing:
Hardiness Zones 4 through 8 provide the most stable windows for installation. Avoid the "Biological Clock" transition from vegetative to reproductive stages in your perimeter plants. For most perennials, this occurs as the photoperiod shifts in late spring. Perform the heavy excavation before the first frost date or after the ground has thawed and reached a consistent temperature of 50 degrees Fahrenheit.
Attempting to lay stone in frozen ground leads to frost heave. When water in the soil pores freezes, it expands by 9 percent, displacing the cobbles and shearing the delicate root hairs of nearby flora. Schedule your installation when the plants are in a state of dormancy or early vegetative growth to minimize transplant shock and auxin suppression.
Phases:

Sowing the Foundation
Excavate the path to a depth of 8 inches. Remove all organic matter and large woody roots. If you encounter significant root systems, use a sharp hori-hori knife to make clean cuts. Clean cuts heal faster than jagged tears, reducing the risk of fungal pathogens entering the vascular system.
Pro-Tip: Maintain a 2 percent slope away from building foundations. This prevents water logging, which causes root rot (hypoxia) by displacing oxygen in the soil pores.
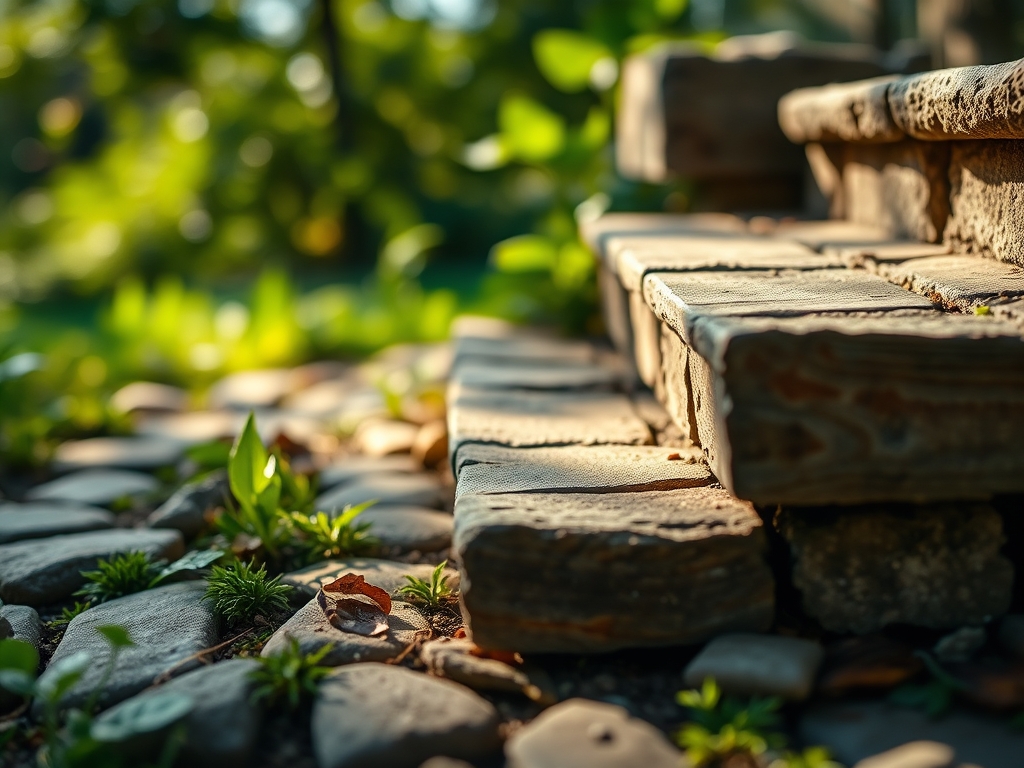
Transplanting the Stones
Lay a 3-inch layer of compacted gravel followed by a 2-inch layer of coarse sand. Place each cobble firmly into the sand bed. Use a rubber mallet to set the stones. Ensure the gaps between stones are at least 1 inch if you plan to integrate creeping thyme or moss.
Pro-Tip: When placing stones near established trees, avoid the critical root zone. Compaction in this area limits mycorrhizal symbiosis, the beneficial relationship between fungi and roots that facilitates phosphorus uptake.
Establishing the Perimeter
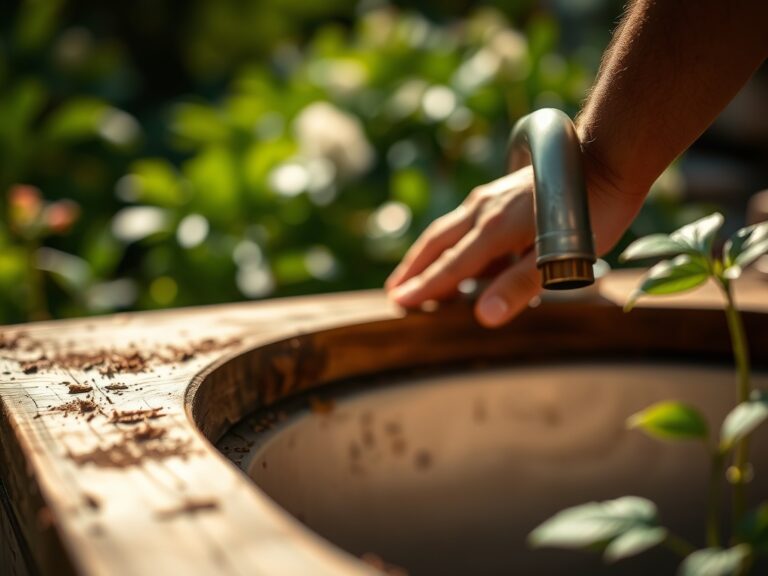
Backfill the gaps with the prepared friable loam. If using "step-able" plants, ensure the crown of the plant is slightly above the soil line to prevent crown rot. Water the area immediately to settle the soil and remove air pockets around the roots.
Pro-Tip: Use a soil moisture meter to verify that the moisture has reached a depth of 6 inches. Consistent moisture triggers phototropism in new shoots, directing growth toward the light and away from the stone edges.
The Clinic:
Physiological disorders often manifest in the plants bordering a new stone path.
-
Symptom: Yellowing of older leaves with green veins (Interveinal Chlorosis).
-
Solution: This indicates a Magnesium deficiency or high pH from leaching limestone. Apply Epsom salts (Magnesium Sulfate) at a rate of 1 tablespoon per gallon of water.
-
Symptom: Stunted growth and purple tint on stems.
-
Solution: Phosphorus deficiency. The cold stones may be keeping the soil temperature too low for phosphorus uptake. Apply a bone meal supplement to the rhizosphere.
-
Symptom: Leaf scorch or marginal necrosis.
-
Solution: Drought stress due to the "heat island effect" of the stones. Increase irrigation frequency during peak solar radiation.
Fix-It for Nitrogen Chlorosis: If the entire leaf turns pale green, the plant lacks Nitrogen. Apply a liquid kelp emulsion to provide an immediate nitrogen boost without burning the roots.
Maintenance:
A cobble path is a living system. It requires 1.5 inches of water per week at the drip line of the surrounding plants. Use bypass pruners to trim any vegetation that encroaches on the walking surface; this prevents the accumulation of organic debris which can break down and create a slick biofilm on the stones.
Check the stability of the stones once a year after the spring thaw. If a stone has shifted, lift it and add more sand to the base. Use a soil moisture meter monthly to ensure the path is not creating a "bathtub effect" where water sits in the excavation trench rather than draining through the subsoil.
The Yield:
If your path is lined with culinary herbs like Thymus serpyllum, harvest in the early morning when the essential oil concentration is at its peak. Use sharp shears to cut only the top one-third of the plant. This prevents senescence and encourages a second flush of growth. For "day-one" freshness, place the stems in a sealed container with a damp paper towel and refrigerate at 40 degrees Fahrenheit.
FAQ:
What is the best base for a cobble path?
A compacted layer of 3 inches of crushed stone topped with 2 inches of coarse sand provides the best drainage and stability. This prevents frost heave and maintains soil aeration for surrounding plant roots.
How do I prevent weeds between cobbles?
Maintain a high density of "step-able" plants like creeping thyme. Their root systems occupy the niche that weeds would otherwise exploit. Use a hori-hori knife to remove any invasive species by the root crown immediately.
Does stone type affect soil pH?
Yes. Limestone cobbles or base material can leach calcium carbonate, raising the soil pH over time. Monitor the area with a pH meter and adjust with elemental sulfur if the levels exceed 7.5.
How deep should I dig for a path?
Excavate to a total depth of 8 inches. This allows for 5 inches of base material and the thickness of the cobble itself. Proper depth ensures the path remains flush with the surrounding grade.