10 Solid Ways How to Build a Stone Garden Bench
The smell of damp earth after a heavy rain signals the perfect state of soil turgor for site preparation. When you learn how to build a stone garden bench, you are not just stacking minerals; you are anchoring a structural element into the living rhizosphere. A successful installation requires understanding the load-bearing capacity of the substrate and the thermal mass of the stone. This project demands precision to ensure the finished seat remains level despite the constant expansion and contraction of the surrounding soil.
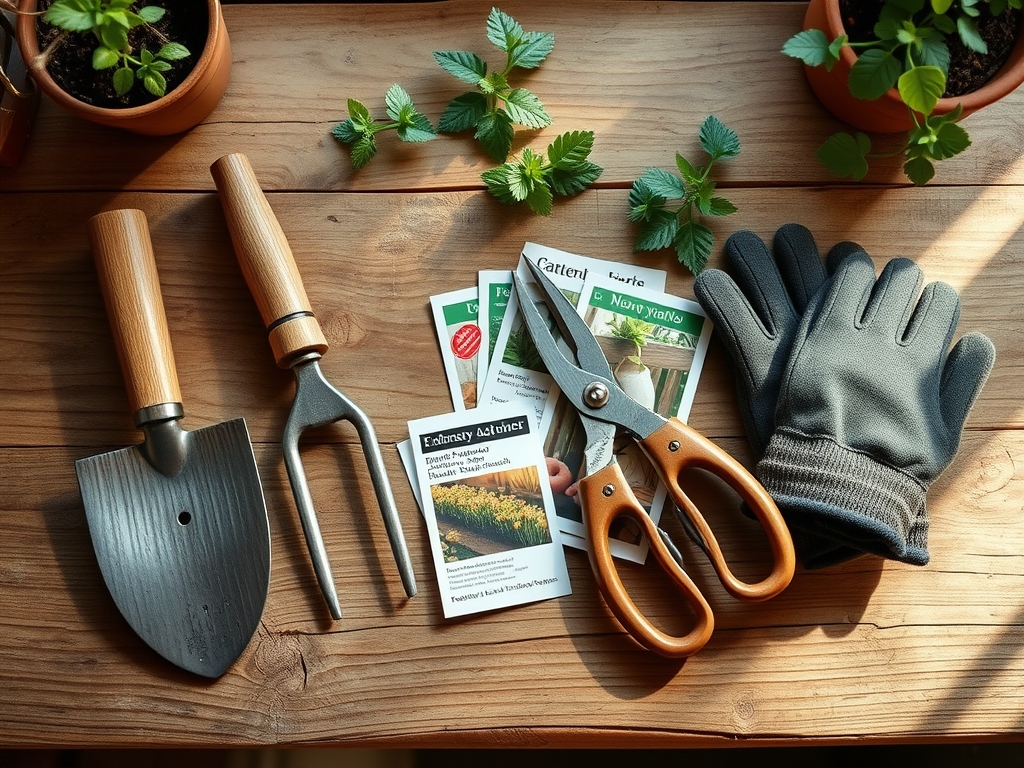
Materials:
The foundation of a stone bench begins with the soil profile. The ideal substrate is a **friable loam** with a high sand content to facilitate drainage. If your site consists of heavy clay with a **low Cation Exchange Capacity (CEC)**, you must excavate deeper to prevent frost heave. Ensure the soil pH remains between **6.0 and 7.0** if you plan to plant acid-loving groundcovers like *Thymus praecox* around the base.
For the structural components, source natural flagstone, fieldstone, or dressed granite. You will also need crushed limestone (3/4-inch minus) for the base layer. If you are integrating planters into the bench design, use a growing medium with an NPK ratio of 10-10-10 for balanced vegetative growth. Avoid high-nitrogen fertilizers that lead to weak, succulent growth susceptible to mechanical damage.
Timing:
Construction should occur during the dormant season for most temperate plants, specifically in Hardiness Zones 4 through 7 between late autumn and early spring. This window avoids the peak reproductive stages of surrounding flora, preventing stress from root disturbance. Observe the biological clock of your garden; wait until the first hard frost has induced senescence in perennial borders. This timing ensures that any accidental soil compaction near the bench site does not interfere with the active transpiration or nutrient uptake of your specimens.
Phases:
Sowing the Foundation
Excavate a trench 8 to 10 inches deep and 4 inches wider than the bench footprint. Fill the cavity with crushed stone in 2-inch lifts, compacting each layer with a hand tamper. A stable base prevents the bench from sinking into the subsoil.
Pro-Tip: Proper compaction prevents air pockets that disrupt mycorrhizal symbiosis. By maintaining soil density at the perimeter, you ensure that beneficial fungi can continue to transport phosphorus to nearby root systems without interruption from soil shifts.
Transplanting the Stone
Select two large, flat stones for the pillars and one massive slab for the seat. The pillars must be set perfectly level to distribute the gravitational load. Use a spirit level frequently. If the seat slab is uneven, use small, flat "shims" of stone to stabilize the contact points.
Pro-Tip: When placing the seat, ensure a slight 1-degree pitch toward the back of the bench. This utilizes gravity to prevent water pooling, which reduces the risk of algae colonization and protects the stone from the freeze-thaw cycles that cause physical weathering.
Establishing the Surroundings
Backfill the area around the bench with a mixture of compost and native soil. If the bench is placed near woody shrubs, be mindful of auxin suppression. Pruning back lower branches to clear the bench space can trigger lateral bud break, changing the plant's architecture.
Pro-Tip: Use a hori-hori knife to slice through any circling roots of nearby plants before backfilling. This encourages radial root growth, which anchors the plant more effectively against the new hardscape element.
The Clinic:
Physiological disorders can manifest in the plants surrounding your new stone bench due to the altered microclimate.
Symptom: Iron Chlorosis
Interveinal yellowing on new leaves often occurs near stone benches made of limestone. The stone leaches calcium carbonate, raising the soil pH and locking up iron.
Solution: Apply chelated iron and incorporate elemental sulfur to lower the pH to a range of 6.2 to 6.5.
Symptom: Desiccation
Stone acts as a heat sink, radiating thermal energy long after sunset. This increases the transpiration rate of adjacent foliage.
Solution: Increase irrigation frequency and apply a 3-inch layer of organic mulch to insulate the root zone.
Symptom: Nitrogen Deficiency
Stunted growth and pale green lower leaves indicate the soil microbes are consuming nitrogen to break down mulch or construction debris.
Fix-It: Side-dress with a high-nitrogen organic amendment like blood meal (12-0-0) to restore the NPK balance.
Maintenance:
A stone bench requires minimal upkeep, but the biological environment around it needs precision. Maintain 1.5 inches of water per week at the drip line of any plants sharing the bench's footprint. Use a soil moisture meter to check the hydration levels at a depth of 6 inches.
Every spring, use bypass pruners to remove any deadwood from surrounding shrubs to maintain airflow and prevent fungal pathogens. If moss begins to grow on the stone, monitor it; while aesthetically pleasing, excessive moss can hold moisture against the stone, accelerating its breakdown in Hardiness Zones with extreme temperature fluctuations.
The Yield:
If your bench is part of a "cutting garden" or edible landscape, the stone provides a stable platform for post-harvest processing. For flowers like Zinnia or Paeonia, harvest in the early morning when turgor pressure is at its peak. Use a sharp blade to make a clean diagonal cut, then immediately plunge the stems into 100-degree Fahrenheit water to remove air embolisms from the xylem. This technique ensures "day-one" freshness and extends the vase life of the botanical yield.
FAQ:
What is the best stone for a garden bench?
Dense igneous rocks like granite or basalt are superior due to their low porosity. They resist moisture absorption and the mechanical stress of freeze-thaw cycles, ensuring a lifespan of several decades in most climates.
How deep should the bench foundation be?
In regions with freezing winters, the foundation should reach 8 to 12 inches. This depth, filled with compacted aggregate, provides adequate drainage and prevents the soil from heaving and tilting the bench during spring thaws.
Will a stone bench hurt my plants?
Only if the stone leaches minerals that alter soil pH. Limestone can raise pH levels, causing nutrient lockout. Monitor the area with a pH probe and adjust with sulfur or acidic mulch if necessary.
Do I need mortar for a stone bench?
Dry-stacking is preferred for garden benches. It allows for natural drainage and slight movement. A dry-stacked bench is easier to adjust if the soil settles unevenly over several growing seasons.
How do I clean lichen off the stone?
Use a stiff brush and plain water. Avoid harsh chemicals that can leach into the rhizosphere and kill beneficial soil bacteria or alter the delicate NPK balance required for nearby plant health.