7 Best Forks for Soil Loening
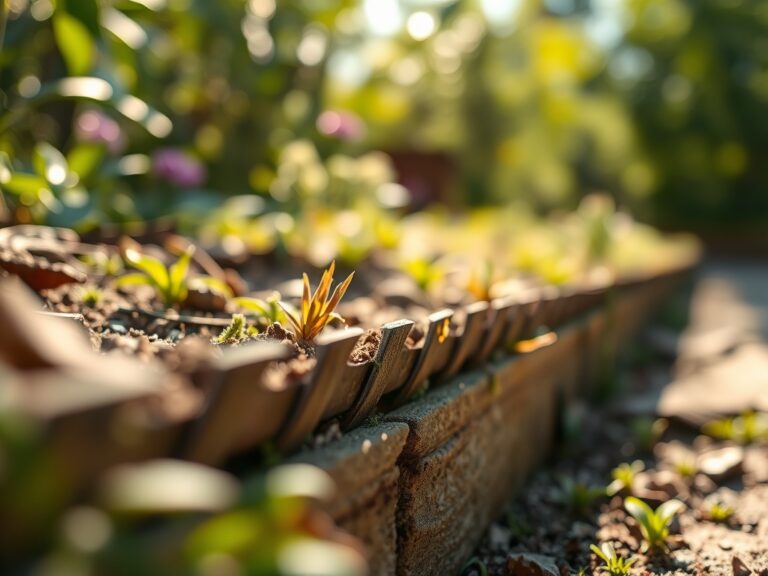
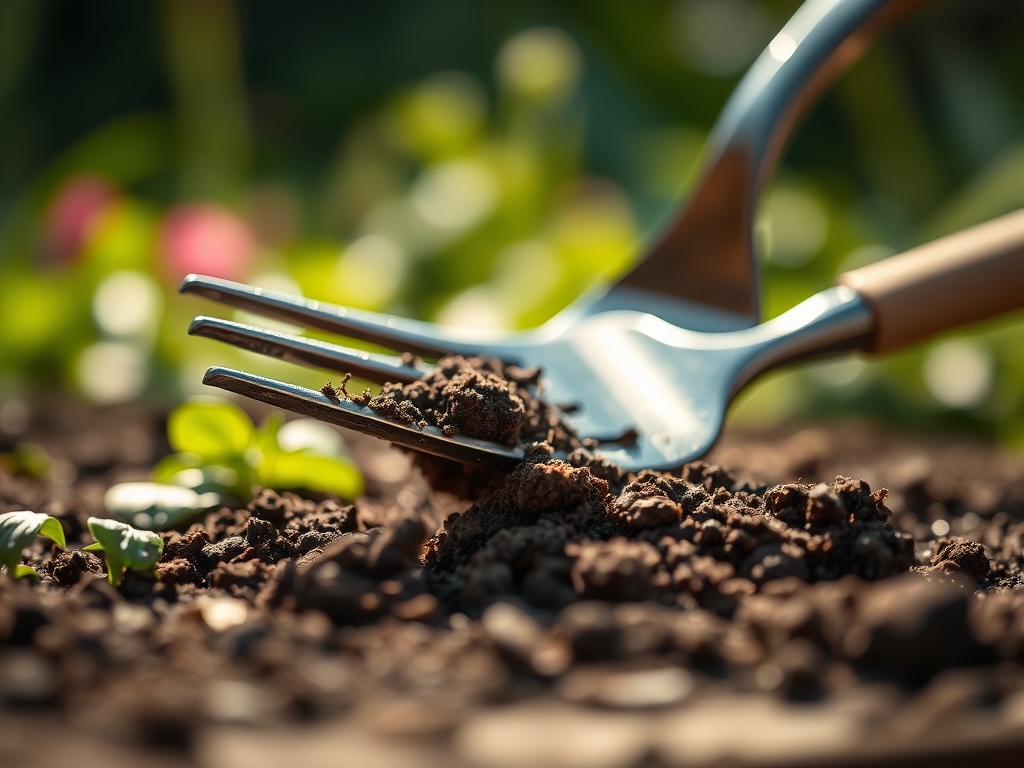
The scent of damp earth during the spring thaw signals the precise moment when soil density determines the success of the growing season. When the ground reaches a consistent 55 degrees Fahrenheit, the structural integrity of the rhizosphere depends entirely on aeration. Compaction is the primary enemy of gas exchange; it prevents oxygen from reaching root hairs and traps carbon dioxide, leading to anaerobic conditions that invite root rot. Utilizing the best forks for soil loosening allows a gardener to fracture the soil profile without destroying the delicate fungal networks that facilitate nutrient uptake. A high quality fork penetrates the substrate to a depth of 10 to 12 inches, creating vertical channels that improve hydraulic conductivity. This mechanical intervention ensures that turgor pressure remains high within the plant vascular system by allowing roots to expand into the pore spaces created by the tines. Effective soil management begins with the physical manipulation of the earth to ensure that every cubic centimeter of loam can support the metabolic demands of a developing crop.
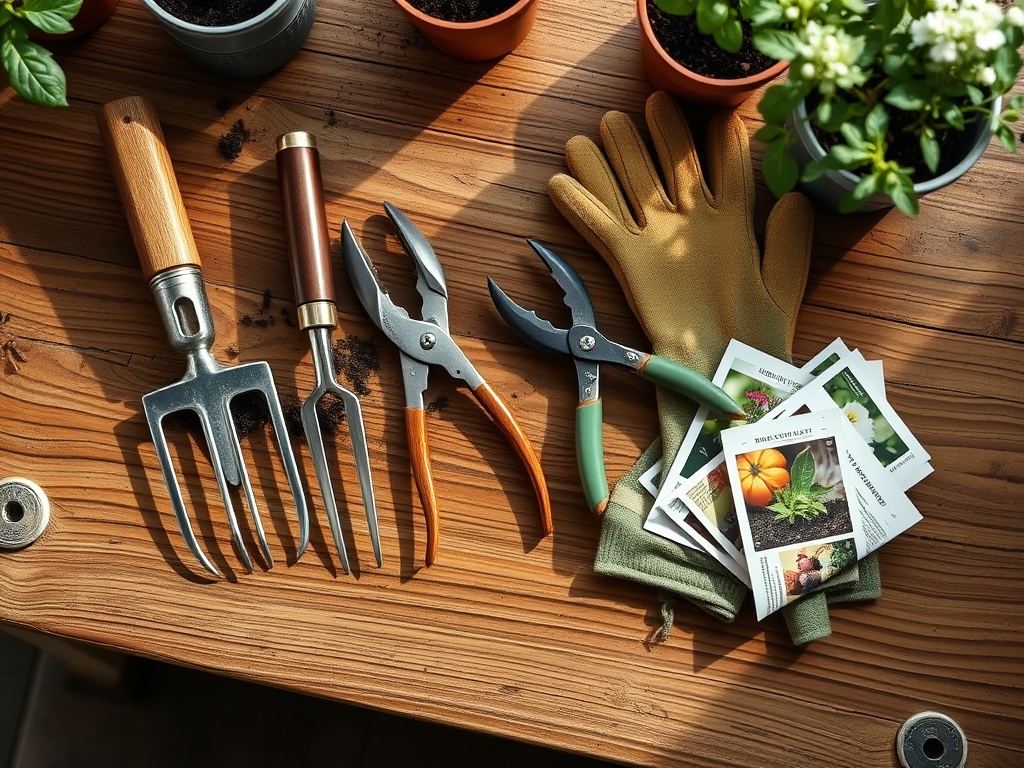
Materials:
The ideal substrate for intensive cultivation is a **friable loam** with a Cation Exchange Capacity (CEC) between **15 and 25 meq/100g**. This soil texture allows for the retention of essential cations like calcium and magnesium while permitting excess water to drain away from the root zone. Before selecting your tools, conduct a soil test to determine the current pH and nutrient profile. Aim for a **pH of 6.2 to 6.8** for most vegetable and floral crops. If your soil is heavy clay, the best forks for soil loosening must feature forged steel tines to resist bending under high torque.
Nutrient amendments should be tailored to the specific needs of the crop following the mechanical aeration process. A standard 10-10-10 NPK ratio provides a balanced start; however, heavy feeders like brassicas may require a nitrogen-heavy 15-5-5 to support rapid vegetative growth. Conversely, root crops benefit from a 5-15-15 ratio to prioritize phosphorus and potassium for tuber development. Incorporating organic matter with a Carbon-to-Nitrogen (C:N) ratio of 30:1 ensures that microbial activity remains high without causing nitrogen immobilization.
Timing:
The window for soil preparation is dictated by your USDA Hardiness Zone and the local frost-date calendar. In Zones 5 through 7, the primary window for loosening the soil occurs between late March and mid-April, once the soil is no longer saturated. Attempting to use a fork on waterlogged soil will collapse the macropores and result in permanent structural damage known as "puddling."
The biological clock of the plant transitions from the vegetative stage to the reproductive stage based on the photoperiod and thermal units (Growing Degree Days). For most annuals, the vegetative phase requires high nitrogen levels and consistent moisture. As the plant enters the reproductive phase, signaled by the initiation of flower primordia, the demand for phosphorus increases. Timing your soil aeration at least 14 days prior to planting allows the soil microbiome to stabilize and the nitrogen cycle to resume after the disturbance.
Phases:

Sowing
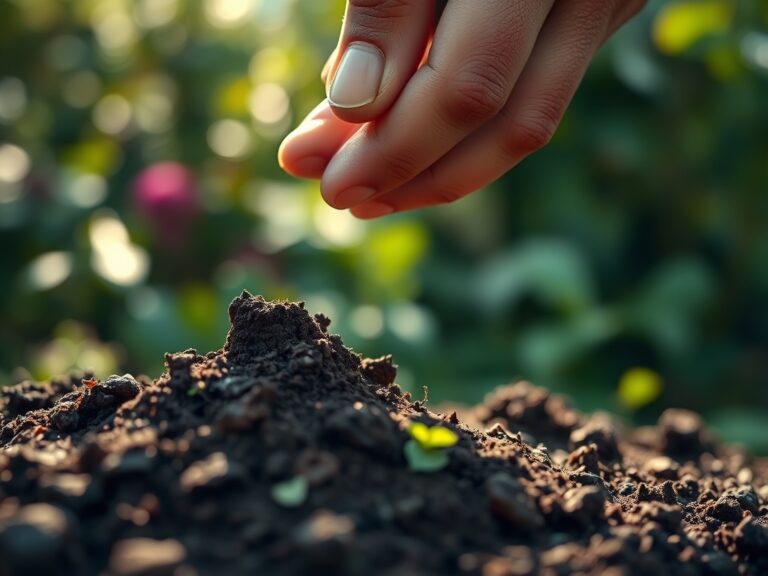
Direct sowing requires a seedbed that is fine and level. After using the fork to fracture the subsoil, use a steel rake to break down the surface clods to a diameter of less than 0.5 inches. This ensures intimate seed-to-soil contact, which is necessary for the imbibition of water.
Pro-Tip: Proper aeration increases the availability of oxygen for cellular respiration during germination. Without adequate oxygen, the embryo cannot metabolize stored starches into energy.
Transplanting
When moving starts from the greenhouse to the field, the hole should be twice the width of the root ball. Use a hori-hori knife to scarify the edges of the planting hole if the soil is slicked. This prevents the roots from becoming "pot-bound" within the planting hole.
Pro-Tip: Mycorrhizal symbiosis is enhanced in loosened soil. The fungal hyphae can travel further through aerated pore spaces to find water and phosphorus, effectively increasing the root surface area by up to 100 times.
Establishing
During the first 21 days post-transplant, the focus is on root expansion. Avoid heavy foot traffic near the base of the plants to prevent re-compacting the soil you just loosened. Maintain a consistent moisture level to prevent the soil from crusting over.
Pro-Tip: Suppressing apical dominance through light pruning can encourage lateral root growth. This process, governed by auxin suppression, forces the plant to build a sturdier foundation before it focuses on vertical height.
The Clinic:
Physiological disorders often stem from poor soil structure or nutrient imbalances.
- Symptom: Blossom End Rot. This appears as a dark, leathery spot on the bottom of fruits like tomatoes.
Solution: This is a calcium deficiency often caused by inconsistent moisture. Ensure the soil is loosened to a depth of 12 inches to allow roots to reach deeper water reserves.
- Symptom: Nitrogen Chlorosis. The older leaves turn a pale yellow while the veins remain slightly green.
Solution: Apply a quick-release nitrogen fertilizer with a 46-0-0 (Urea) or 21-0-0 (Ammonium Sulfate) analysis to restore chlorophyll production.
- Symptom: Interveinal Chlorosis. New leaves are yellow with dark green veins, indicating iron or magnesium deficiency.
Solution: Check the soil pH. If the pH is above 7.2, iron becomes insoluble. Lower the pH using elemental sulfur at a rate of 5 lbs per 1,000 square feet.
- Symptom: Wilting despite wet soil. This indicates root asphyxiation or "drowning."
Fix-It: Use a broadfork to create deep drainage channels immediately. This allows oxygen to reach the rhizosphere and stops the progression of anaerobic pathogens.
Maintenance:
Precision is required for long-term plant health. Provide 1.5 inches of water per week delivered at the drip line to ensure deep penetration. Use a soil moisture meter to verify that the water is reaching a depth of 6 inches. For perennial maintenance, use bypass pruners to remove dead or diseased wood, which prevents the spread of fungal spores.
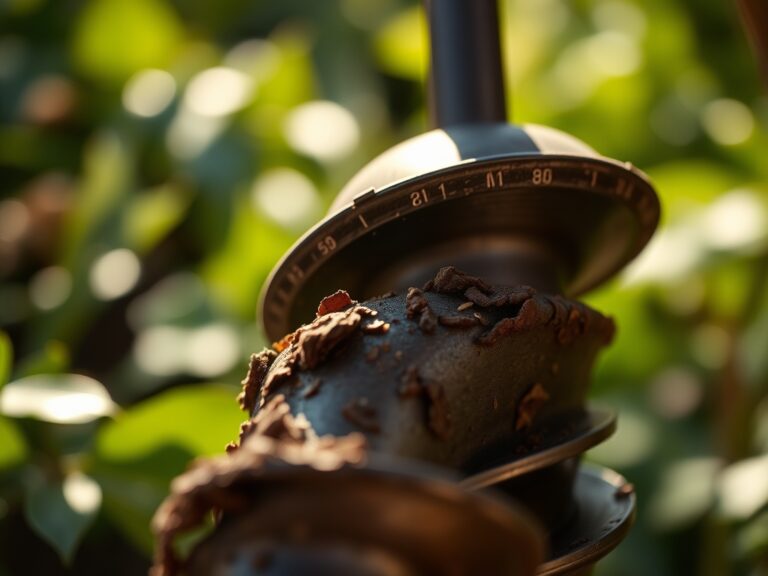
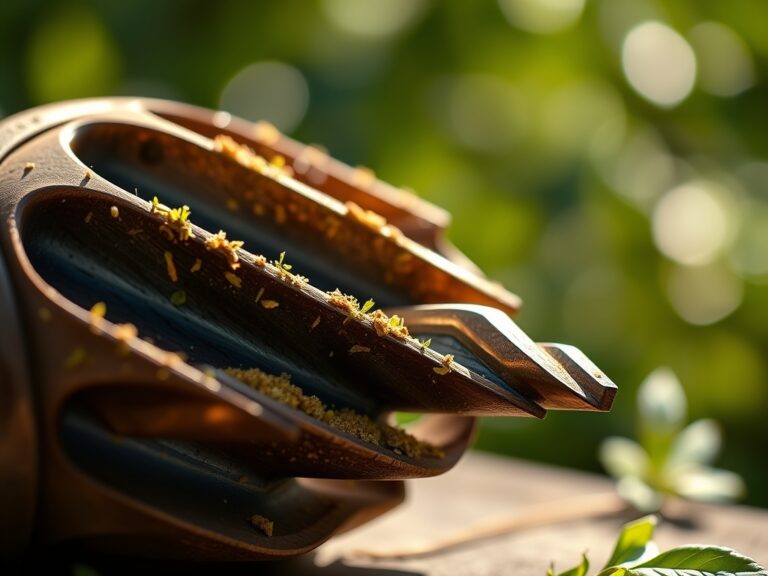
Clean your tools after every use. The best forks for soil loosening will rust if left with damp soil on the tines. Wipe them down with a rag soaked in mineral oil to preserve the steel. Regularly sharpen the tips of your fork with a metal file to ensure they slide through the soil with minimal resistance, reducing the physical strain on the operator.
The Yield:
Harvesting should occur during the "cool of the day," typically between 6:00 AM and 9:00 AM, when plant turgor is at its peak. This ensures that the cellular structure is fully hydrated, extending the shelf life of the produce. For leafy greens, use sharp shears to make a clean cut, preventing tissue jaggedness that leads to rapid senescence. Post-harvest, immediately move the produce to a shaded area and reduce the core temperature to 40 degrees Fahrenheit to slow down the metabolic rate and preserve "day-one" freshness.
FAQ:
What is the difference between a digging fork and a border fork?
A digging fork is larger, typically 12 inches wide, for heavy cultivation. A border fork is narrower, around 6 inches wide, designed for working in tight spaces or established perennial beds without damaging existing root systems.
How deep should I loosen the soil for vegetables?
Most vegetables require a minimum of 8 to 12 inches of loosened soil. This depth allows for unrestricted taproot elongation and ensures adequate drainage away from the upper root zone where oxygen demand is highest.
Can I use a fork in heavy clay soil?
Yes, but only when the moisture content is ideal. If the soil forms a hard ball when squeezed, it is too wet. The fork should fracture the clay into small, pea-sized aggregates rather than large, heavy clods.
Why is forged steel better than pressed steel for forks?
Forged steel is created from a single piece of glowing metal, resulting in superior grain flow and strength. Pressed steel is stamped from a sheet and is prone to snapping at the neck under heavy leverage.
How often should I aerate my garden beds?
Aerate beds once per year in the spring or fall. Over-tilling or over-forking can break down soil aggregates too much, eventually leading to a loss of soil structure and decreased microbial diversity.