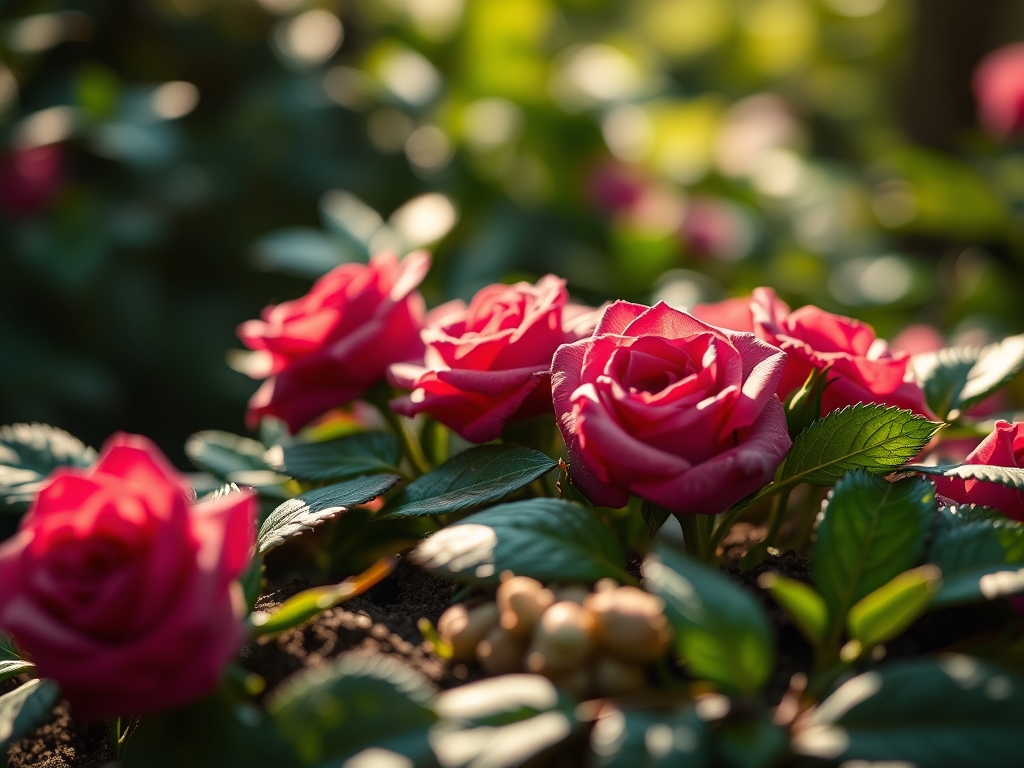
10 Romantic Ways How to Prep a Rose Garden
Damp earth carries a sharp, metallic scent of geosmin when you first break the surface to begin the work. A healthy rose leaf displays high turgor pressure; it feels firm and resists bending between your fingers. Understanding how to prep a rose garden requires moving beyond aesthetics and focusing on the physiological demands of the genus Rosa. You must establish a foundation where the rhizosphere can support rapid cell division and nutrient uptake. Proper preparation ensures that the vascular system of the plant remains efficient throughout the heat of the growing season. Success is measured in the thickness of the canes and the structural integrity of the cell walls. By manipulating soil chemistry and physical structure now, you dictate the plant's ability to resist environmental stressors later. This process is a calculated intervention in the biological cycle of the shrub. It demands precision in soil amendment and a deep understanding of local climatic variables to ensure the plant transitions successfully from dormancy into active vegetative growth.
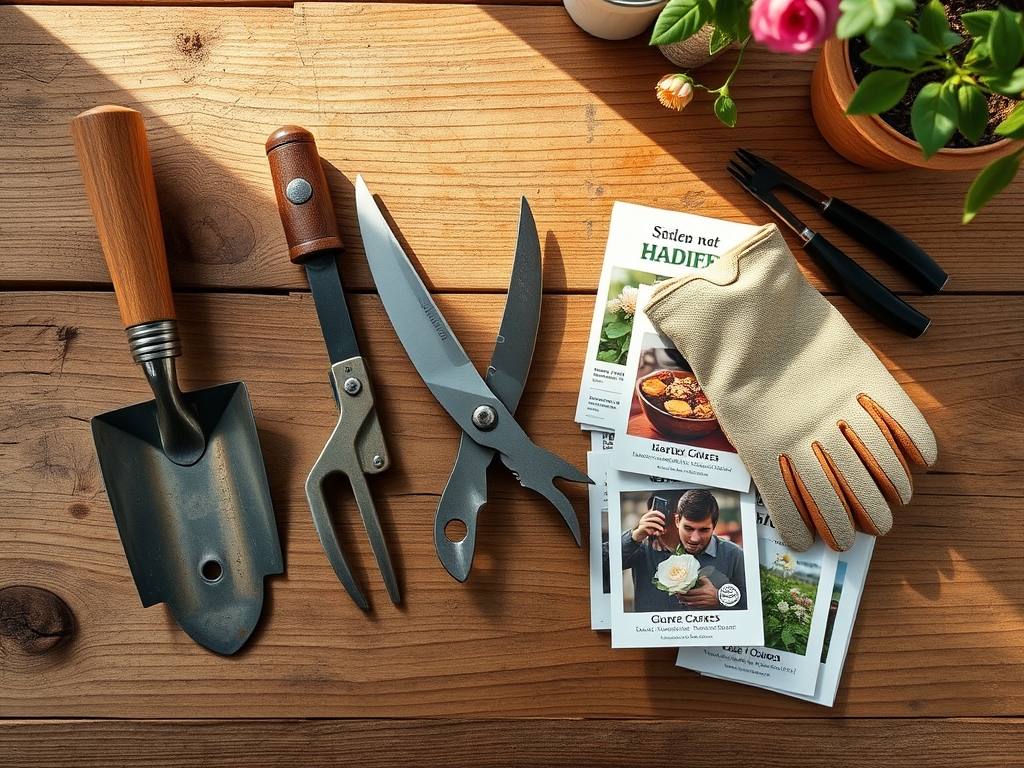
Materials:
The ideal substrate for roses is a **friable loam** consisting of approximately **40 percent sand, 40 percent silt, and 20 percent clay**. This ratio provides the necessary Cation Exchange Capacity (CEC) to hold nutrients while allowing for adequate macropore space for oxygen diffusion. Roses require a soil pH between **6.0 and 6.5** to ensure maximum bioavailability of micronutrients like iron and manganese.
For initial soil amendment, target an NPK ratio of 5-10-5 or 10-10-10 depending on your baseline soil test results. High phosphorus (the middle number) is critical during the preparation phase to stimulate ATP production and root elongation. Incorporate well-rotted organic matter with a Carbon-to-Nitrogen (C:N) ratio of roughly 25:1. This ensures that soil microbes do not tie up available nitrogen as they decompose the material. Avoid fresh manure; the high salt index and ammonia content can cause osmotic stress and desiccate young feeder roots.
Timing:
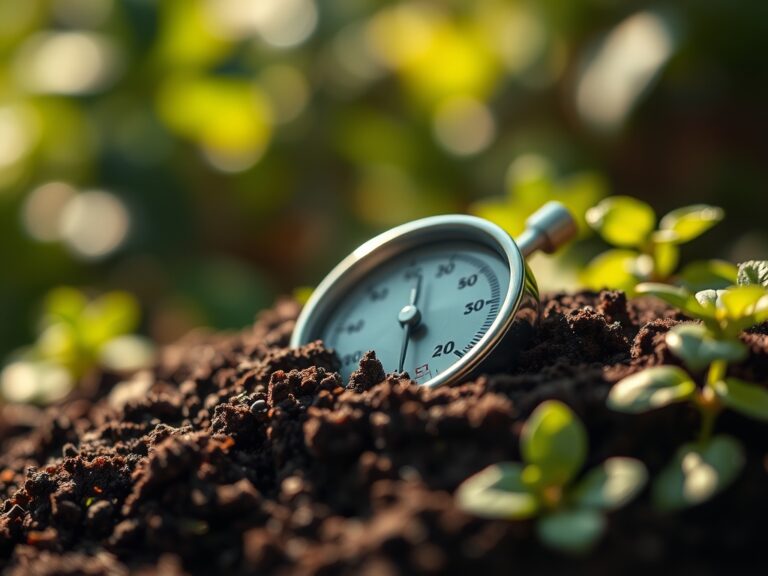
Roses are sensitive to the photoperiod and soil temperature. In USDA Hardiness Zones 5 through 8, the window for preparation begins as soon as the soil is workable and the threat of a hard freeze (temperatures below 25 degrees Fahrenheit) has passed. The biological clock of the rose is triggered by rising soil temperatures. Once the rhizosphere reaches a consistent 45 to 50 degrees Fahrenheit, root hairs begin to emerge from dormancy.
Prepping too early in wet, cold soil leads to anaerobic conditions and compaction, which stunts gas exchange. Conversely, prepping too late into the spring forces the plant to establish a root system while simultaneously supporting rapid leaf expansion, leading to moisture stress. Aim to have your site ready at least four weeks before the last expected frost date to allow the soil profile to settle and for microbial populations to stabilize.
Phases:
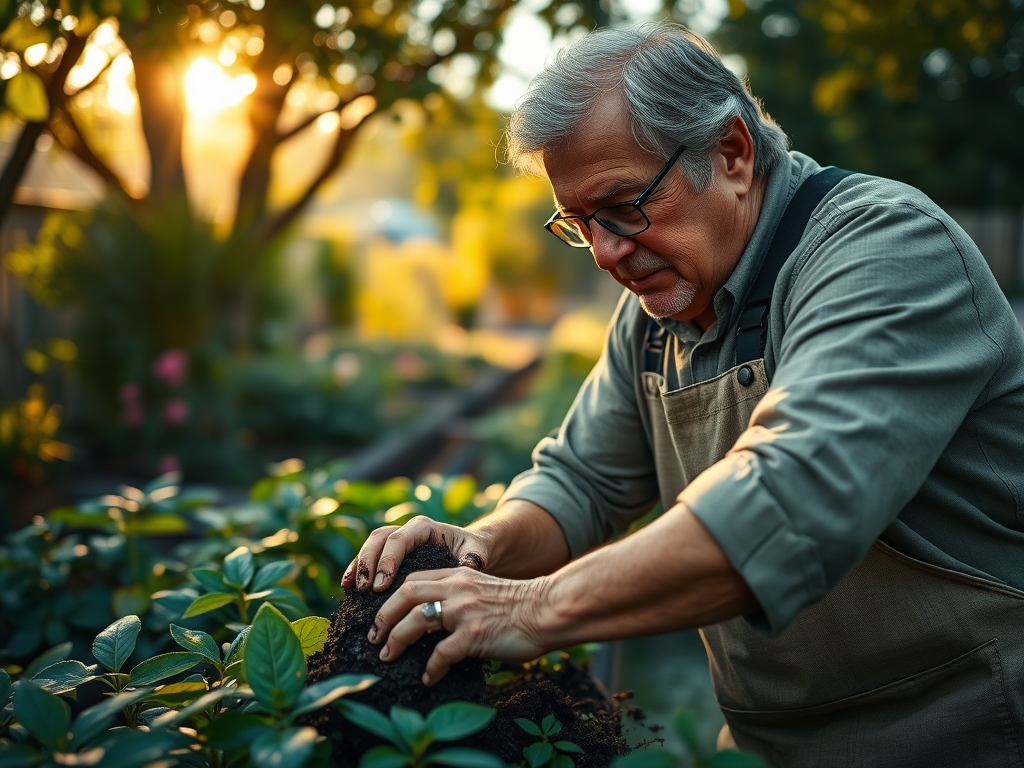
Sowing and Site Selection
Roses require a minimum of six to eight hours of direct solar radiation to drive photosynthesis at a rate that supports heavy blooming. When mapping your garden, ensure the site has excellent air circulation to reduce the duration of leaf wetness. Excavate a hole 24 inches wide and 18 inches deep for each specimen. This volume of loosened soil allows for unobstructed lateral root spread.
Pro-Tip: Focus on the Cation Exchange Capacity. Adding organic matter increases the soil's ability to hold positively charged ions like Calcium (Ca2+) and Magnesium (Mg2+). This prevents nutrient leaching during heavy irrigation cycles.
Transplanting
When moving a rose into its prepared site, the graft union (the swollen area where the cultivar is joined to the rootstock) should be positioned based on your climate. In colder zones, bury the union 2 inches below the soil line for insulation. In warmer zones, keep it at or slightly above the surface to prevent rot. Spread the roots over a central mound of soil to prevent "J-rooting," which restricts vascular flow as the plant matures.
Pro-Tip: Utilize Mycorrhizal symbiosis. Dusting the root ball with endomycorrhizal fungi increases the effective surface area of the root system by up to 1,000 times. These fungi trade phosphorus for plant sugars, significantly improving drought resistance.
Establishing
After backfilling the hole with your amended loam, firm the soil gently with your hands to remove large air pockets without causing compaction. Apply a 3-inch layer of organic mulch, such as shredded hardwood or pine bark, keeping it 2 inches away from the main canes. This mulch regulates soil temperature and prevents the evaporation of critical moisture from the upper soil horizon.
Pro-Tip: Manage Auxin suppression. Pruning the tips of the canes immediately after planting breaks apical dominance. This redirects the plant's auxins (growth hormones) to the lateral buds, encouraging a bushier architecture rather than a single, leggy stem.
The Clinic:
Physiological disorders often mimic infectious diseases. Accurate diagnosis is required for effective intervention.
- Symptom: Interveinal chlorosis (yellow leaves with green veins) on new growth.
- Solution: This indicates Iron deficiency, often caused by a pH above 7.0. Lower the pH using elemental sulfur or apply chelated iron foliar spray for immediate uptake.
- Symptom: Purplish tint on older leaves and stunted growth.
- Solution: This suggests Phosphorus deficiency. Incorporate bone meal or rock phosphate into the root zone. Phosphorus is immobile in soil; it must be placed where roots can reach it.
- Symptom: Marginal leaf burn or "scorching" on older foliage.
- Solution: This is typically Potassium deficiency or high salinity. Flush the soil with 5 gallons of water per square foot to leach salts and apply a potassium sulfate supplement.
- Symptom: General yellowing of lower leaves (Nitrogen chlorosis).
- Fix-It: Apply a high-nitrogen fertilizer like blood meal or ammonium sulfate. Nitrogen is highly mobile; plants will pull it from old growth to support new leaves if the soil supply is depleted.
Maintenance:
Precision irrigation is the most critical factor in rose health. Roses require 1.5 inches of water per week, delivered at the drip line rather than overhead. Use a soil moisture meter to verify that the moisture has penetrated 8 to 12 inches deep. Wetting the foliage increases the risk of fungal pathogens; use a soaker hose or drip system instead.
Keep your bypass pruners sharp and sterilized with 70 percent isopropyl alcohol between plants to prevent cross-contamination. Use a hori-hori knife for precision weeding and to check soil texture at depth. During the peak growing season, monitor for "blind wood" (shoots that fail to produce flowers) and remove them to redirect energy to productive canes.
The Yield:
Harvesting roses for display requires timing based on the "sepals down" stage. For most cultivars, cut the stem when the outer petals are just beginning to unfurl from the bud. Use sharp bypass pruners to make a 45-degree angle cut just above a five-leaflet leaf set. This angle prevents water from pooling on the remaining cane and maximizes the surface area for water uptake in the vase.
To maintain "day-one" freshness, immediately submerge the cut ends in 100-degree Fahrenheit water. This heat reduces the viscosity of the sap and helps clear air bubbles (embolisms) from the xylem. Store the cut flowers in a cool, dark location for two hours before moving them to a final arrangement. This "hardening off" period ensures maximum turgidity and vase life.
FAQ:
How deep should I dig the hole for a new rose?
Excavate a hole 18 inches deep and 24 inches wide. This ensures the soil is loose enough for the delicate feeder roots to expand laterally without resistance, facilitating better nutrient and water uptake during the first year.
What is the best soil pH for roses?
Target a pH between 6.0 and 6.5. At this slightly acidic level, essential minerals like iron, manganese, and phosphorus are chemically available for the roots to absorb through the soil solution via the cation exchange process.
How much water do roses actually need?
Roses require approximately 1.5 inches of water per week. In sandy soils or extreme heat, this may increase. Always apply water at the base of the plant to keep the foliage dry and prevent the spread of pathogens.
When is the best time to fertilize?
Apply fertilizer when the first leaves emerge in spring and again after the first major bloom cycle. Stop all nitrogen-heavy fertilization six weeks before the first frost to allow the plant to enter dormancy and prevent frost damage.
Why are my rose leaves turning yellow?
Yellowing, or chlorosis, is often a sign of Nitrogen deficiency or a pH imbalance. Check the soil pH first; if the pH is correct, apply a balanced fertilizer to restore nitrogen levels and support chlorophyll production.