9 Accurate Ways How to Maintain a Soil Thermometer
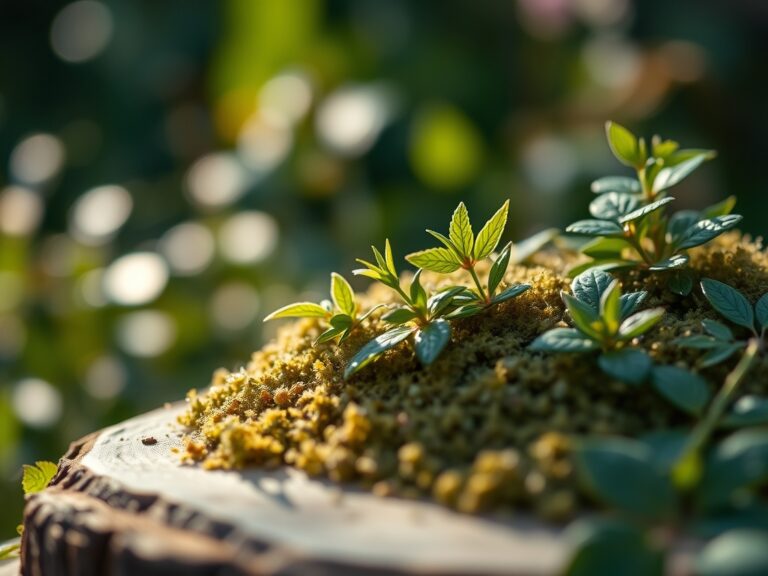
The smell of damp earth after a spring thaw is the scent of microbial awakening. When the soil reaches a consistent 50 degrees Fahrenheit, the turgor pressure in emerging seedlings increases as they draw moisture from the rhizosphere. Precision in measuring these subterranean shifts is the difference between a successful germination and seed rot. To achieve this accuracy, you must master how to maintain a soil thermometer through rigorous calibration and cleaning protocols. A neglected probe provides false data; a single degree of error can delay planting by a week or lead to the premature sowing of heat sensitive crops.
Materials:

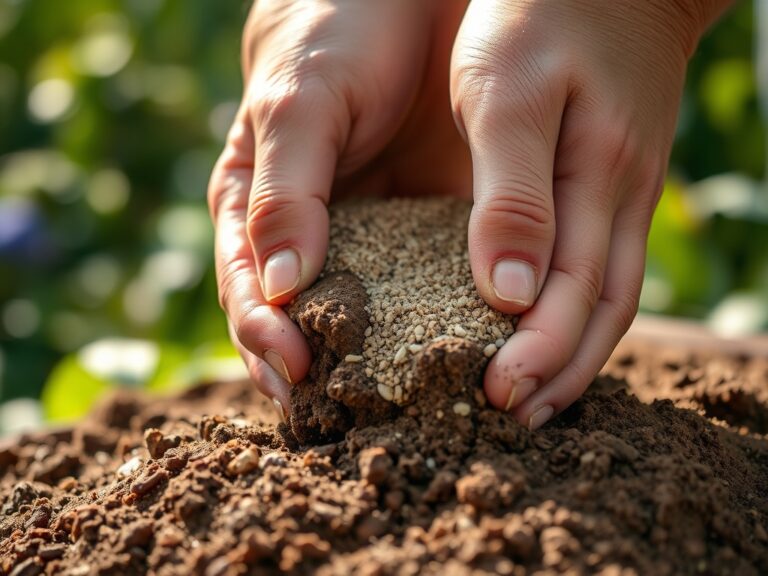
To test your equipment, you require a substrate of **friable loam** with a **pH between 6.2 and 6.8**. This ideal texture ensures the probe makes full contact with the soil particles without air pockets. High Cation Exchange Capacity (CEC) soils often hold more moisture, which can affect the thermal conductivity of the medium. For optimal testing, the soil should be enriched with a balanced **10-10-10 NPK ratio** to simulate active garden conditions. You will also need a glass of crushed ice, distilled water, and a high percentage isopropyl alcohol solution for sterilization.
Timing:
Hardiness Zones 3 through 9 dictate the window for thermal monitoring. In Zone 6, the critical period begins in late March when the threat of deep frost subsides. You must track the "Biological Clock" of your plants; the transition from vegetative to reproductive stages is often triggered by soil temperatures exceeding 65 degrees Fahrenheit. Monitoring should occur at the same time daily, preferably at 8:00 AM, to establish a baseline that accounts for diurnal temperature fluctuations. This consistency prevents the misinterpretation of temporary surface warming as deep-core thermal stability.
Phases:

Sowing
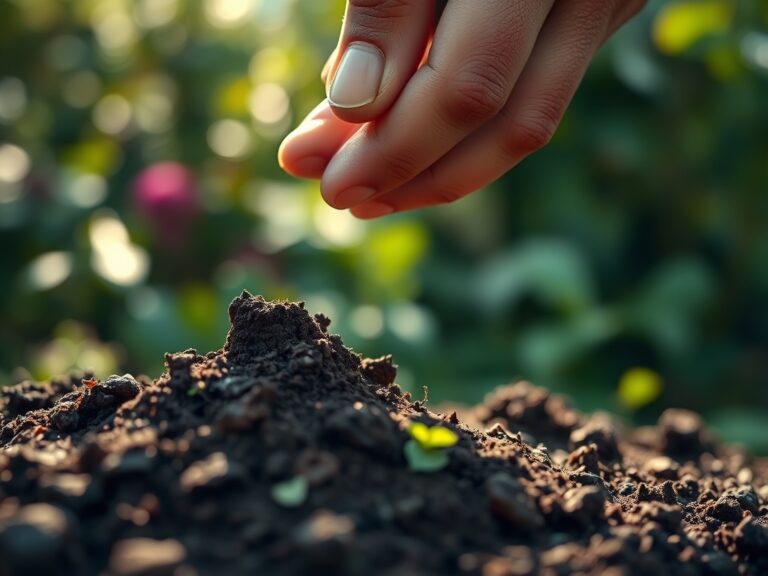
Before the first seed hits the furrow, the thermometer must be inserted to a depth of 2 to 4 inches. For large seeds like beans, the depth is critical as the hypocotyl requires specific thermal energy to break the soil surface.
Pro-Tip: Proper calibration ensures you do not sow before the soil reaches the minimum threshold for mycorrhizal symbiosis. If the soil is too cold, these beneficial fungi remain dormant, leaving the seedling vulnerable to pathogens.
Transplanting
When moving starts from the greenhouse to the field, use the thermometer to ensure the temperature differential is less than 5 degrees Fahrenheit. Sudden thermal shock can cause a temporary cessation of root elongation.
Pro-Tip: Maintaining an accurate probe allows you to monitor for the ideal window of auxin suppression. High soil heat can sometimes trigger stress hormones that stop upward growth in favor of emergency survival mechanisms.
Establishing
During the first 21 days of field life, monitor the soil at the drip line. This ensures the root zone remains within the optimal metabolic range for nutrient uptake.
Pro-Tip: Steady temperatures facilitate phototropism by ensuring the roots can support the rapid cellular expansion required for the plant to turn toward the sun.
The Clinic:
Physiological disorders often stem from inaccurate readings. If your thermometer is off by even 3 degrees, you may misdiagnose a "Symptom" as a disease when it is actually a thermal issue.
Symptom: Purple tinting on lower leaves (Anthocyanin buildup).
Solution: Check soil temperature. If it is below 55 degrees Fahrenheit, phosphorus uptake is blocked regardless of soil P levels. Recalibrate your thermometer to ensure the reading is true.
Symptom: Blossom end rot in tomatoes.
Solution: This is often a calcium transport issue. If the soil is too hot (above 85 degrees Fahrenheit), transpiration rates exceed the roots' ability to move calcium. Use a calibrated probe to determine if mulch is needed to lower the rhizosphere temperature.
Fix-It for Nitrogen Chlorosis: If leaves are yellowing despite a high NPK application, the soil may be too cold for nitrifying bacteria to convert ammonium to nitrate. Verify the temperature is at least 60 degrees Fahrenheit before adding more fertilizer.
Maintenance:
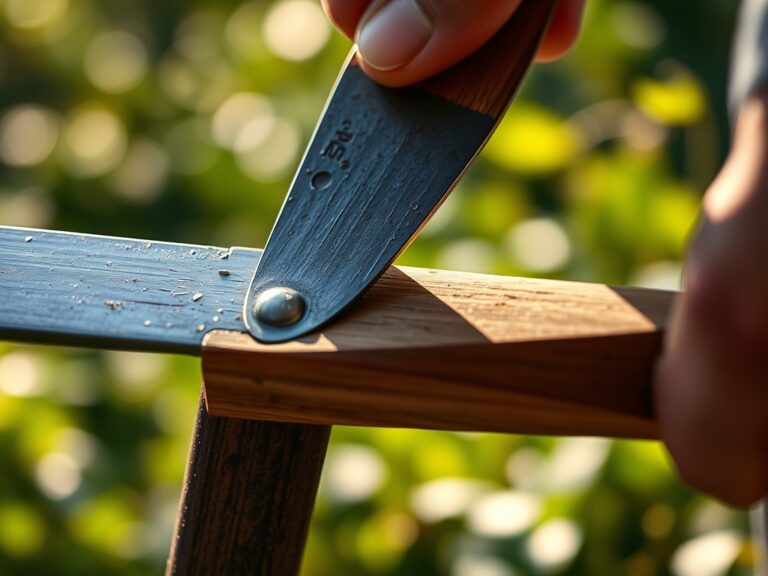
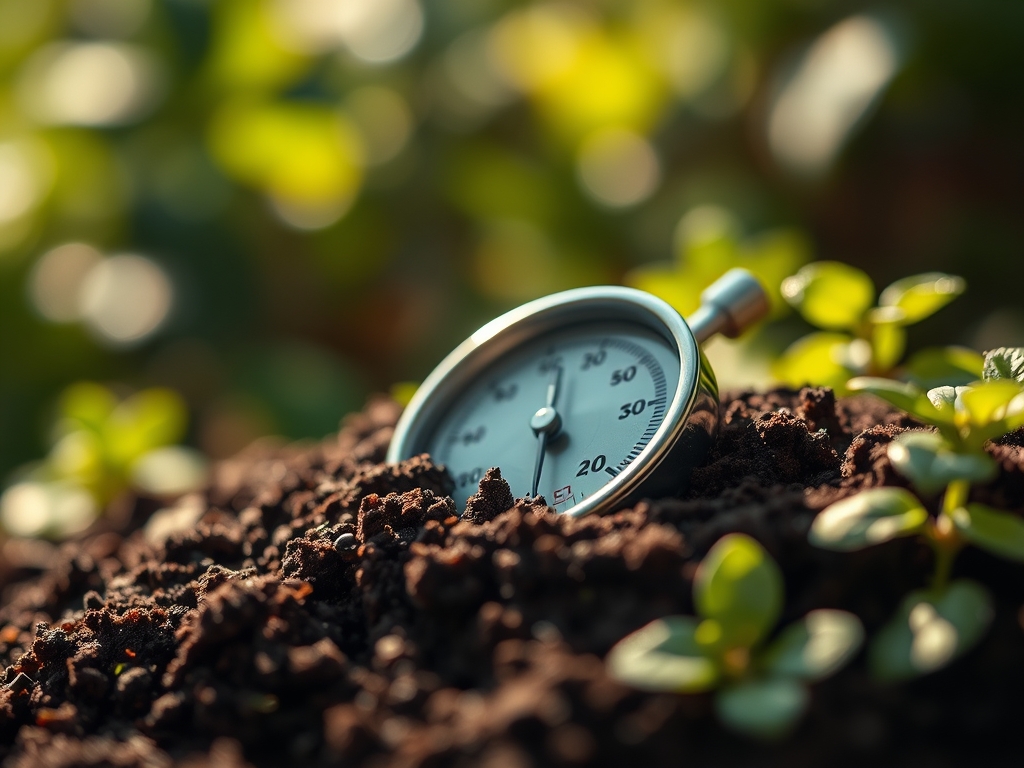
To maintain a soil thermometer, you must perform an ice-point calibration every thirty days. Fill a container with crushed ice and just enough distilled water to fill the voids. Submerge the probe for 60 seconds; it must read exactly 32 degrees Fahrenheit. If it deviates, adjust the nut under the dial using a small wrench.
Clean the probe after every use to prevent the transfer of soil-borne pathogens. Use a hori-hori knife to clear a pilot hole in compacted clay to avoid bending the thermometer stem. Never leave the instrument in the ground overnight as moisture can seep into the dial face, leading to corrosion. Store the tool in a dry, padded case to maintain the integrity of the bimetallic coil. When checking moisture levels alongside temperature, use a dedicated soil moisture meter to ensure you are providing exactly 1.5 inches of water per week at the drip line.
The Yield:
Harvesting timing is often dictated by the internal temperature of the fruit or root, which is influenced by the soil. For root crops like carrots, a soil temperature of 40 to 45 degrees Fahrenheit increases sugar concentration through starch conversion. Use your maintained thermometer to find this "sweet spot." Once harvested, remove field heat immediately by plunging produce into cool water. This preserves senescence delay and maintains "day-one" freshness by slowing the metabolic breakdown of the plant tissues.
FAQ:
How often should I calibrate my soil thermometer?
Calibrate the device every 30 days or at the start of every planting season. Use the ice-water method to ensure the sensor reads exactly 32 degrees Fahrenheit. Frequent calibration prevents inaccurate data during critical germination windows.
Can I leave the thermometer in the soil?
No. Constant exposure to soil moisture and acidity causes oxidation of the metal probe. It also risks moisture entry into the dial. Insert the probe for 3 minutes to get a reading, then clean and store it.
How do I clean the probe properly?
Wipe the stem with a clean cloth to remove debris. Follow with a 70 percent isopropyl alcohol wipe to kill pathogens. This prevents the cross-contamination of fungi or bacteria between different garden beds or containers.
What is the best depth for measuring temperature?
For most garden crops, insert the probe 4 to 6 inches deep. This measures the temperature at the primary root zone rather than the surface. Surface temperatures fluctuate too rapidly to provide a reliable baseline for planting.