9 Quick Steps to Install Metal Garden Edging
The smell of damp earth after a spring thaw signals the precise moment for structural intervention. When the soil reaches a consistent temperature of 55 degrees Fahrenheit, the turgor pressure in nearby perennial roots begins to rise; this is the window to stabilize your landscape boundaries. Mastering the steps to install metal garden edging requires more than aesthetic intent. It demands an understanding of soil physics and the mechanical resistance of the rhizosphere to prevent encroachment from aggressive stoloniferous grasses.
Steel and aluminum edging serve as a permanent subterranean barrier that regulates the lateral expansion of root systems. Without this physical partition, the transition zone between turf and ornamental beds becomes a site of nutrient competition. By installing a rigid, weather-resistant boundary, you manage the micro-topography of the garden and ensure that irrigation and amendments remain concentrated where they are most needed. This process begins with precise site analysis and ends with a structurally sound perimeter that withstands frost heave and mechanical stress from maintenance equipment.
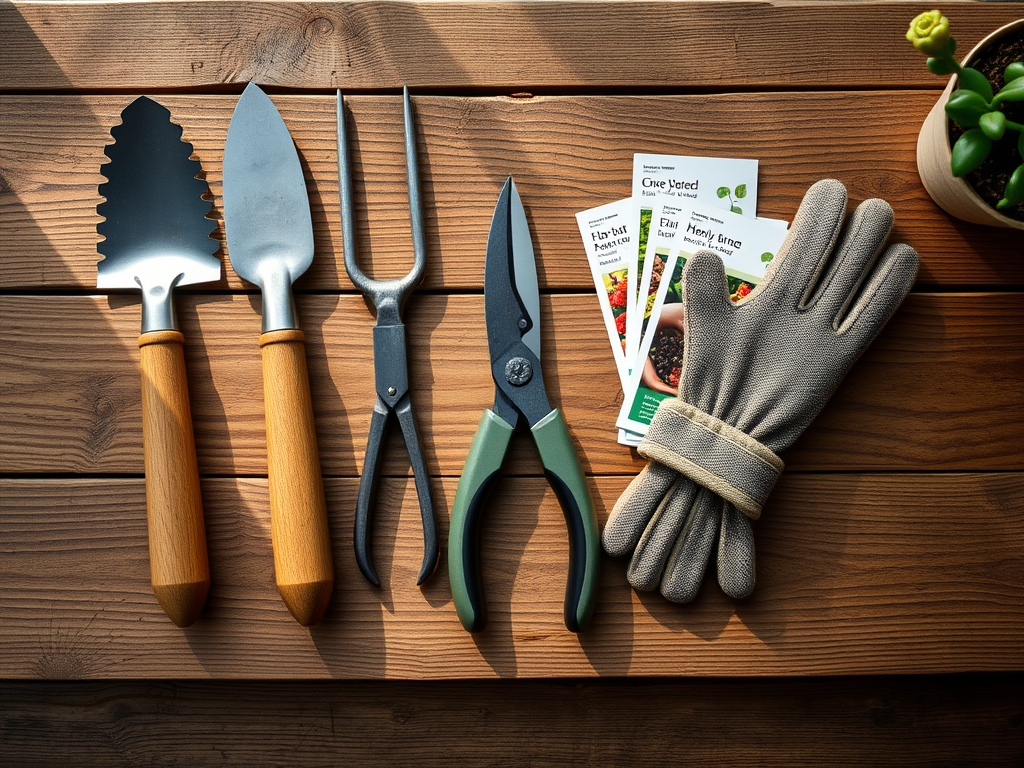
Materials:
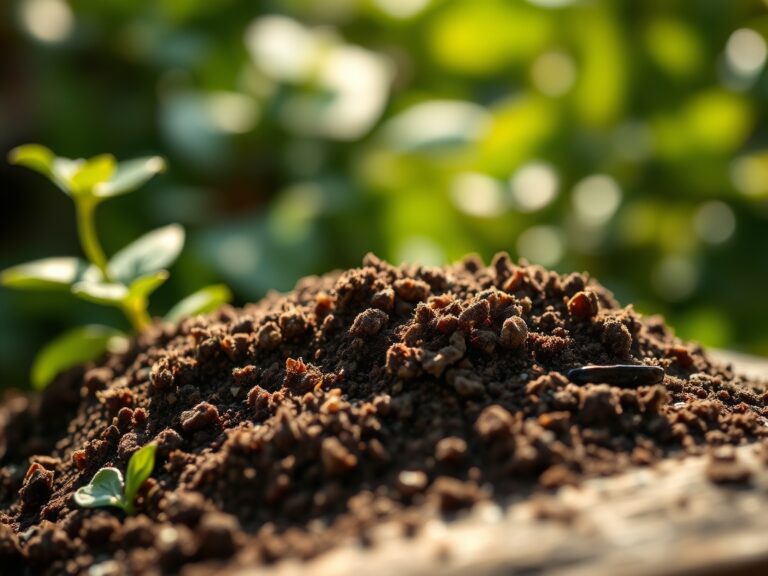
The success of metal edging depends on the physical texture of the substrate. The ideal environment is a friable loam with a sand-silt-clay ratio of approximately 40-40-20. High clay content increases the Cation Exchange Capacity (CEC) but complicates installation due to compaction; conversely, sandy soils offer low resistance but may require longer stakes to prevent shifting.
Before installation, analyze the soil pH. A range of 6.0 to 7.0 is optimal for most ornamental species. If the soil is overly acidic, the oxidation of galvanized steel can accelerate. You will need:
- 14-gauge or 16-gauge steel or aluminum strips (typically 4 inches deep).
- Steel anchoring stakes (10 to 12 inches in length).
- Heavy-duty rubber mallet.
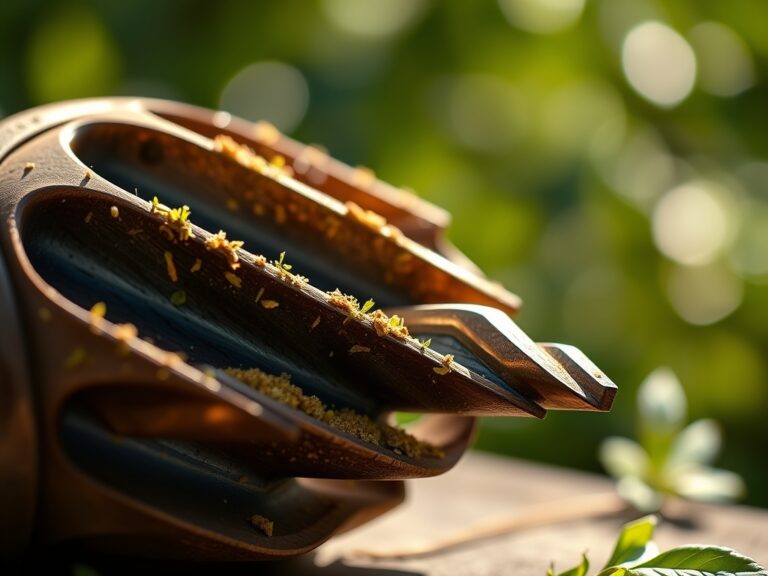
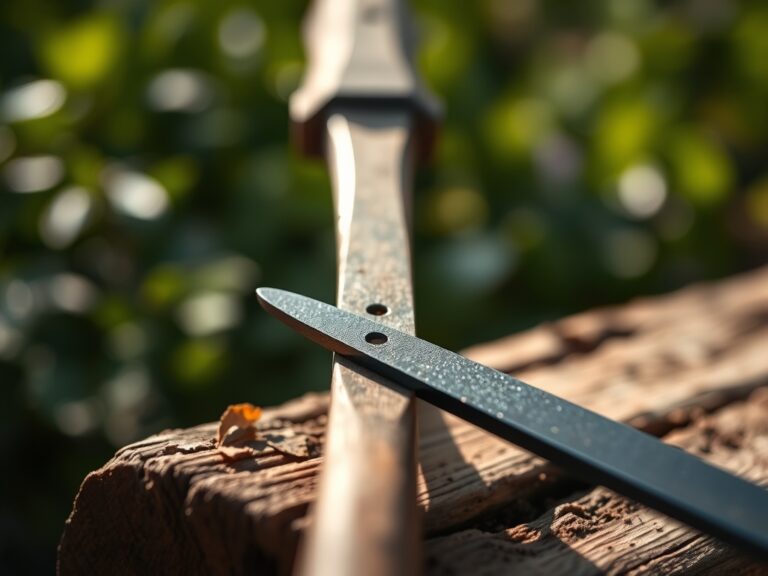
- Hacksaw or angle grinder for custom cuts.
- Level and mason line.
Ensure your beds are pre-treated with a balanced NPK ratio of 10-10-10 if you are establishing new plantings alongside the edge. This provides the necessary nitrogen for vegetative growth and phosphorus for root development as the plants adjust to the new boundary.
Timing:
Installation should occur when the ground is workable but not saturated. In Hardiness Zones 4 through 7, the ideal window is late autumn after the first light frost or early spring before the "Biological Clock" triggers the transition from dormancy to the vegetative stage. Avoid installation during peak summer; high soil temperatures increase the risk of root desiccation if you inadvertently sever lateral roots during the trenching process.
In warmer Hardiness Zones 8 through 10, installation is best performed in the winter months. This timing allows the soil to settle around the metal before the spring growth surge. Observe the photoperiod; as days lengthen, plants prioritize auxin production for upward growth. Installing edging before this surge ensures the root zone is undisturbed during the plant's most metabolic active phase.
Phases:
Sowing the Line
The first step involves marking the perimeter using a garden hose or mason line. Use a flat-head spade to cut a vertical pilot trench approximately 3.5 inches deep. This depth is critical because it leaves 0.5 inches of the edging above the soil line to prevent grass runners from jumping the barrier.
Pro-Tip: Maintaining a clean vertical cut minimizes disturbance to the mycorrhizal symbiosis in the soil. These fungal networks are essential for phosphorus uptake; a jagged or wide trench disrupts the hyphae and slows plant recovery.
Transplanting the Metal
Place the metal strips into the trench. If using interlocking sections, ensure the joints overlap by at least 2 inches to prevent gaps during thermal expansion and contraction. Use a rubber mallet to drive the edging to the desired depth.
Pro-Tip: If the edging resists, do not force it. Check for large stones or woody roots. Severing a primary root can lead to auxin suppression, where the plant loses its apical dominance and produces stunted, bushy growth as a stress response.
Establishing the Boundary
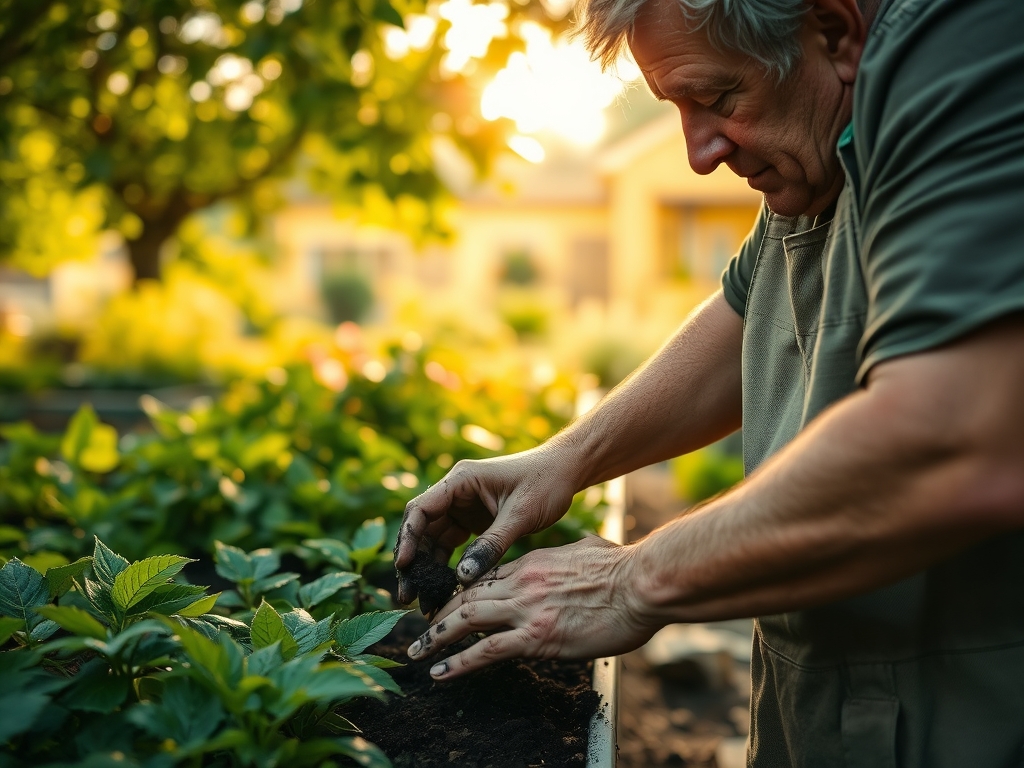
Once the strips are positioned, drive the anchoring stakes through the designated slots at a 45-degree angle toward the garden bed. Backfill the trench with native soil and compact it firmly with your boot to eliminate air pockets.
Pro-Tip: Firm compaction is necessary to maintain turgor pressure in the surrounding soil. Air pockets near the edge can cause localized root drying, leading to marginal leaf necrosis in nearby plants.
The Clinic:
Physiological disorders often manifest near new hardscape installations due to soil displacement or altered drainage patterns.
- Iron Chlorosis:
- Symptom: Yellowing of young leaves while veins remain green.
- Solution: This often occurs if the metal edging is leaching lime (in the case of concrete-backed edges) or if the soil pH is too high. Apply chelated iron to the rhizosphere.
- Root Desiccation:
- Symptom: Wilting despite adequate moisture; brown, crispy leaf margins.
- Solution: The trenching process may have exposed roots. Ensure the backfill is at least 3 inches deep and apply a 2-inch layer of organic mulch to retain moisture.
- Nitrogen Deficiency:
- Symptom: General paling of the entire plant, starting with older leaves.
- Fix-It: Apply a high-nitrogen fertilizer (NPK 21-0-0) at a rate of 0.5 pounds per 100 square feet to compensate for the metabolic energy used in root repair.
Maintenance:
Post-installation care requires precision. Use a soil moisture meter to monitor the transition zone; metal can conduct heat and slightly increase soil evaporation rates within the first 2 inches of the edge. Provide 1.5 inches of water per week at the drip line of the plants.
Twice a year, inspect the edging for "frost heave," where the freeze-thaw cycle pushes the metal upward. Use a mallet to reset any sections that have risen more than 1 inch above the grade. Use a hori-hori knife to remove any weeds that attempt to grow in the small gap between the metal and the soil. If you notice rust on non-weathering steel, use bypass pruners to clear away overhanging foliage, increasing airflow to the metal surface to reduce moisture retention.
The Yield:
If your edging defines a cutting garden or vegetable patch, timing the harvest is vital for quality. For flowers like Zinnias or Dahlias, harvest in the early morning when turgor pressure is at its peak. Cut the stems at a 45-degree angle and immediately submerge them in 100-degree Fahrenheit water to maximize hydraulic lift.
For edible crops, harvest when the fruit reaches its physiological maturity but before senescence begins. Proper edging ensures that the root systems of these heavy feeders are not competing with turf grass, resulting in a higher brix level (sugar content) and firmer cell walls in the produce.
FAQ:
How deep should I install metal garden edging?
Install the edging so that 3.5 inches is below the surface. This depth effectively blocks most grass rhizomes. Leave roughly 0.5 inches above the soil to act as a mower strip and prevent stolon encroachment.
Will metal edging rust and kill my plants?
Most metal edging is galvanized or made of aluminum to prevent corrosion. Weathering steel (Corten) develops a protective rust layer that is biologically inert and will not negatively impact the soil pH or plant health.
Can I install metal edging in heavy clay?
Yes, but it requires a pilot trench. Use a flat-head spade to cut the path first. In high-clay soils, the Cation Exchange Capacity is high, so ensure the metal is high-quality to withstand the moisture-retentive environment.
How do I handle curves with straight metal strips?
Steel and aluminum are flexible. Secure one end with a stake, then slowly guide the strip along your curve. Use 12-inch stakes every 2 feet on curves to counteract the metal's natural tendency to spring back to a straight line.