5 Simple Ways How to Prep an Onion Bed
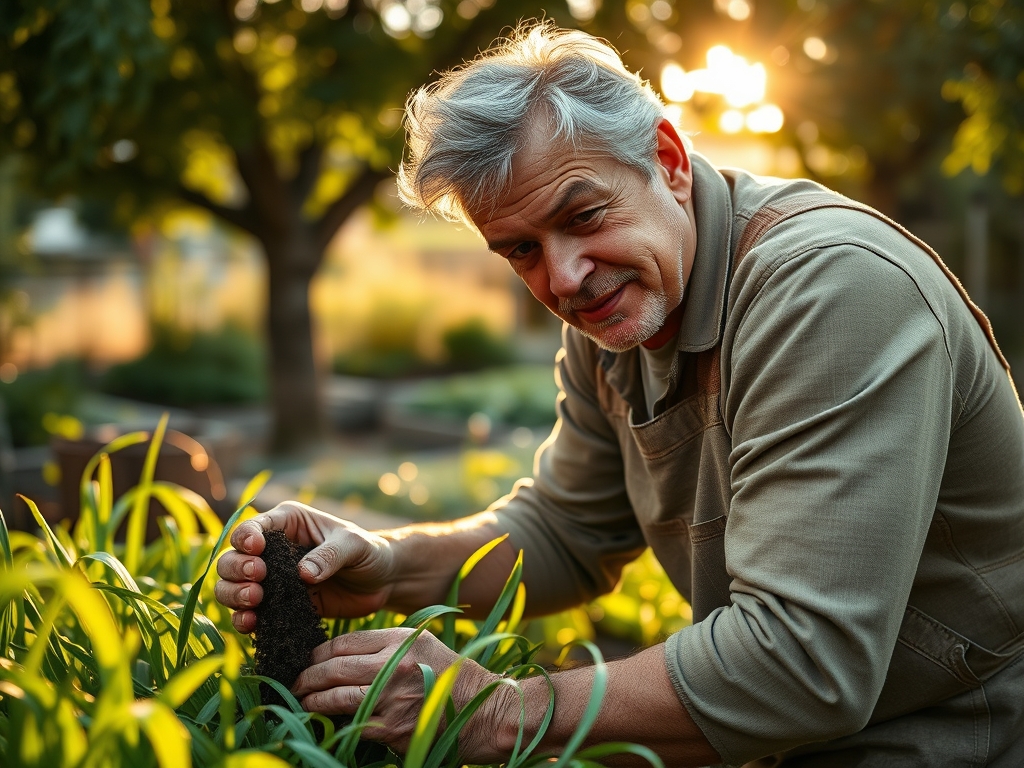
The smell of damp, oxygenated earth signifies a substrate ready for the high metabolic demands of Allium cepa. A successful harvest begins months before the first sprout breaks the surface; it starts with the precise mechanical and chemical manipulation of the soil. Understanding how to prep an onion bed requires a focus on soil structure and nutrient density. Onions are heavy feeders with shallow, inefficient root systems that demand high turgor pressure and immediate access to soluble minerals.
Proper preparation ensures the bulb has the physical space to expand without resistance while maintaining the strict moisture levels required for cell elongation. We are looking for a substrate that yields to the touch but retains enough capillary action to pull water from the lower horizons. If the soil is too compacted, the bulb becomes stunted and misshapen. If it is too loose, the plant cannot anchor itself against the wind. Precision in the early stages of bed preparation dictates the final weight and storage life of the crop.
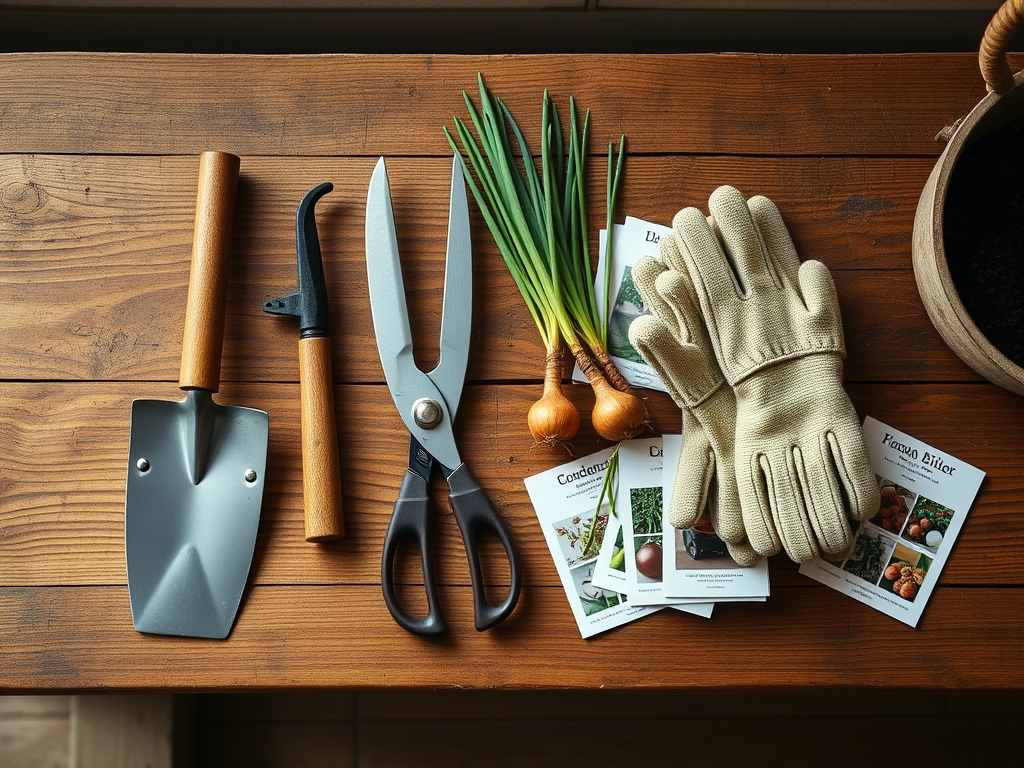
Materials:
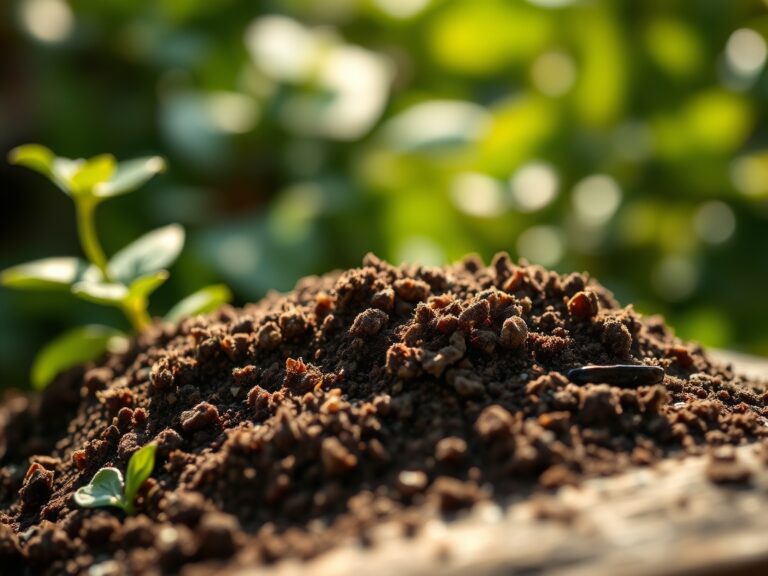
The ideal substrate for onions is a friable loam with a high percentage of organic matter. This texture allows for rapid root penetration and gas exchange within the rhizosphere. You must target a soil pH between 6.0 and 6.8. If the pH drops below 6.0, phosphorus becomes chemically bound and unavailable to the plant; if it rises above 7.5, micronutrients like manganese and iron become locked.
Regarding NPK ratios, onions require a specific delivery schedule. For the initial bed preparation, incorporate a balanced 10-10-10 fertilizer or a high phosphorus starter like 5-10-5 at a rate of 2 pounds per 100 square feet. Phosphorus is critical for early root development and the establishment of the basal plate.
High Cation Exchange Capacity (CEC) is vital. To achieve this, incorporate 2 to 4 inches of well-rotted compost into the top 8 inches of soil. This organic matter acts as a reservoir for cations like potassium (K+) and calcium (Ca2+), preventing them from leaching during irrigation. Avoid fresh manure, as the high nitrogen content and potential pathogens can cause bulb rot or excessive leaf growth at the expense of bulb size.
Timing:
Onions are photoperiod sensitive, meaning their transition from vegetative growth to bulb formation is triggered by day length. In Hardiness Zones 3 through 6, growers typically focus on long-day varieties that require 14 to 16 hours of sunlight. These are usually planted in early spring, as soon as the soil can be worked and temperatures consistently stay above 28 degrees Fahrenheit.
In Hardiness Zones 7 through 10, short-day varieties are preferred. These require only 10 to 12 hours of light and are often planted in the autumn for a late spring harvest. The biological clock of the onion is relentless. If you plant too late, the plant will not have enough leaf mass to support a large bulb once the photoperiod trigger occurs. Each leaf represents one ring of the onion; more leaves before bulbing equals a larger final product.
Phases:
Sowing and Site Selection
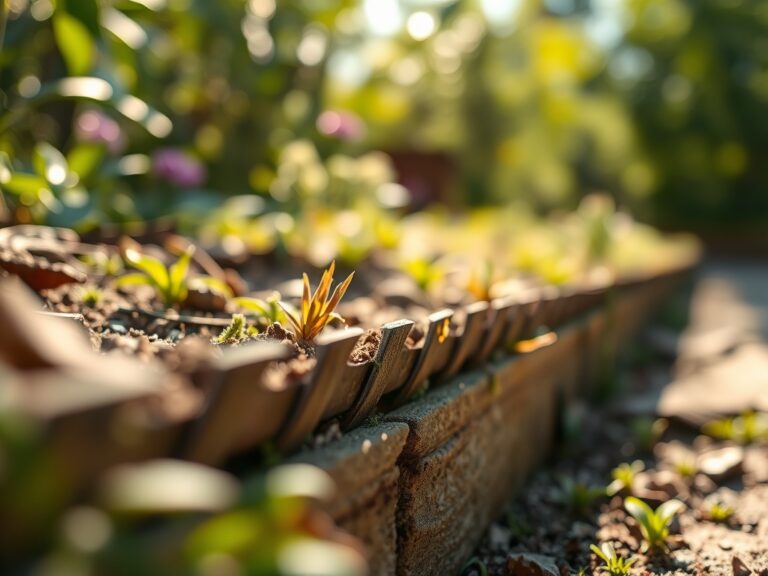
Select a site that receives at least 8 to 10 hours of direct sunlight. Onions do not tolerate competition. Clear the area of all perennial weeds and debris. Use a scuffle hoe to sever weed roots just below the surface.
Pro-Tip: Ensure the soil is not overly saturated during preparation. Working wet soil destroys soil structure and leads to compaction.
Biological Why: Compaction reduces the pore space available for oxygen. Without oxygen, roots cannot perform cellular respiration, leading to a buildup of ethanol and eventual root death.
Transplanting and Spacing
When using sets or transplants, space them 4 to 6 inches apart in rows separated by 12 inches. Plant sets no deeper than 1 inch. If planted too deep, the onion will struggle to expand, resulting in an elongated, necky bulb.
Pro-Tip: Dip the roots of transplants into a mycorrhizal fungal inoculant before planting.
Biological Why: This creates a mycorrhizal symbiosis, where the fungi extend the reach of the onion's root system. This symbiosis significantly increases the uptake of immobile nutrients like phosphorus.
Establishing and Mulching
Once the onions reach the "pencil-thick" stage, apply a 2-inch layer of clean straw or shredded leaves. This regulates soil temperature and maintains consistent moisture levels.
Pro-Tip: Avoid mounding soil around the base of the plants as they grow.
Biological Why: Onions are modified leaves. Mounding soil around the neck can lead to moisture retention in the leaf sheaths, encouraging fungal pathogens and suppressing the auxin signals that tell the plant to begin bulbing.
The Clinic:
Physiological disorders in onions often stem from environmental stress or nutrient imbalances rather than pathogens.
Symptom: Bolting (The appearance of a flower stalk).
Solution: This is caused by cold stress followed by rapid warming. If a plant with a diameter larger than a pencil experiences temperatures below 45 degrees Fahrenheit for several days, it triggers a reproductive response. Harvest these onions immediately as they will not store well.
Symptom: Thick necks and small bulbs.
Solution: This usually indicates excessive nitrogen application late in the season. Nitrogen promotes vegetative growth. Stop all nitrogen fertilization once the soil begins to crack around the bulb, signaling the start of the bulbing phase.
Symptom: Tip burn or yellowing of older leaves.
Fix-It: This is often Nitrogen chlorosis. Apply a side-dressing of ammonium sulfate (21-0-0) at a rate of 1/2 pound per 100 square feet. Ensure the fertilizer is watered in immediately to reach the root zone.
Maintenance:
Onions require consistent hydration due to their shallow roots. Aim for 1.5 inches of water per week, delivered at the drip line. Fluctuations in moisture cause the bulb to split or double. Use a soil moisture meter to ensure the top 4 inches of soil remain damp but not waterlogged.
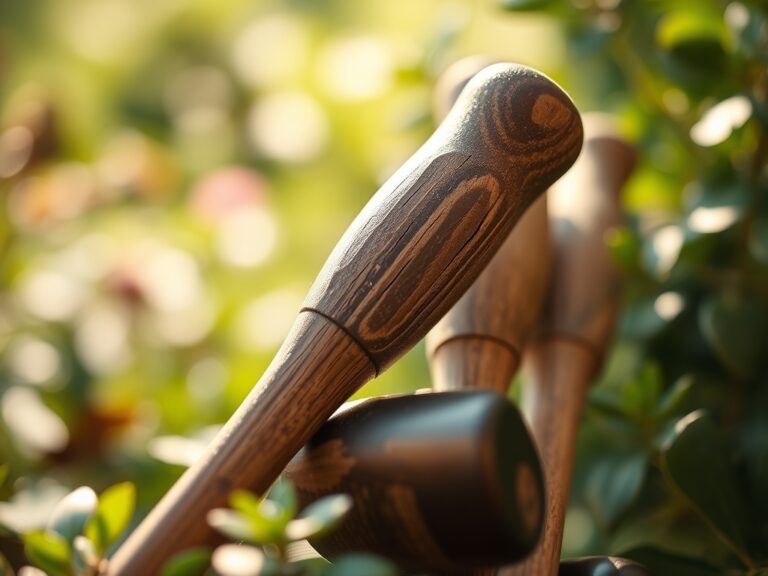
Weeding is non-negotiable. Use a hori-hori knife to remove weeds individually, being careful not to disturb the onion's shallow root system. Hand-pulling is often safer than hoeing once the bulbs begin to swell. If you must prune dead outer leaves, use bypass pruners to make clean cuts that callous over quickly.
The Yield:
Harvesting begins when the "necks" of the onions lose their structural integrity and fall over. This process, known as senescence, indicates that the plant has stopped moving sugars to the bulb. When 50 to 75 percent of the tops have fallen, use a garden fork to gently lift the bulbs from the soil.
Do not leave harvested onions in direct, intense sunlight for more than a few hours, as they can suffer from sunscald. Move them to a shaded, well-ventilated area with temperatures between 75 and 85 degrees Fahrenheit for curing. This process takes two to three weeks. The onions are cured when the outer skins are papery and the roots are brittle. Proper curing ensures "day-one" freshness and prevents neck rot during winter storage.
FAQ:
How deep should I dig the onion bed?
Dig the bed to a depth of 8 to 12 inches. This ensures the soil is loose enough for the basal plate to expand and allows for proper drainage away from the shallow root system.
Can I grow onions in heavy clay?
Yes, but you must incorporate significant amounts of coarse sand and organic compost. This improves the aeration and drainage, preventing the bulbs from rotting in the anaerobic conditions common to heavy clay soils.
What is the best fertilizer for onions?
Start with a 5-10-5 or 10-10-10 balanced fertilizer during bed prep. Switch to a high-nitrogen side-dressing every three weeks until the bulbing process begins, then cease all fertilization to allow for proper maturation.
How do I know when to stop watering?
Stop irrigation once the onion necks begin to weaken and fall over. Withholding water at this stage encourages the outer skins to dry and tighten, which is essential for successful curing and long-term storage.